Letter is a dynamic email newsletter design tool for creators that reimagines the workflow of newsletter creation. It bridges the gap between designers, marketers and coders, enabling us to export designs created in Adobe XD directly from Artboards to HTML: https://twitter.com/graeme_fulton/status/1136220536567209984
Creating the Letter XD Plugin to translate Artboards to HTML comes with many challenges. One of which was actually uploading an exported artboard, and storing it in the AWS cloud. In this article, I’ll share why it was tricky, and how you can do it. Hopefully it helps someone with a similar task, and also shows an insight into building Letter.
How to Export an Artboard
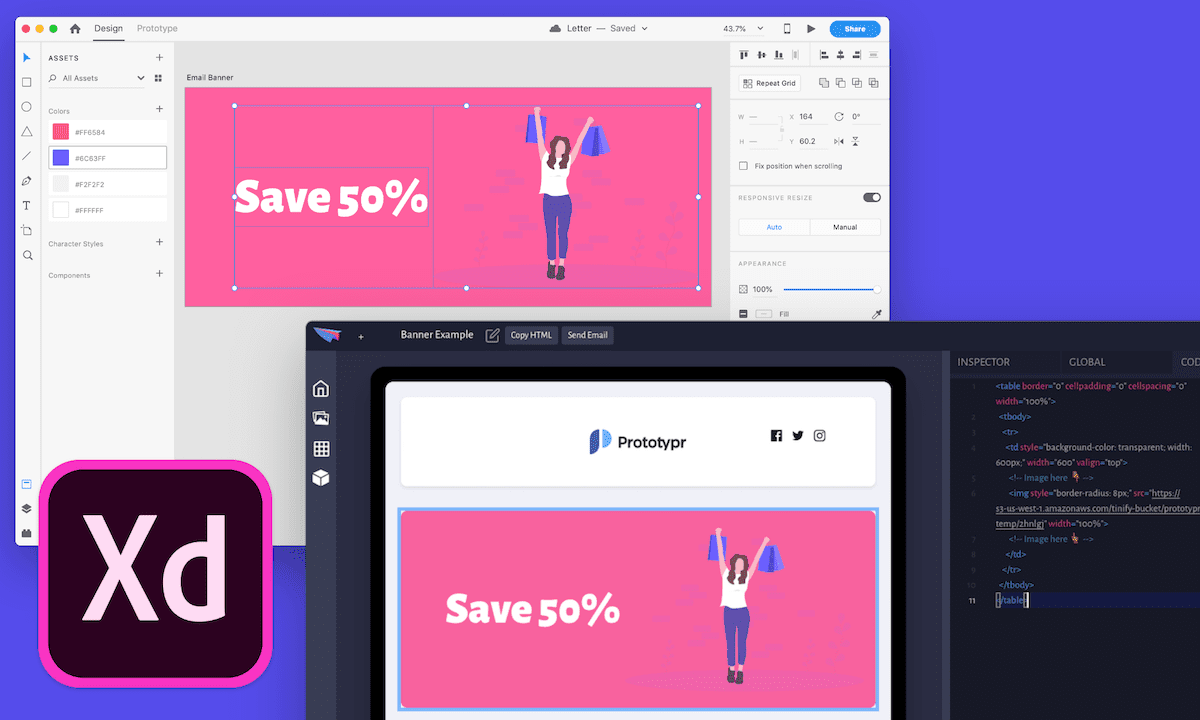
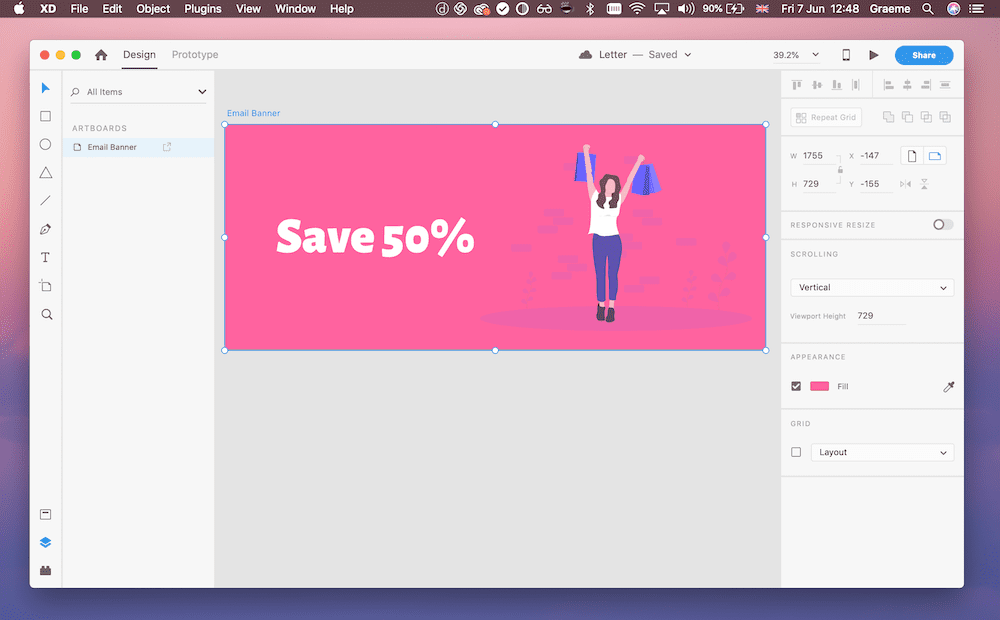
The first step we outlined to go from Artboard to our Letter app was to export a chosen Artboard as a single image, ideal to be used in email banners that don’t require many edits. Here’s an example banner component in XD:
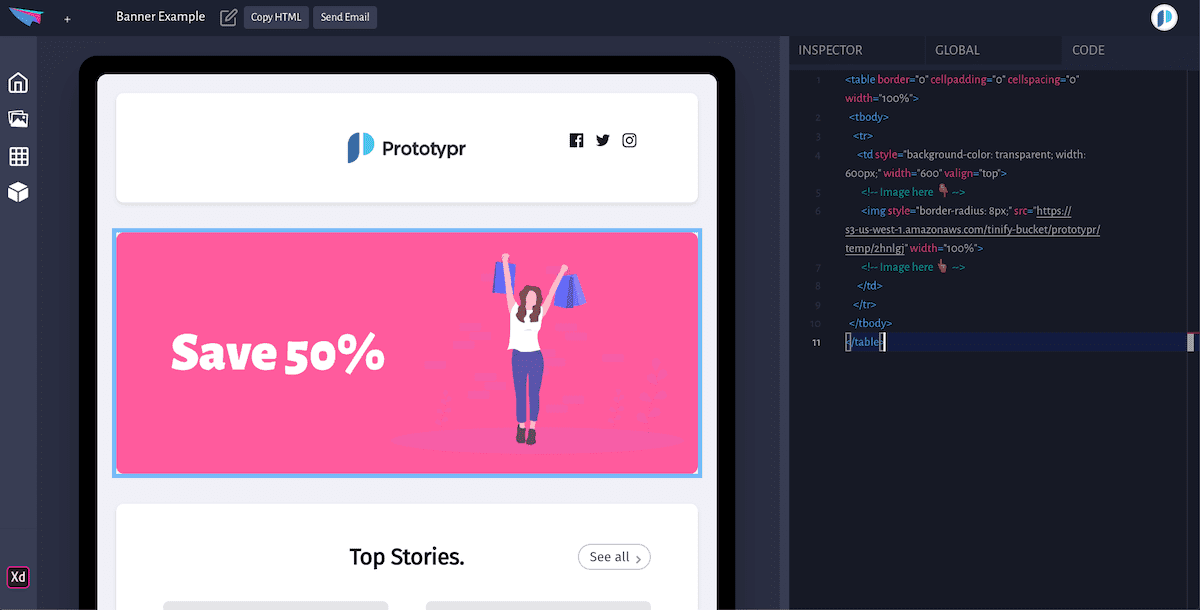
The exported image can be embedded within an HTML table typical of newsletters. The code generated would look like this:
See the Pen Email Banner Example by Graeme Fulton (@GraemeFulton) on CodePen.
XD Plugin API: Creating a Rendition
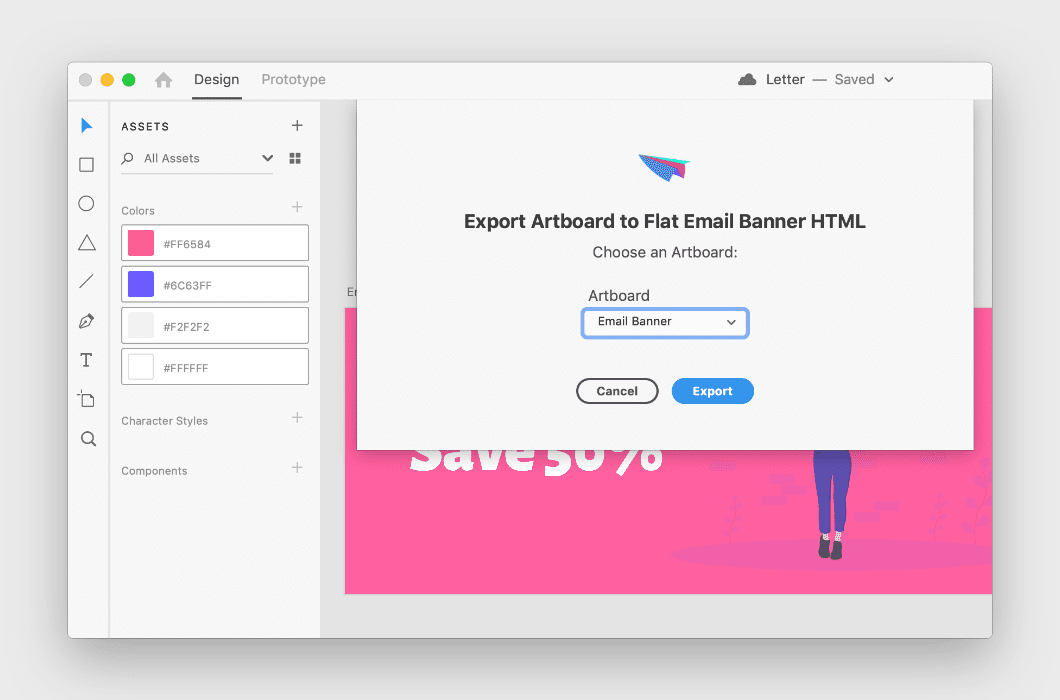
The first part of this was to flatten the Artboard to an image rendition, and save it to the user’s own computer. This is quite straight forward with the help of Adobe XD’s useful API documentation. They have an example that does exactly that: How to export a rendition.
To summarise, you can make use of XD’s fs module to carry out file operations such as saving images to folders. XD also comes with a function called createRenditions, which enables you to export a selected Artboard to an image format that you define by providing some renditionSettings:
        let renditionSettings = [{
            node: selection.items[0],
            outputFile: file,
            type: application.RenditionType.PNG,
            scale: 2
        }];
Uploading to AWS
Once the rendition has been saved (by rendition, I mean the image export), it’s time to upload it to the AWS cloud, or wherever you want. This part was tricky for me, as the XD API environment doesn’t come with the fileserver module I expected.
While it may feel like it, the XD plugin API environment is not a browser, nor is it Node.js. This means that you shouldn’t make assumptions about what APIs are available based on your experience in other JavaScript environments.
~ XD API Docs
That meant I couldn’t use fs.readFile within XD, and upload the image as outlined in this AWS S3 File Upload GitHub Gist I wanted to follow.
Using FormData to Read the Image
XD doesn’t have any equivalent to fs.readFile() , so after a couple hours of experimentation with the docs, I found that by using FormData(), it was possible to send the image to an API that can handle the upload process to AWS.
Here’s our code to do it, starting with what we used to export the image (without using the filepicker in Adobe’s demo):
Creating the Rendition
        //use Adobe's fs and make use of the temporary folder
        const tempFolder = await fs.getTemporaryFolder();

        //inside the temp folder, create the file
        const file = await tempFolder.createFile(`${randomString()}.png`);

        //provide the rendition settings
        let renditionSettings = [
            {
              node: selectedArtboard, // [1]
              outputFile: file, // [2]
              type: application.RenditionType.PNG, // [3]
              scale: 2 // [4]
            }
          ];
Once the rendition is created, upload it to AWS.
- We start by creating the formdata object
- Once the rendition is created, use formdata.append to add the data
- Then use Axios.post to send the formdata to an API. The image will be readable as a Buffer, which can be uploaded to AWS S3. This is shown next!
Upload Rendition with FormData
        //create the formdata object
        const formdata = new FormData();

        const renditionLocation = application
            .createRenditions(renditionSettings) // [1]
            .then(async results => {
                    //get the file location of the image
              const fileLocation = results[0].outputFile.nativePath;
              const message = `PNG rendition has been saved at ` + fileLocation;

                    //add the output file to the formdata
                    formdata.append('image',results[0].outputFile);

              return new Promise(function(resolve) {
              //Upload the form data with the image to an api
              Axios.post(`https://yourapiurl.com`, formdata, {
                headers: { 'Content-Type': 'multipart/form-data' },
              }).then(result => {
                    //there's no image returned
                    if (!result.data) {
                      console.log(result);
                      return false;
                    }
                    //there's an image returned, so update the UI
                    else {
                      console.log('image uploaded: '+result.data);

                      //replace the image
                      resolve(result.data);
                    }
                  })
                  .catch(error => {
                    // [3]
                    console.log(error);
                  });
              });
            })
Reading the image on a server
This is our API code sitting on an express.js server. Using multer, and the AWS sdk modules, you can upload the image sent to the API from XD into an S3 Bucket:
- Require aws-sdk and multer and set up a new S3 object with your credentials
- Create the memoryStorage instance from multer
- If you’ve used the same code as above,
req.files[0].bufferis all you need to upload your image to S3
Read Image Buffer and Upload to AWS S3
        var aws = require('aws-sdk')

        var multer = require('multer')
        var s3 = new aws.S3({service: 's3',
        accessKeyId: 'yourkey',
        secretAccessKey:'youraccesskey',
        region:'yourregion', })

        const storage = multer.memoryStorage({
            destination: function(req, file, callback) {
                callback(null, '');
            },
        });
        const multipleUpload = multer({ storage: storage }).array('image');

        app.post('/api/upload',multipleUpload, function(req, res){
                //get the image buffer from the file
              const imageBuffer = req.files[0].buffer;
            // make a random name
            var imgName = Math.random().toString(36).substring(7)

                var params = {
                    ACL: 'public-read',
                    Bucket: 'adobexd/arboards',
                    Key: imgName,
                    Body: imageBuffer,
                    ContentType:'image', //<-- this is what you need!

                };

                s3.upload(params, function (err, data) {
                    if (err) {
                        console.log('ERROR MSG: ', err);
                        res.status(500).send(err);
                    } else {
                        console.log('Successfully uploaded data');
                        console.log('https://s3-us-west-1.amazonaws.com/tinify-bucket/prototypr/temp/'+imgName)
                        res.send('https://s3-us-west-1.amazonaws.com/tinify-bucket/prototypr/temp/'+imgName)
                    }
            });
        });
After the image is uploaded, we send back the AWS link to XD. Within XD, code is generated with the hosted image that can be imported into Letter App. That's the first version of going from Artboard to Code:
Our next steps are to map text nodes to HTML so that text in the images can be edited inside Letter. Phillip Lee is working on this part, so if you have any questions give him a shout.
Helpful Links
Hopefully this has been useful for anyone facing the same problems. If you have any questions, you can let me know on Twitter. These are some useful resources I came across when working on this:
- XD Forum: Create renditions of all children of artboards on the document without using selection
- XD API Reference
- XD Plugin Samples on GitHub