The case for motion graphics
Modern digital interfaces frequently contain motion graphics for good reason. They make an interface come alive, finesse micro-interactions, and serve strategic purposes such as brand expression and accessibility. There is abundant research showing that visual communication is far more efficient and effective at communicating concepts than text or images alone.
Here is one example of motion graphics guiding the user through registering a hardware security key to use with their device.
Without animated hand gestures portrayed by motion graphics, it would be much more difficult for the user to discern where to insert the security key into their device and where to touch it to complete the registration. In other words, explanations without motion graphics would require substantially more text.
Everyone wants to inject motion graphics into their app or web product these days. Now, product teams can use easily motion graphics created by designers — without the need for developers to recreate the motion graphic in code.
When I joined a very small design team at Brave, I dove headfirst into the world of creating motion graphics for web, iOS, and Android. I created motion graphics of varying complexity, from explaining abstract concepts such as the entire value proposition of an app, to simple and direct feedback such as confirming a transaction. In this article, I’ll walkthrough each step in creating a motion graphic that works for all platforms and tips learned along the way.

Letter
About Lottie
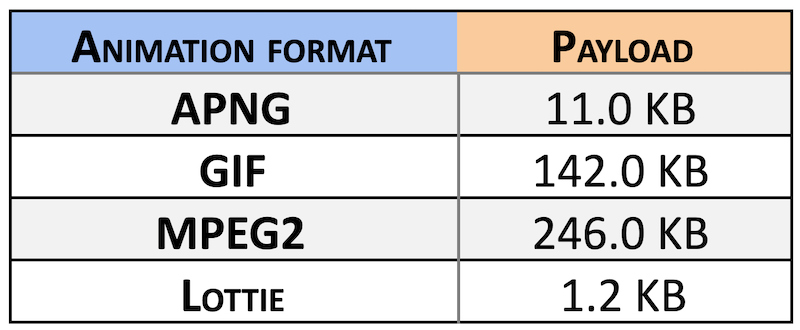
Let’s talk about formats. I’ll cut to the chase — do not use GIFs, unless you want your interface to look like a retro 90s site. GIFs are great for Slack messages and memes, not so great for high-quality, crisp, vibrant, and performant UI animations. GIFs are extremely outdated, 8-bit files that are restricted to 256 colors. They don’t support semi-transparency, have bulky file sizes, and worst of all — they do not scale well at all. Since GIFs are not vector-based, you can expect GIFs to look pixellated on most screens.
This is a chart comparing GIFs to other types of animation files. Comparatively, GIFs are way less performant than anything else you could use, with the exception of an actual video format — .MOV, .MP4, etc.
The type of motion graphic that I created for Brave is a Lottie animation. Lottie animations are JSON files that can be injected directly in code on all platforms — Android, iOS/MacOS, React Native, Web (HTML), and Windows. The developer no longer has to recreate in code a motion graphic that a designer handed off to achieve performant, vibrant, and scaleable motion graphics. Gone are the days of trying to match ease functions and opacity transitions by rewatching clips of micro-interactions that a designer prototyped. Simply inject the JSON file that the designer provided and voilà — your app now contains a motion graphic.
There are two ways to acquire Lottie animations for use in your app. One is to make it yourself, and the other is through LottieFiles marketplace.
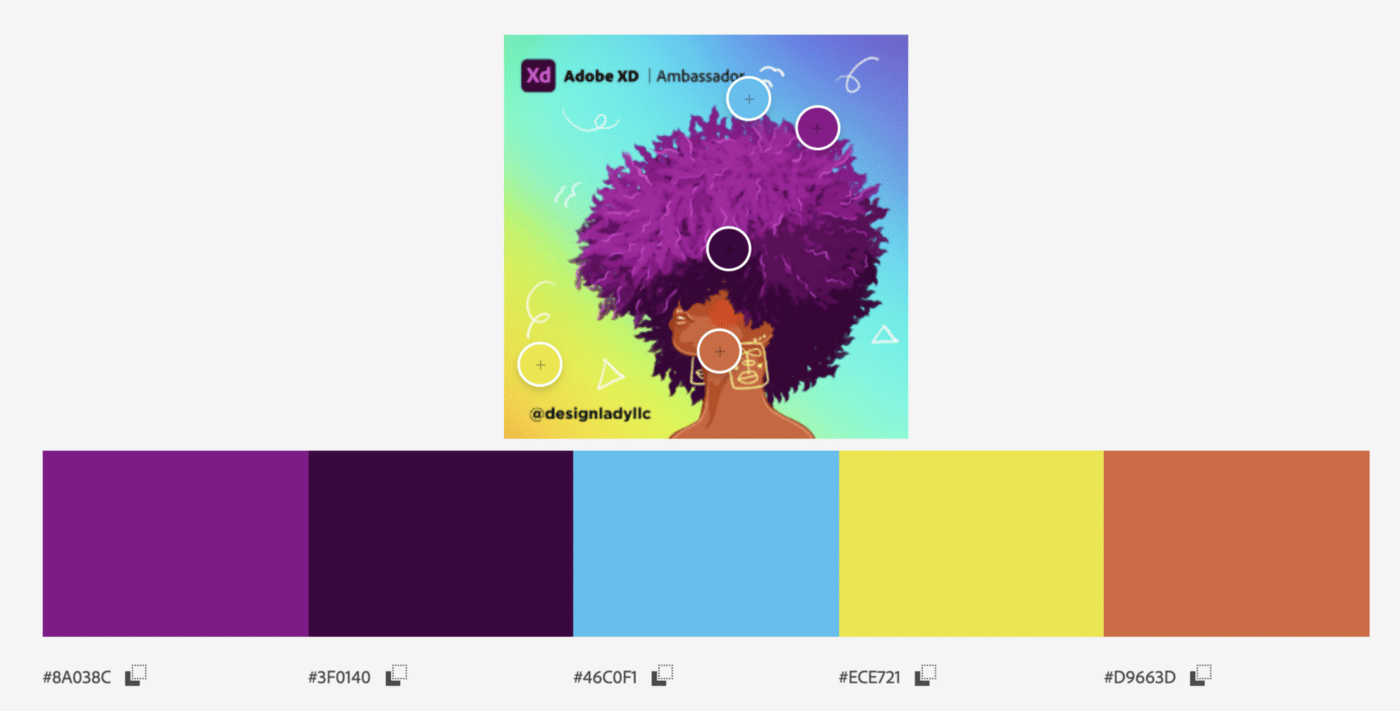
Similar to picking stock footage or photography, you can probably find a motion graphic that works for you if you just look long enough. Lottie animations can be purchased from the marketplace or used for free — as long as the license allows it. Check for the license at the bottom of each Lottie animation.
 Each Lottie animation specifies the usage license at the bottom of the preview
However, as anyone who’s looked for stock content before knows, stock content will rarely ever be as good as something custom created just for your specific brand, product, or feature. This is also backed up by research — according to a 2019 Venngage Marketing Survey:
In 2018, original, custom graphics drove 3.3X more engagement than stock photography.
For the most part, it’s better to create your own custom animations that are consistent with your company’s established illustration style and portrays fresh imagery in exactly the way you want.
Steps to create a Lottie file
1. Create your graphic assets
Depending on the complexity of your animation, you may want to storyboard out your desired animation beforehand. Sometimes I’ll sketch on paper first or go directly to my design software to start putting a sequence together.
Next, create your graphic elements using vector-based software such as Sketch, Figma, Adobe Illustrator, or Adobe XD. As you polish your graphic assets, keep in mind which pieces need to be animated separately from one another.
Before proceeding to the next step, simplify your graphic assets into as few layers as possible by creating compound shapes from shapes of the same color. This will not only help keep your After Effects composition more organized, but it will also make the motion graphic file size smaller.
 Flatten layers in your design software to keep yourself organized
2. Import your graphics to After Effects
The importing experience varies depending on which software you used to create your graphic assets.
Importing from Sketch or Figma
Graphic assets sitting in Sketch or Figma can be imported to After Effects through the AEUX plugin/extension, which is installed individually in each program. The download packages are available here.
To install the AUEX plugin for Sketch:
- Double-click to install AEUX.sketchplugin
- Access AEUX through the Plugins menu at the top
 AEUX plugin for Sketch
To install the AUEX plugin for Figma:
- This plugin is not yet available on in the Figma plugin library so installation requires a few manual steps. The AEUX has an installation guide specific to Figma here.
- Once installed, access AEUX in your page by right-clicking through Plugins>Development>AEUX.
 AEUX plugin for Figma
Next, you’ll need the After Effects AEUX extension to receive the graphic assets sent by the Sketch or Figma AEUX plugin.
To install the AEUX extension for After Effects:
- Download ZXP Installer
- Use ZXP Installer to install the AEUX.zxp
- Restart After Effects and access AEUX through Window> Extensions
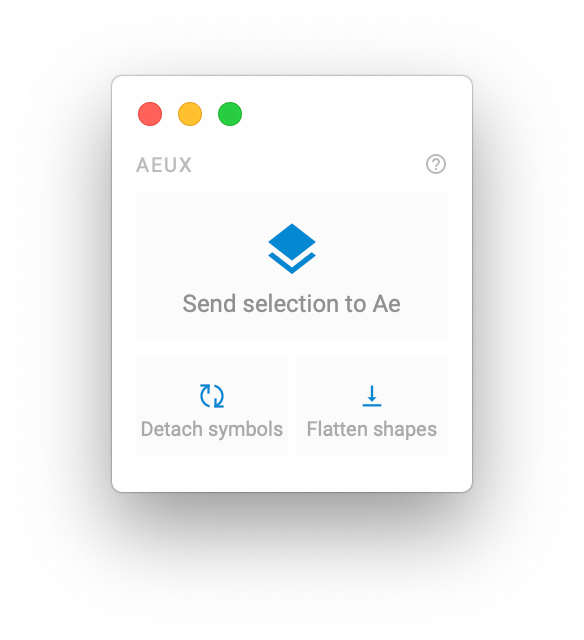
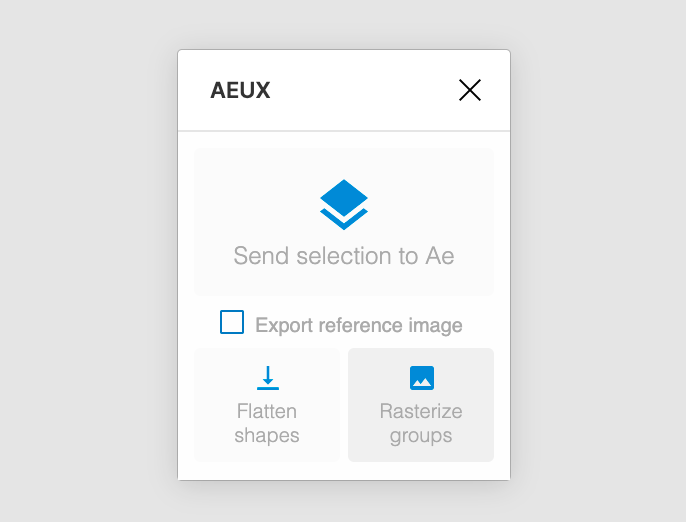
 AEUX extension for After Effects
Finally, make sure the AEUX plugin is open in Sketch or Figma, and the AEUX extension is open in After Effects. Return to Sketch or Figma, select your shapes then click “Send selection to Ae”.
Some tips on this process:
- I found it’s more effective to manually simplify shapes beforehand than to use the “Flatten shapes” function included in the AEUX plugin since I prefer more control over layer naming and what’s getting flattened into what.
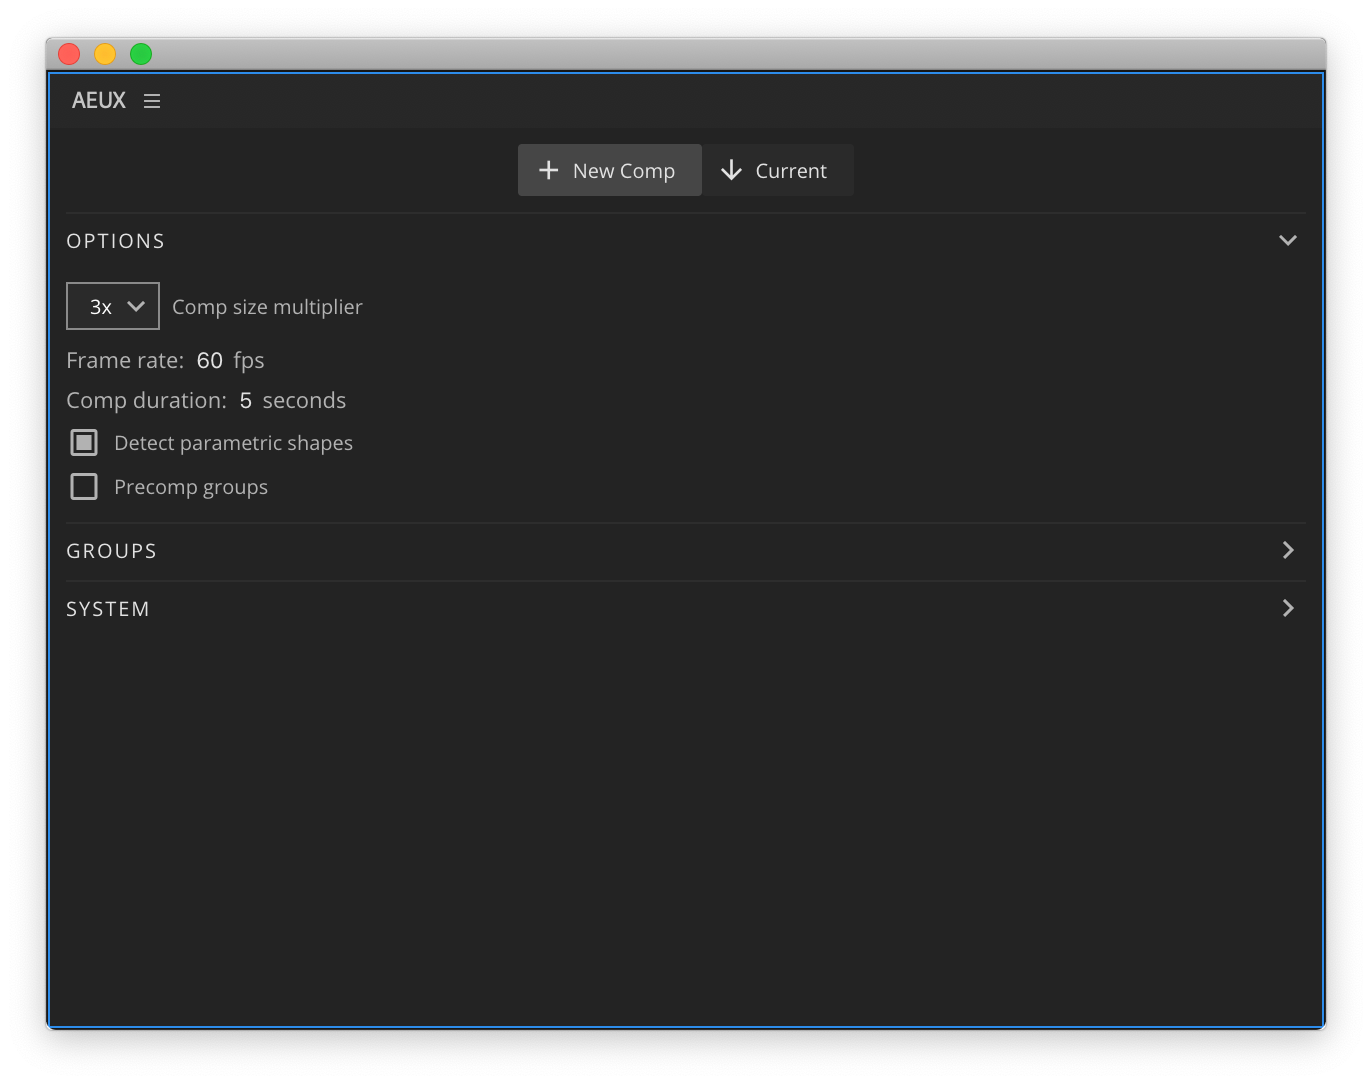
- Usually I leave the default options alone in the After Effects AEUX extension because I prefer to import my graphic assets into new comps instead of mucking up my current one.
Importing from Adobe Illustrator
Illustrator and After Effects are part of the Adobe suite, so importing works natively. Simply save your graphic assets as an Illustrator file, then drag the file into After Effects to import.
Importing from Adobe XD
Adobe XD and After Effects are part of the Adobe suite, so importing works natively. Simply select your shapes, then go to File > Export > After Effects.
Limitations of each import method
It’s worth mentioning here that some import experiences are better than others.
Figma’s AEUX plugin is newer, so it doesn’t have full support for every type of graphic. Expect these importing limitations:
- No gradients
- No compound shapes like words
- Masks can come out wonky
- Doesn’t handle importing several layers at once well
On the plus side, all my work is already in Figma so this is the one less step in the process. For graphic assets that I really need that the AEUX Figma plugin doesn’t transfer over, I’ll copy and paste the graphics into Sketch and use the Sketch AEUX plugin.
Even though importing from Adobe Illustrator works natively, I don’t prefer to use this to import my graphic assets because saving the graphic asset as an entire Illustrator file before being able to import into After Effects bloats my computer. Furthermore, it’s a pain to look for the Illustrator file to drag it into After Effects.
I haven’t heard of any limitations with the Adobe XD import experience, but cannot confirm this since my work is in Figma and not in Adobe XD. The reasons for why Figma is my design software of choice as opposed to Adobe XD is a topic for a whole other article.
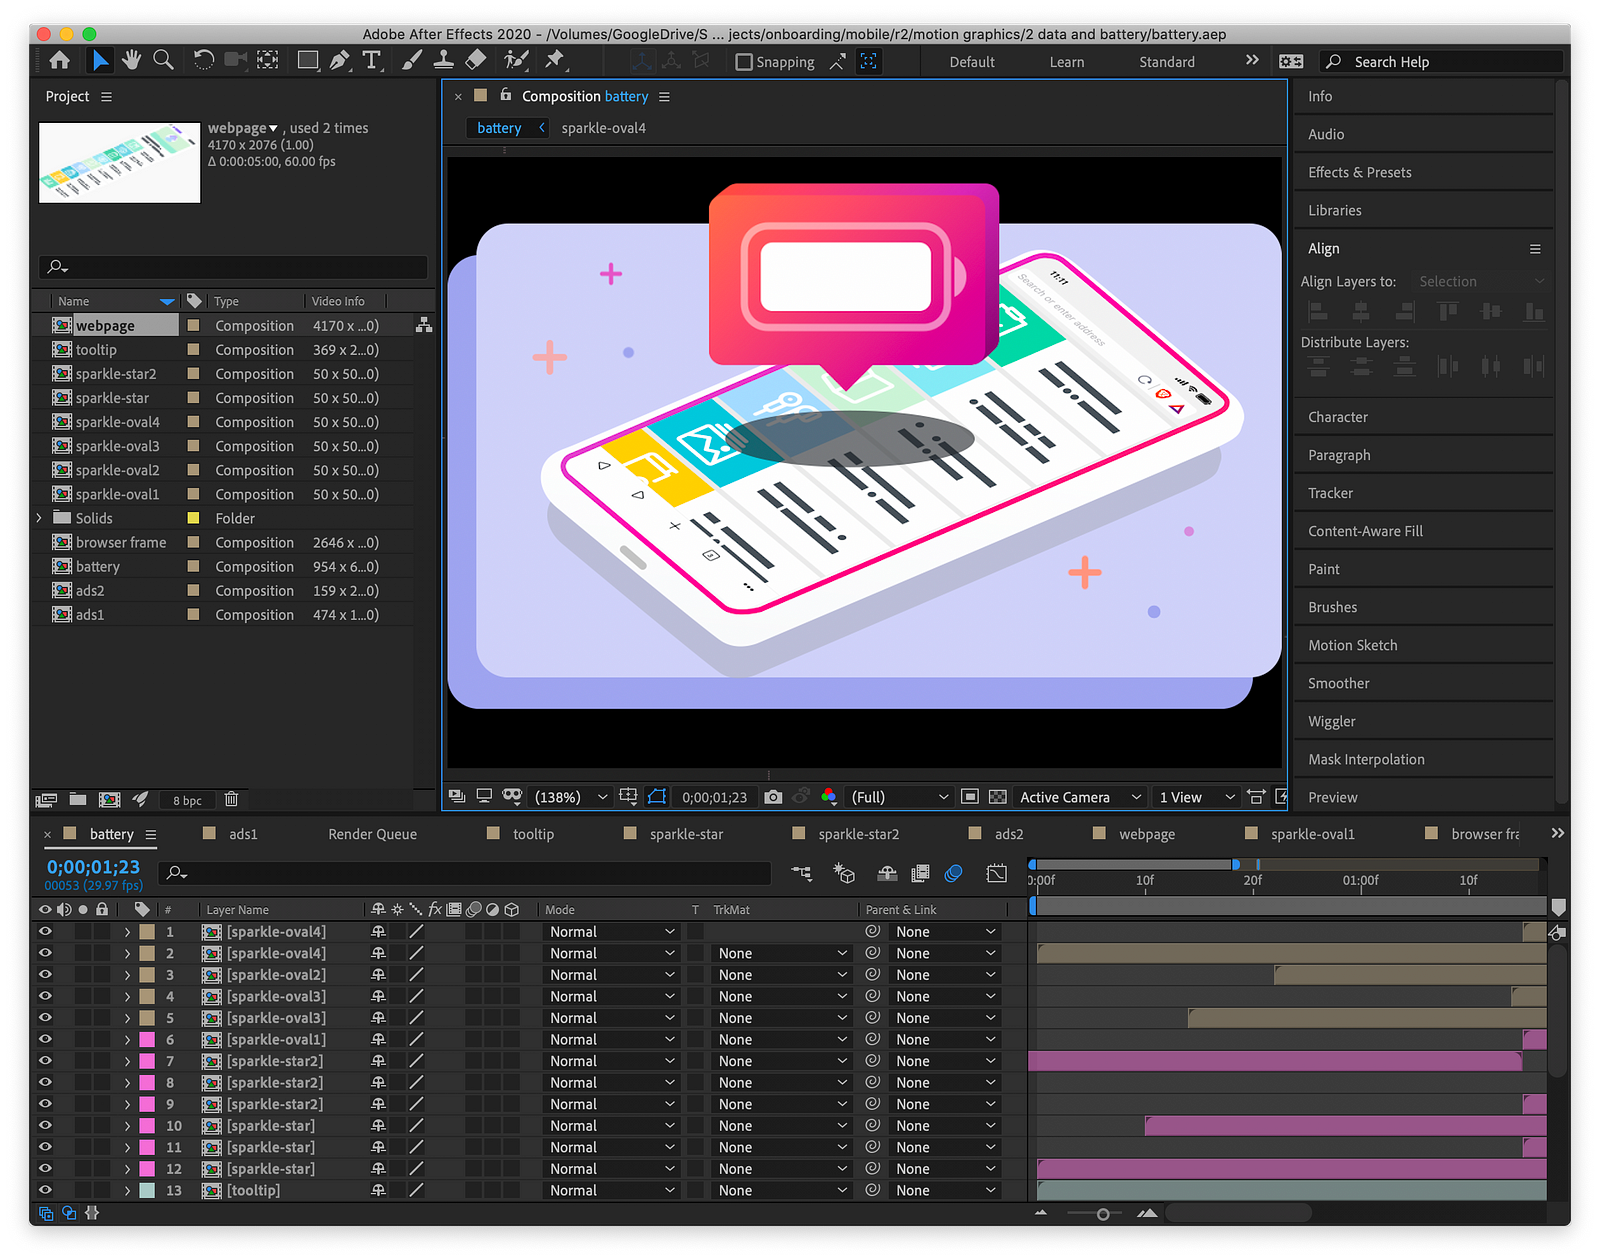
3. Create your motion graphic in After Effects
Now that you have all your graphic assets in After Effects, you can create your final motion graphic! There are a few limitations of Lottie rendering that will affect how you create your motion graphic in After Effects.
Some commonly used functions that work:
- Parenting
- Masks
- Track mattes
- Pre-comps
Some commonly used functions that don’t work:
- Images; anything that’s not vector-based
- Anything from the Effects & Presets panel (no glows, shadows, etc.)
Helpful actions during this process:
- Using pre-comps to independently update graphic assets and animations separate from your main comp
- Flattening shapes and objects to have as few layers as possible
- Using color coding to keep track of each layer
 Color coding layers helps keep you organized!
4. Export your motion graphic to a JSON file
Your final motion graphic in After Effects can be exported as a Lottie file via the LottieFiles extension or Bodymovin extension.
Export with the LottieFiles extension
Despite being an official extension provided directly from the LottieFiles website, I don’t use this because it’s kind of slow and much worse to use than the Bodymovin extension. The problems begin when you first open the extension panel in After Effects:
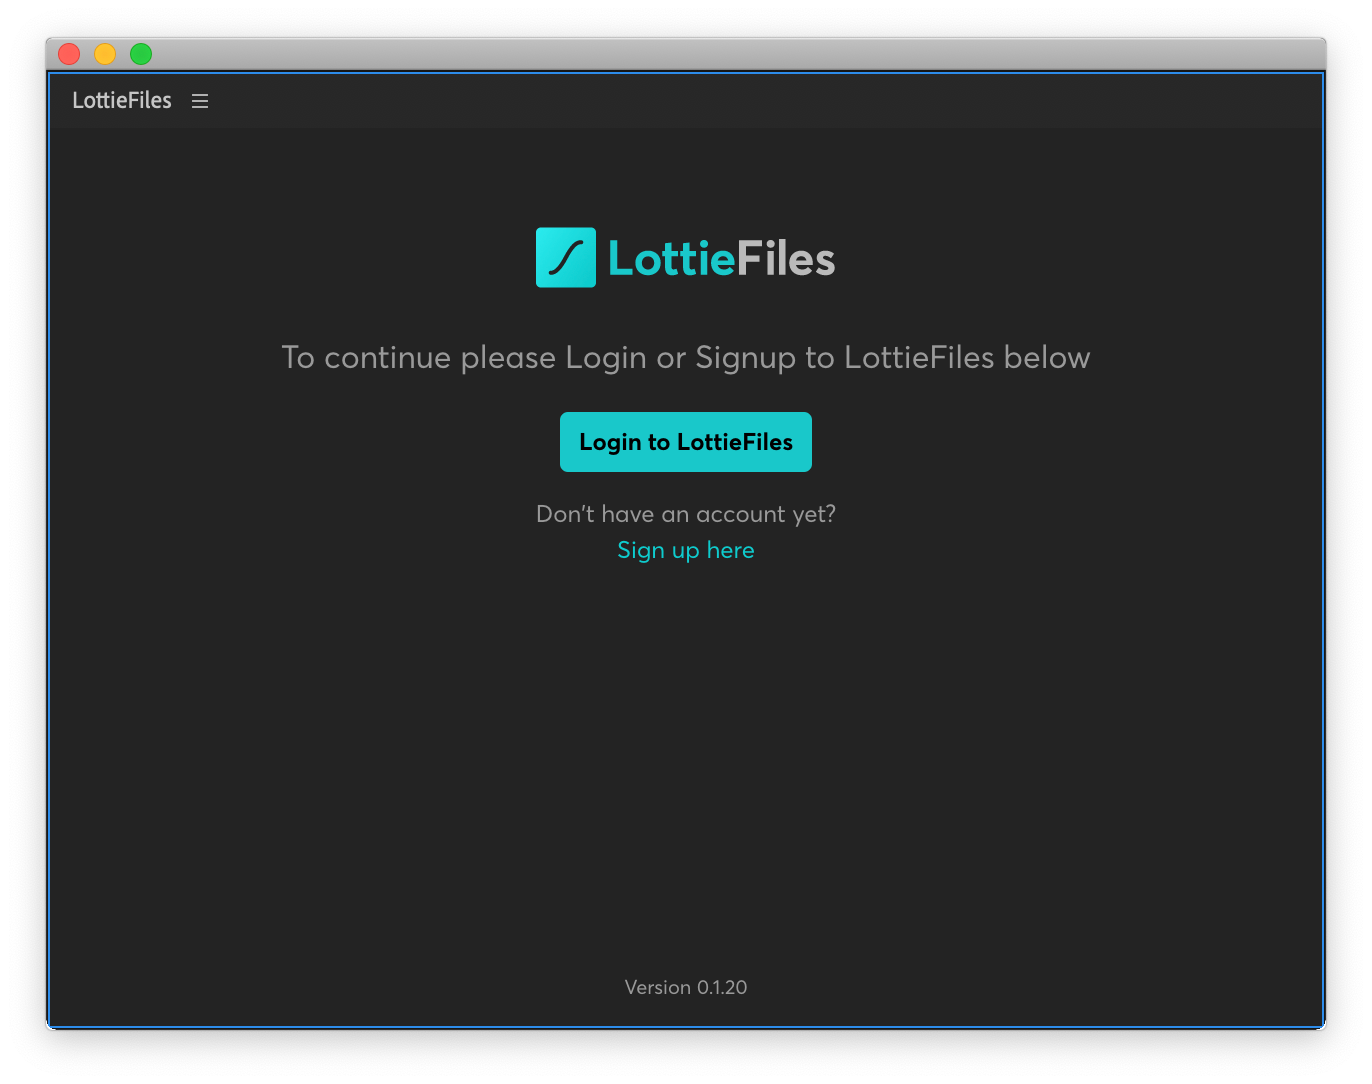
It’s a hassle to have to login to use this; clicking “Login to LottieFiles” will open the LottieFiles website in your browser with the prompt to log in. Once logged in, it looks like you can select and export a comp:
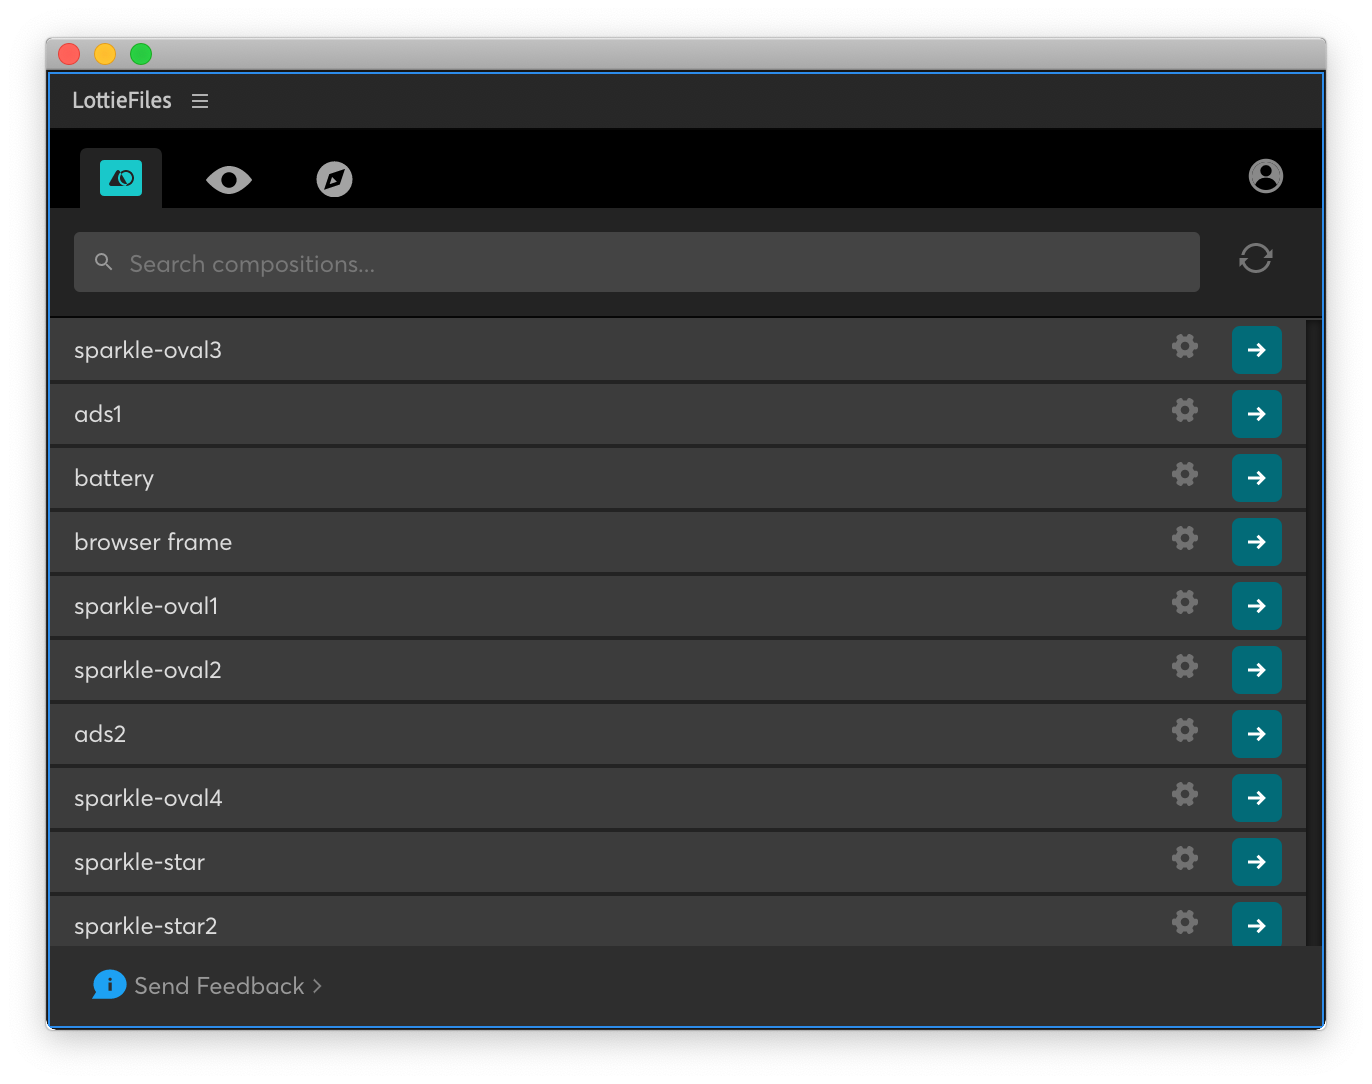
However, either clicking the settings icon or the right arrow to render a graphic just causes the extension panel to hang.
Clicking the settings icon:
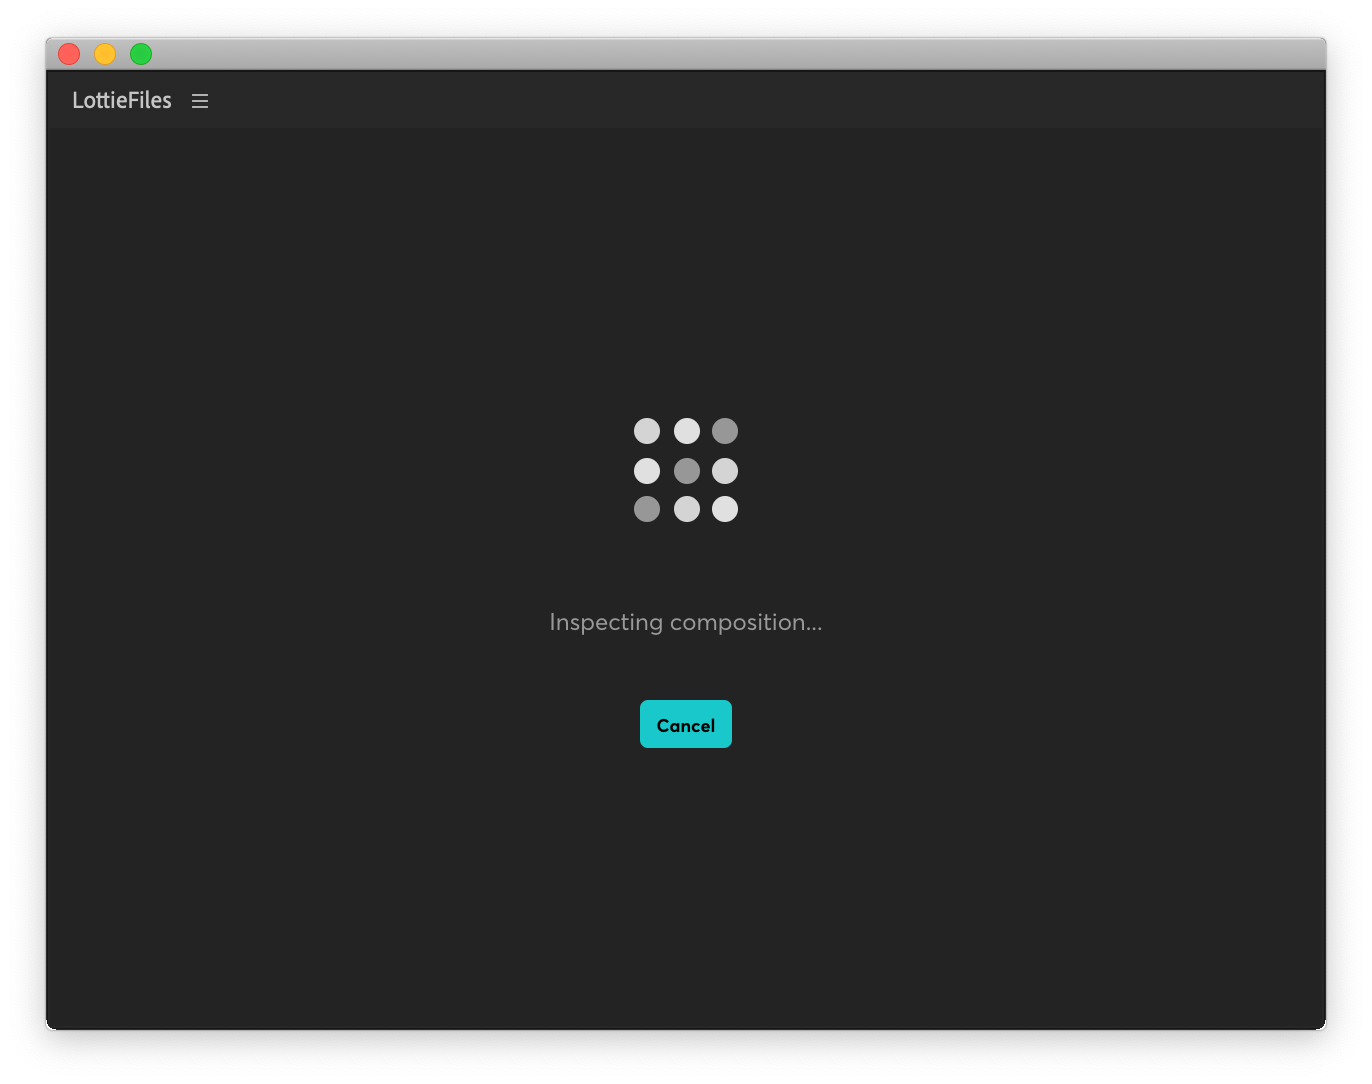 LottieFiles extension loading screen to show settings for a comp
Clicking the right arrow to render:
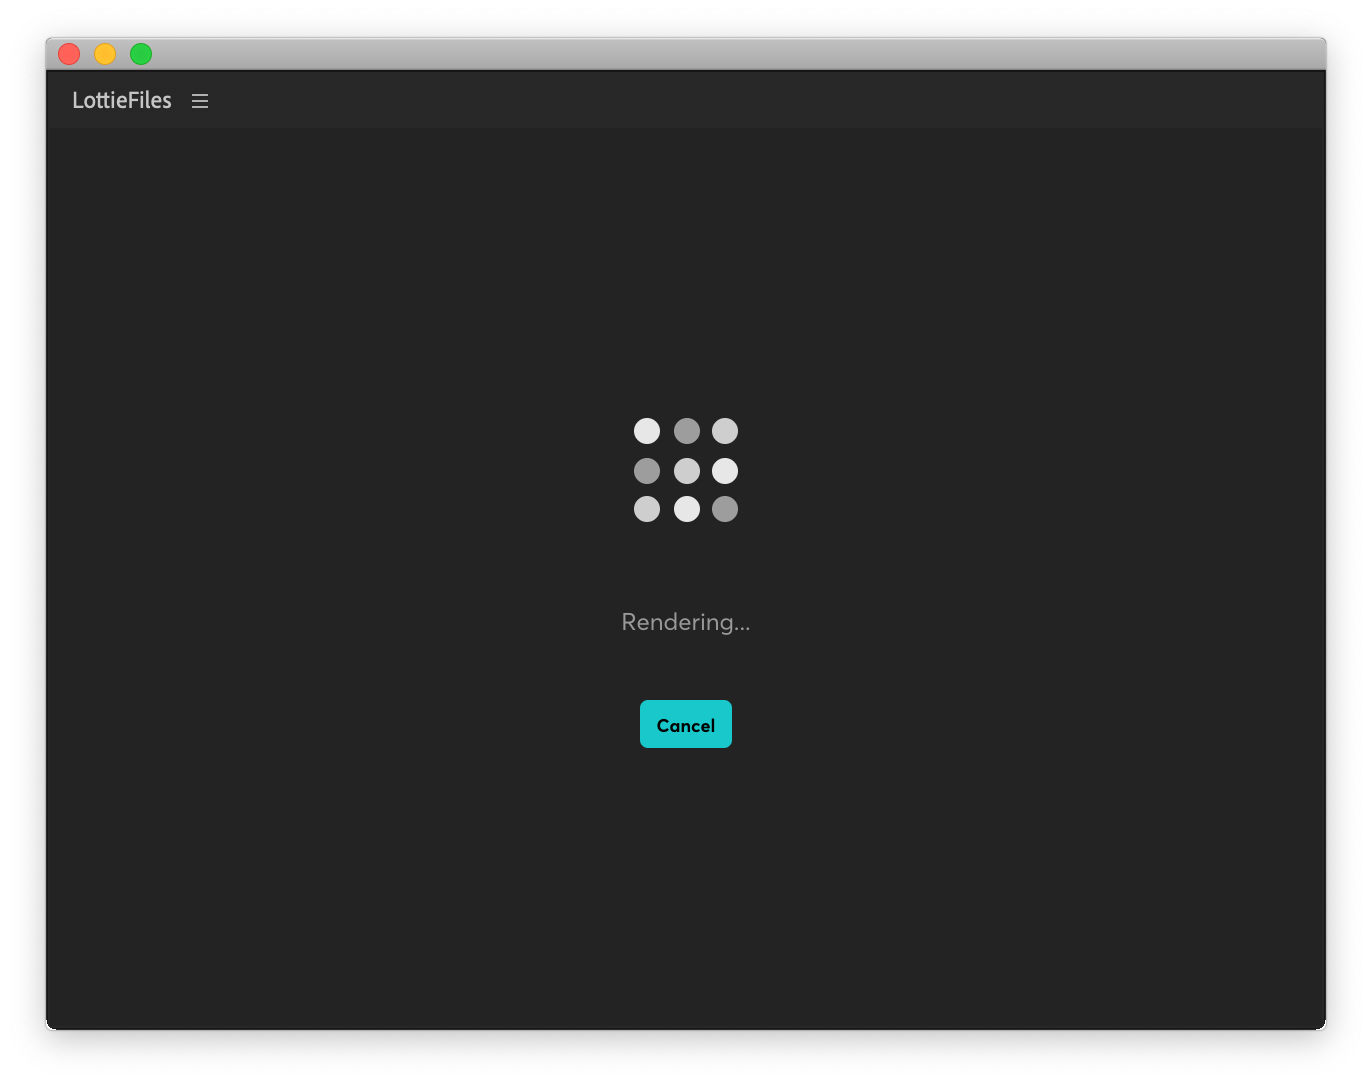 LottieFiles extension loading screen to render a comp
I have a vague memory of getting this to work once before, but more often than not this extension hangs interminably at the loading state. If you have better luck using this, please let me know. Otherwise I recommend using the second method outlined below to export your motion graphic.
Export with the Bodymovin extension
Opening the Bodymovin extension presents no fussy login screen — only your comps ready to be exported along with several available actions.
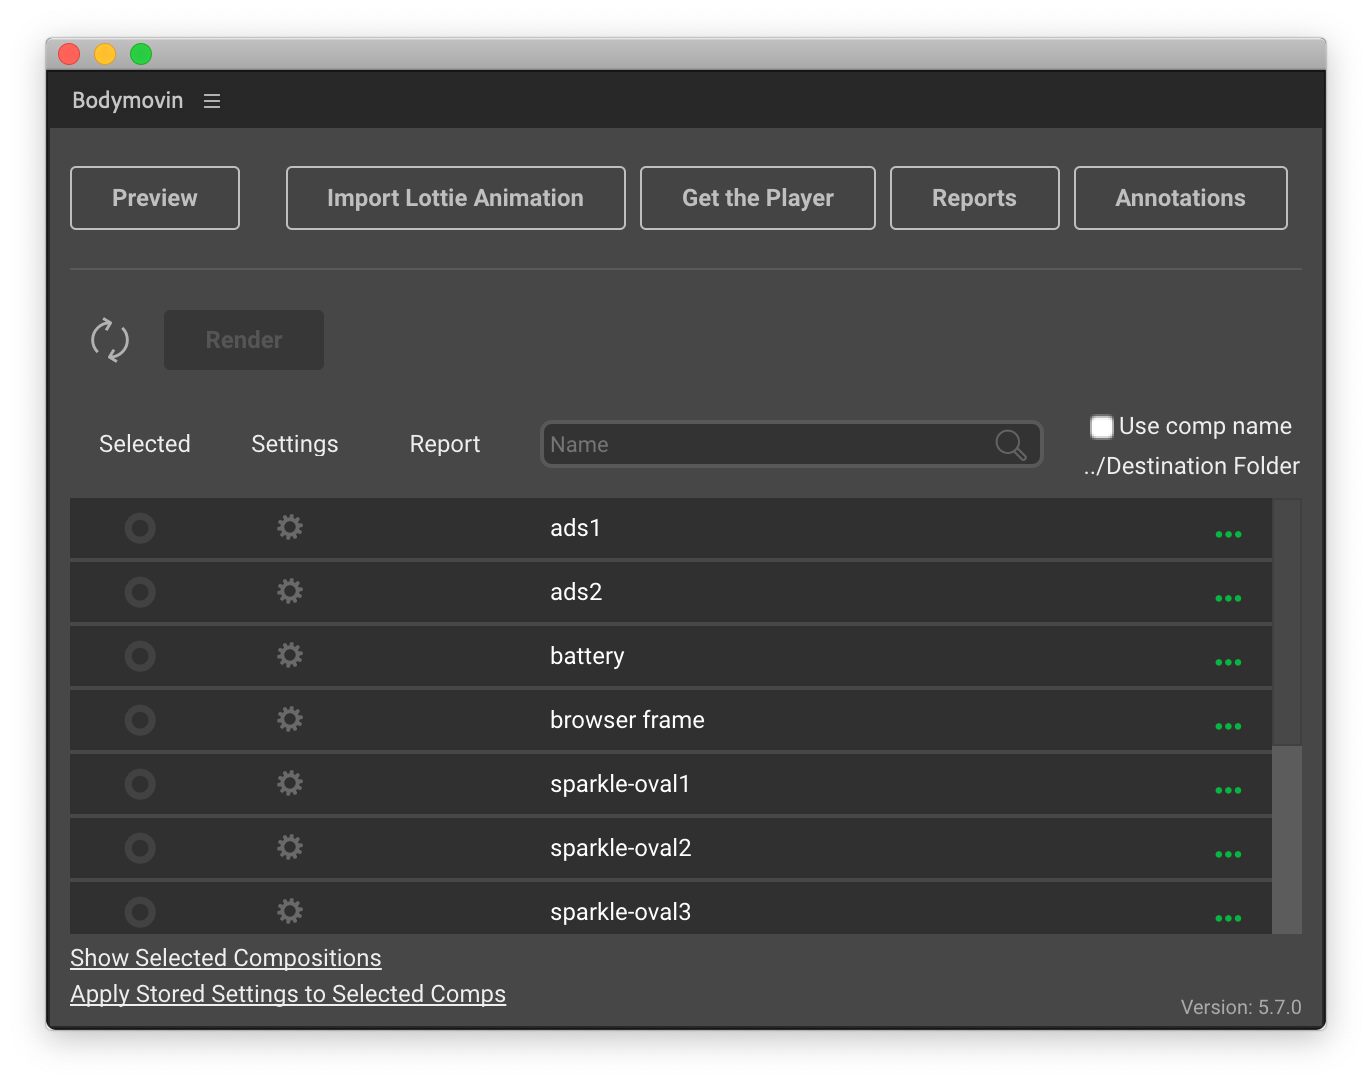 Bodymovin extension
Clicking the settings icon next to a specific comp shows a variety of export settings:
 Bodymovin extension settings for each comp
However, as far as I’ve found, you don’t need to touch settings for any platform — not even the “AVD” option to export an xml for Android’s animated vector drawable. iOS developers will need Lottie files that use PDF files or images with x2 and x3 prefixes; this should already be checked by default under “Rasterized assets settings (jpg, png)”.
Select the composition you want to export and specify the file location:
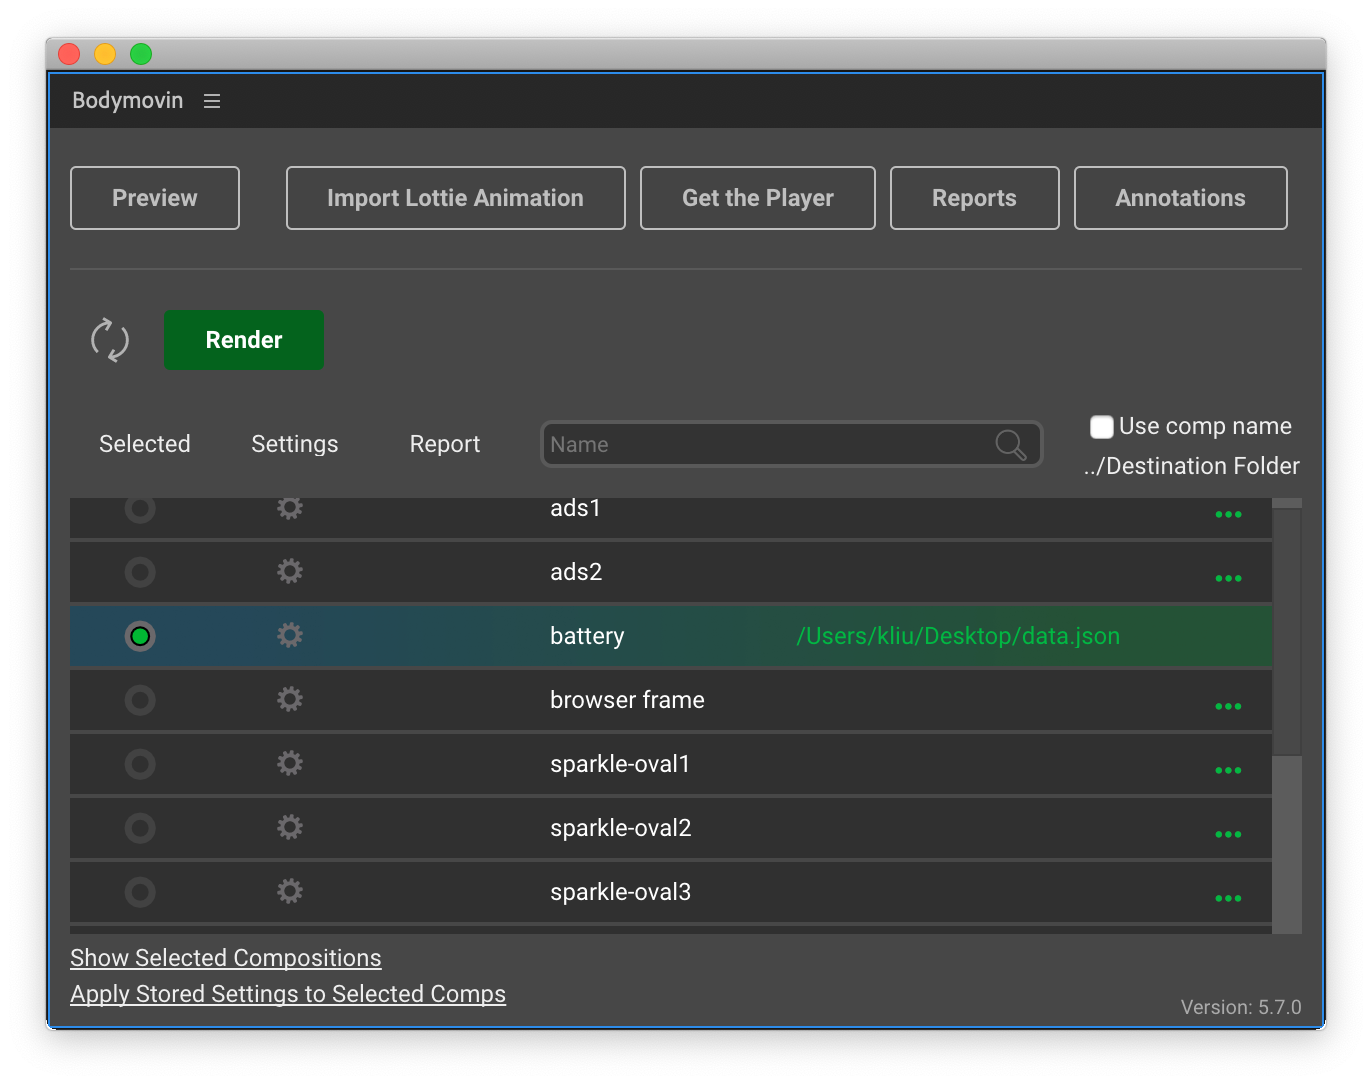 Bodymovin extension allows you to specify a save location
Click the big green “Render” button:
 Bodymovin extension rendering JSON file
When rendering is complete, you’ll see the JSON file at the save location you specified.
5. Test the JSON file
Test your JSON file to make sure it works correctly on the intended platform before handing it off to developers so issues can be fixed before they make it into the app or product.
Test your JSON file for web
- Login or create an account on LottieFiles.com.
- Drag and drop your JSON file to preview your animation.
 LottieFiles animation preview
Test your JSON file for native apps
- Download the Android or iOS LottieFiles native app.
- Drag and drop your JSON file on the web to preview your animation.
- Scan the QR code from the preview with the LottieFiles native app on your phone.
If something doesn’t look right, it may be because you used an After Effects function that isn’t supported by the Lottie animation library. Check again:
- Are you using any gradients or special effects?
- Are your layers are flat as possible?
The Lottie Editor also allows you to make adjustments to your motion graphic after the fact.
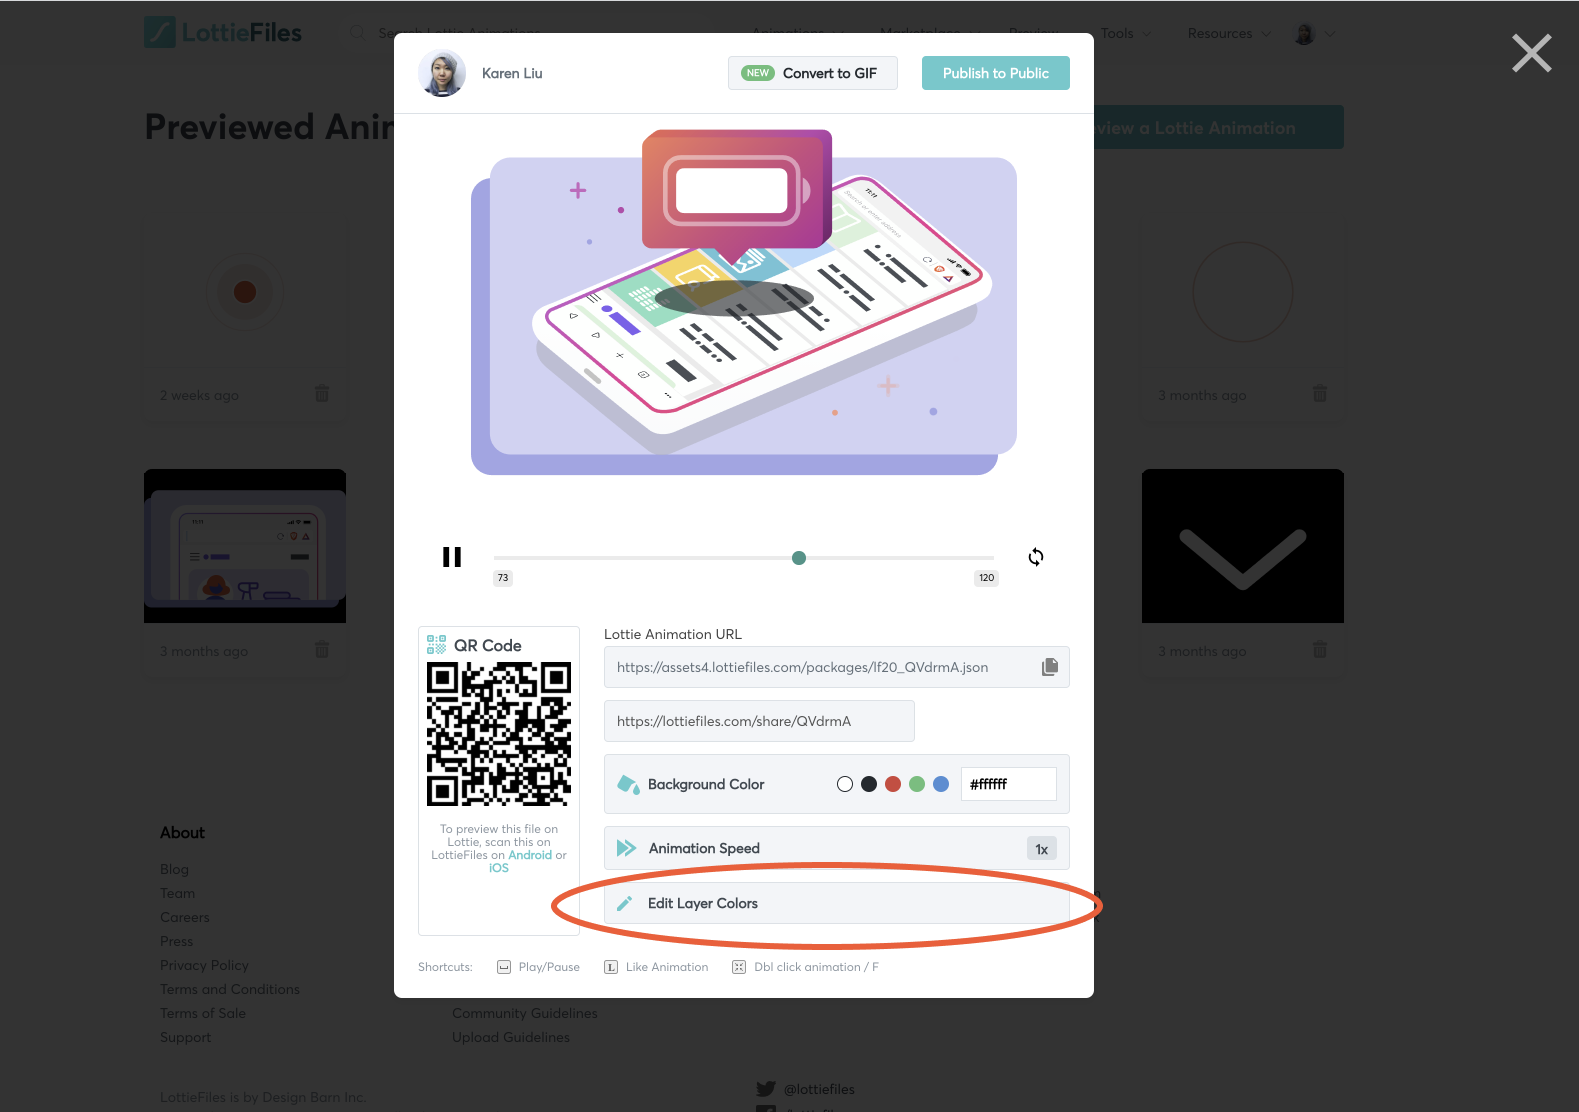 “Edit Layer Colors” in the LottieFiles animation preview opens the Lottie Editor
Click on “Edit Layer Colors” to go to Lottie Editor and adjust parameters such as duration, frame rate, background color, playback speed, and even replace grouped colors. Your edits will be saved as a separate Lottie file.
 Lottie Editor
6. Hand off to devs
Finally, it’s time to hand off your motion graphic to the developers for implementation in your app or product. The only thing you need to give to the developers is the Lottie Animation URL from the web preview.
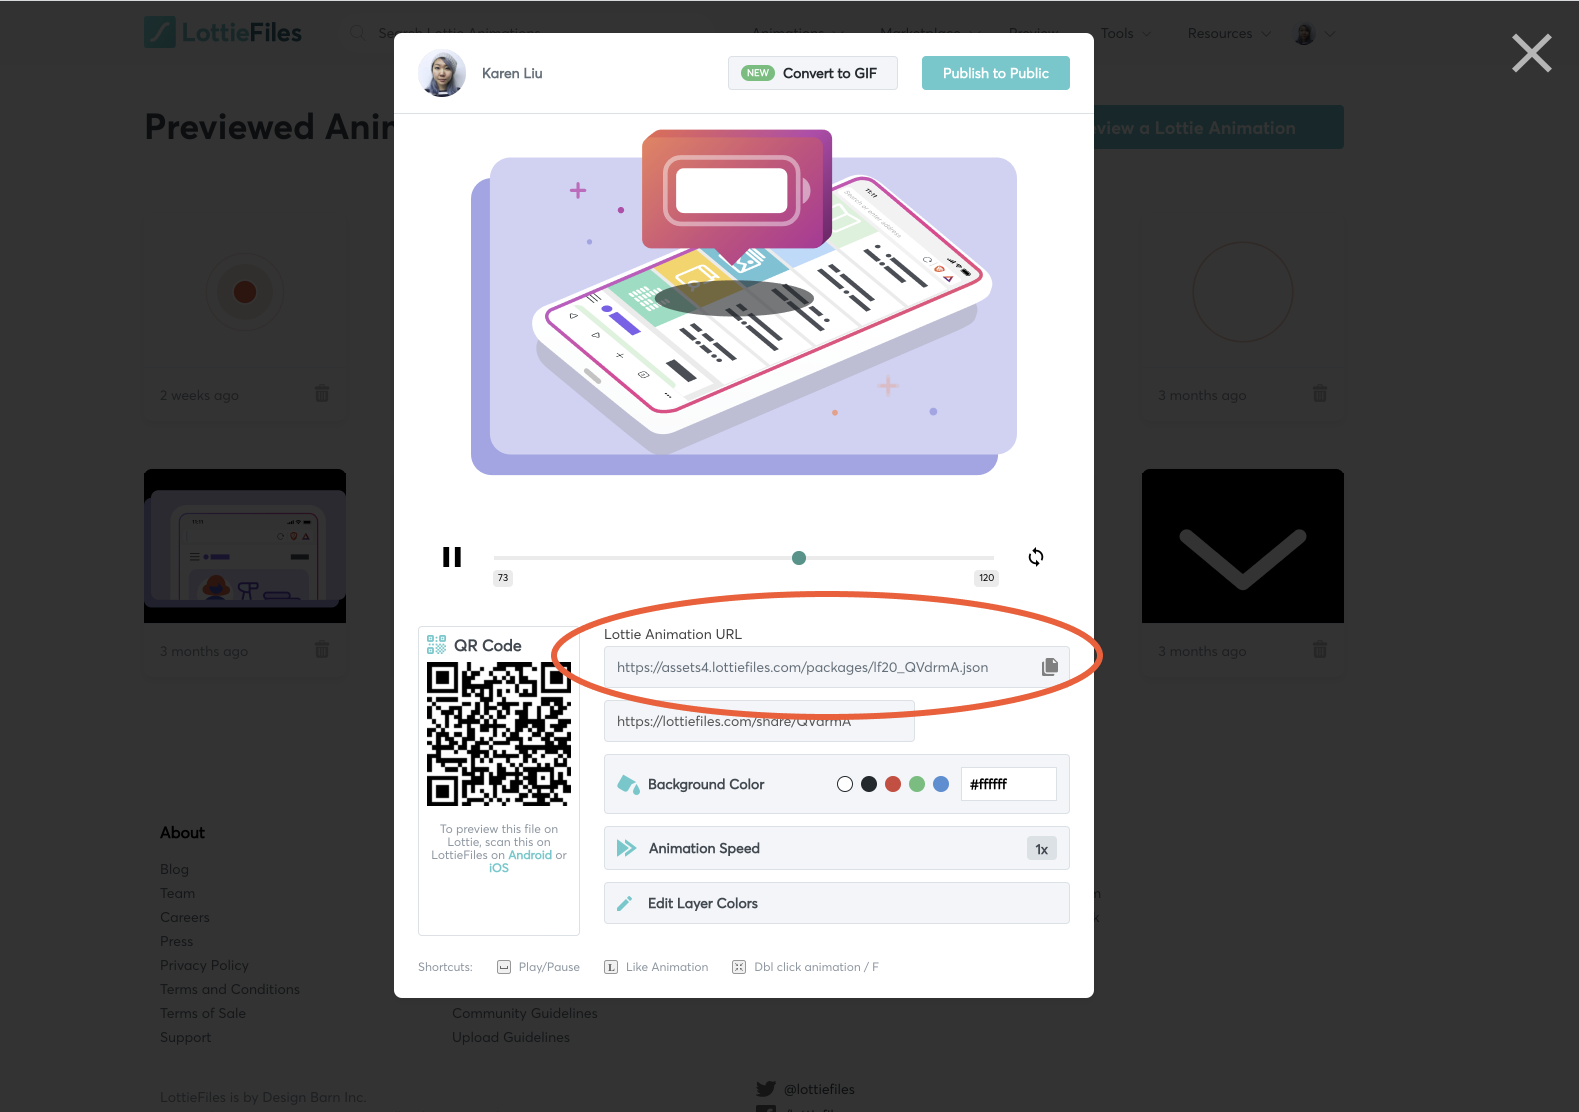 Lottie Animation URL from web preview
If you’re working with a developer who isn’t familiar with Lottie, direct them to the Lottie documentation which explains how they can implement a Lottie file in each platform. The documentation is useful not just for developers but also for designers who want to dig a little deeper into Lottie animation attributes that can be changed with code. Some that are really useful for having a developer adjust during implementation are:
- Adjusting the background color
- Adjusting the speed
- Setting loop = true/false if you want your motion graphic to only play once
- Adjust the size
A benefit of testing beforehand and providing documentation is that minimal back-and-forth is required between you and your developer to get the perfect Lottie implementation. And that’s it — you’re done creating a cross-platform motion graphic without a single line of code!
 Lottie animations implemented in Android app