Interactive components have just launched in Figma (in beta)! This feature has been highly anticipated since being announced last year at the official Figma conference, Config Europe 2020.
Interactive components allow you to quickly and easily create reusable prototpye interactions, without having to link up tons of frames. Whenever you hadd an instance of an interactive component to your design, the interaction is set up and ready to go.
This allows you to prototype faster, and make prototypes that are closer to the real thing, helping you gain more valuable insights when testing designs.
Here’s an example of a prototype built with them:
The list items and button hover are all done with interactive components, meaning that this whole prototype exists in a single frame! No more messy ‘noodle soup’ that comes from wiring up every permutation of a frame.
Here’s how to use them.
Step 0: Sign up for the beta
Interactive components is currently in a limited beta. If you want early access, and to contribute feedback to improve the feature, you can sign up here. The caveat is that prototypes may not be as performant as you’d expect, although you can toggle the feature for individual files.
The beta is open to all Figma users, regardless of team or plan.
Step 1: Set up variants
Interactive components are an extension of variants. So you first need to create a ‘component set’ with variants. If you’ve not started using variants, read more about them here.
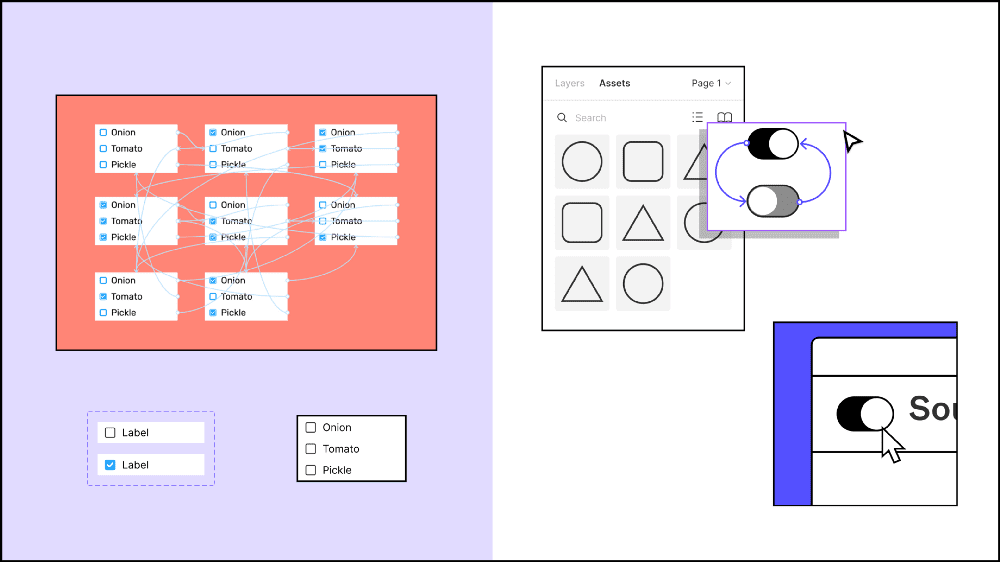
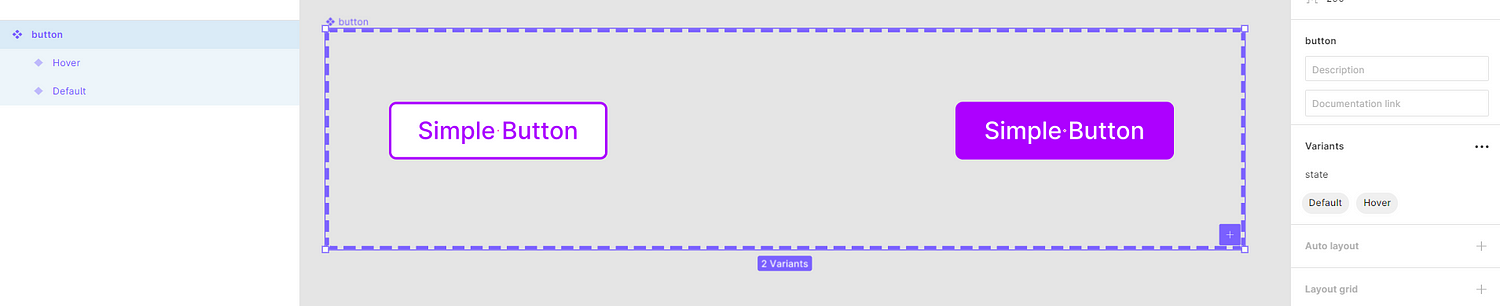
Here’s an example of a button component set. Notice that there there are two variants, that have the property state as default and hover respectively. (You can see this both in the layers panel on the left, and the variants menu on the right.)
Step 2: Add a connection between variants
Creating an interactive component is as simple as adding a prototype connection between variants. You do this in the normal way: at the top right, switch from Design mode to Prototype mode, and drag a connection between the variants.
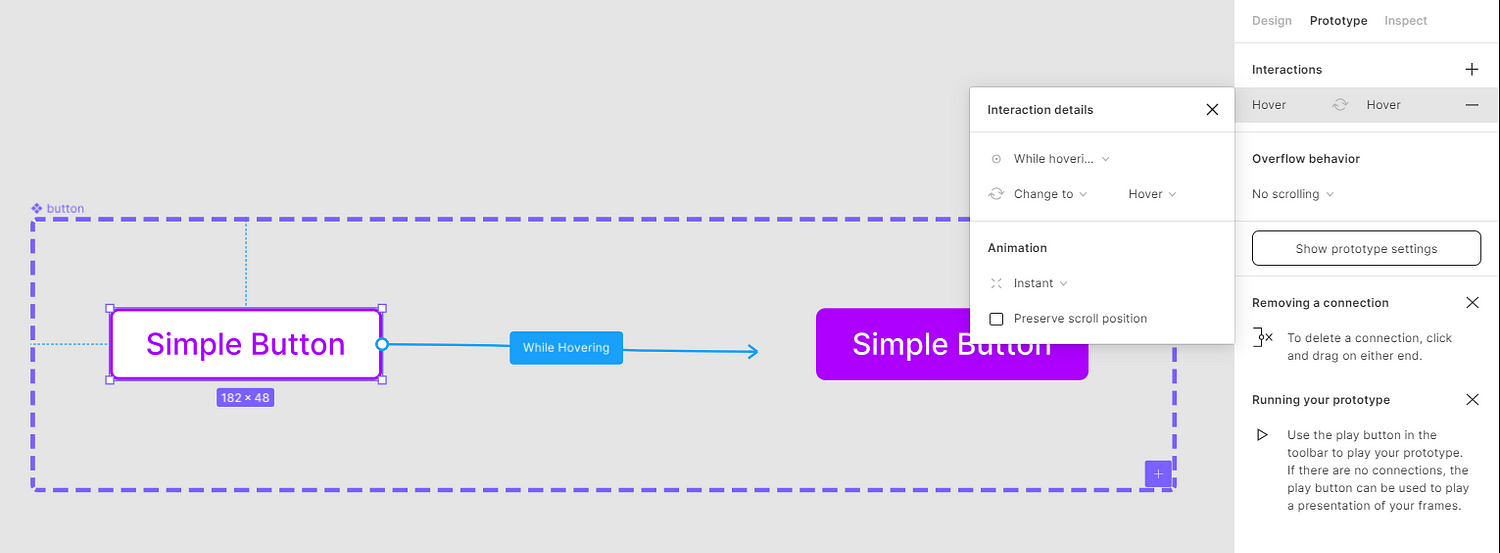
Make sure the trigger is set to Hover, and the action is set to Change to. In the interaction details, you can also add animation properties, for example to control easing.
Step 3: Use the component in your designs
That’s it! You’ve made an interactive component.
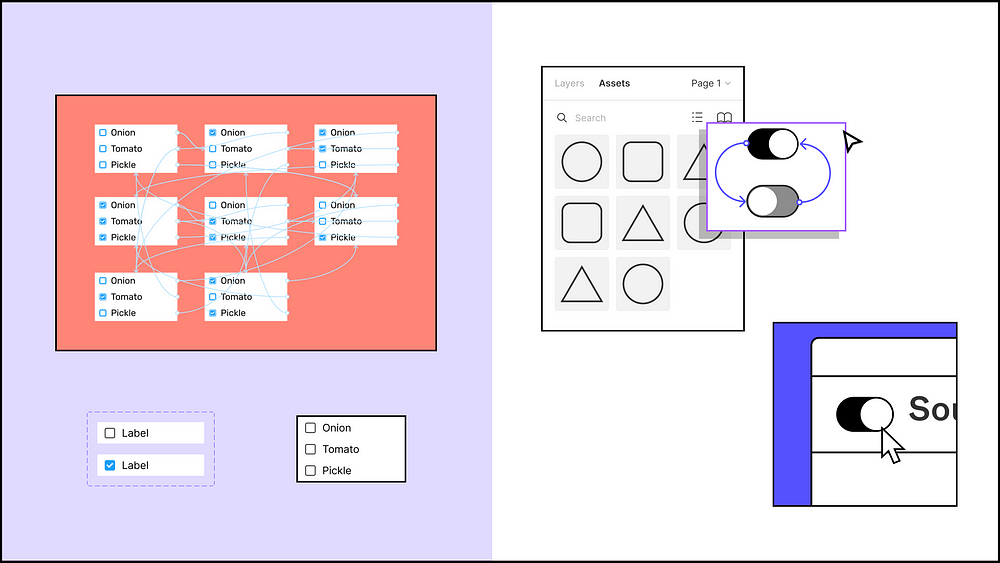
Now, when you come to use this button component, the component interaction will come with it. In the below screenshot, take a look at the top right. Whenever you’re in prototype mode, you’ll see the variant interaction already listed.
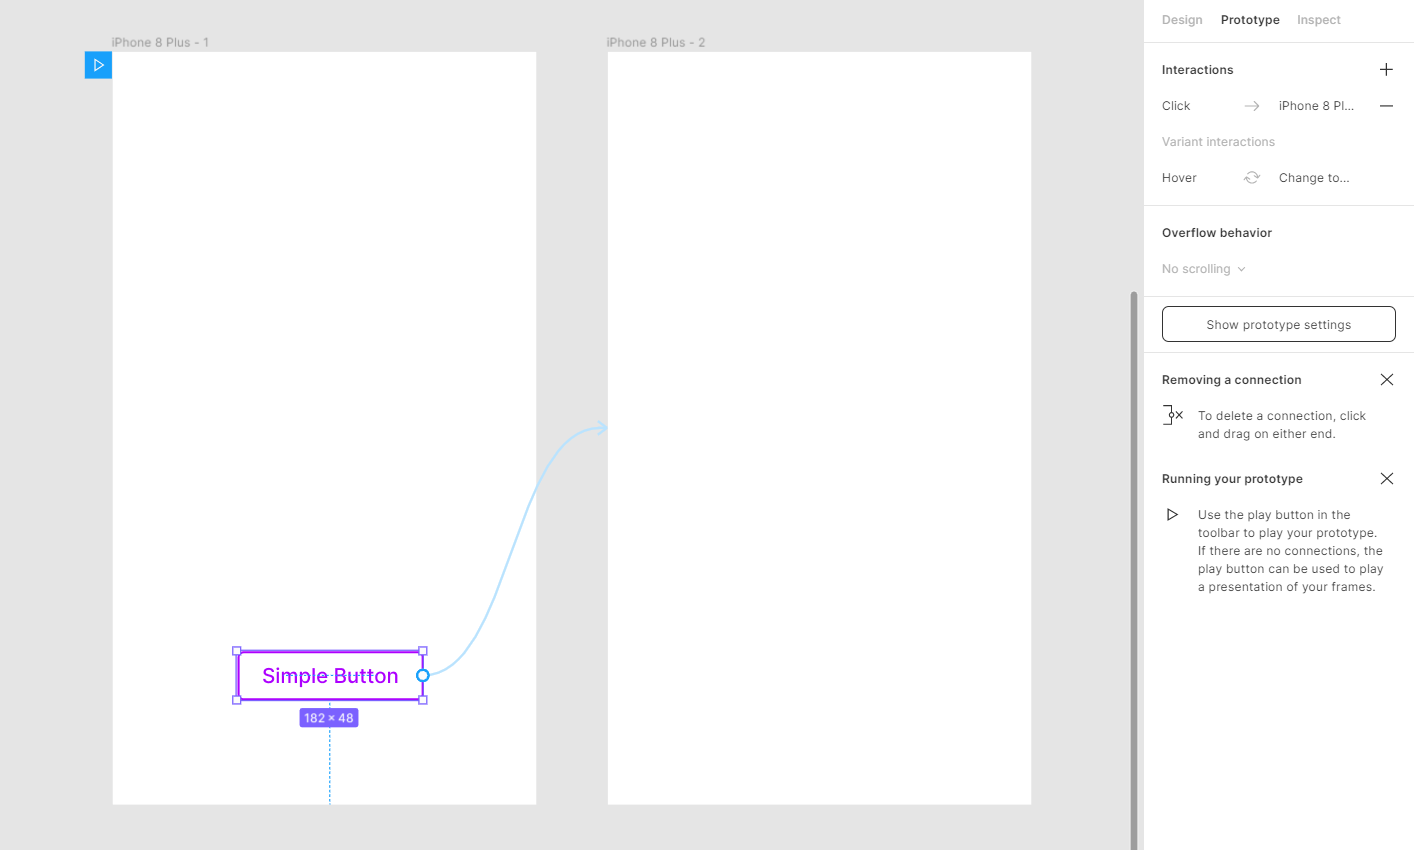
You can add more prototype connections as usual. The interactions you set up on the variants themselves will now also be applied whenever you use the component.
Next steps
Component interactions aren’t just useful for checkboxes, switches, and button states. Think about them like components: whenever you re-use an element in a design, it’s good practice to make them into a component, to prevent unwanted changes and keep your design files well-organised. You can now do the same thing whenever you want to re-use an interaction.
For example, if you have a help overlay modal that always opens up when you press a button, you can make that part of your component for that button, in your component library, instead of having it as frame on your main canvas.
Further reading
Before you start adding interactive components, I highly recommend working through this short tutorial file. As well as showing you how to set up interactive components, it has some incredible examples to get your imagination fired up about what’s now possible.
As always, the official Figma documentation is fabulous, and the Figma support team are always able to help if you have issues. Remember, this feature is still in beta, so there may still be bugs — though in my experience, it’s working as expected already.

 Buy me a coffee