[ProtoBites Part 4: ProtoPie]
The next steps for the Moon animations are very similar to the Sun. Why don’t you try and work out how to do the Moon’s animations? Or if you don’t fancy doing that, feel free to follow along with my steps.
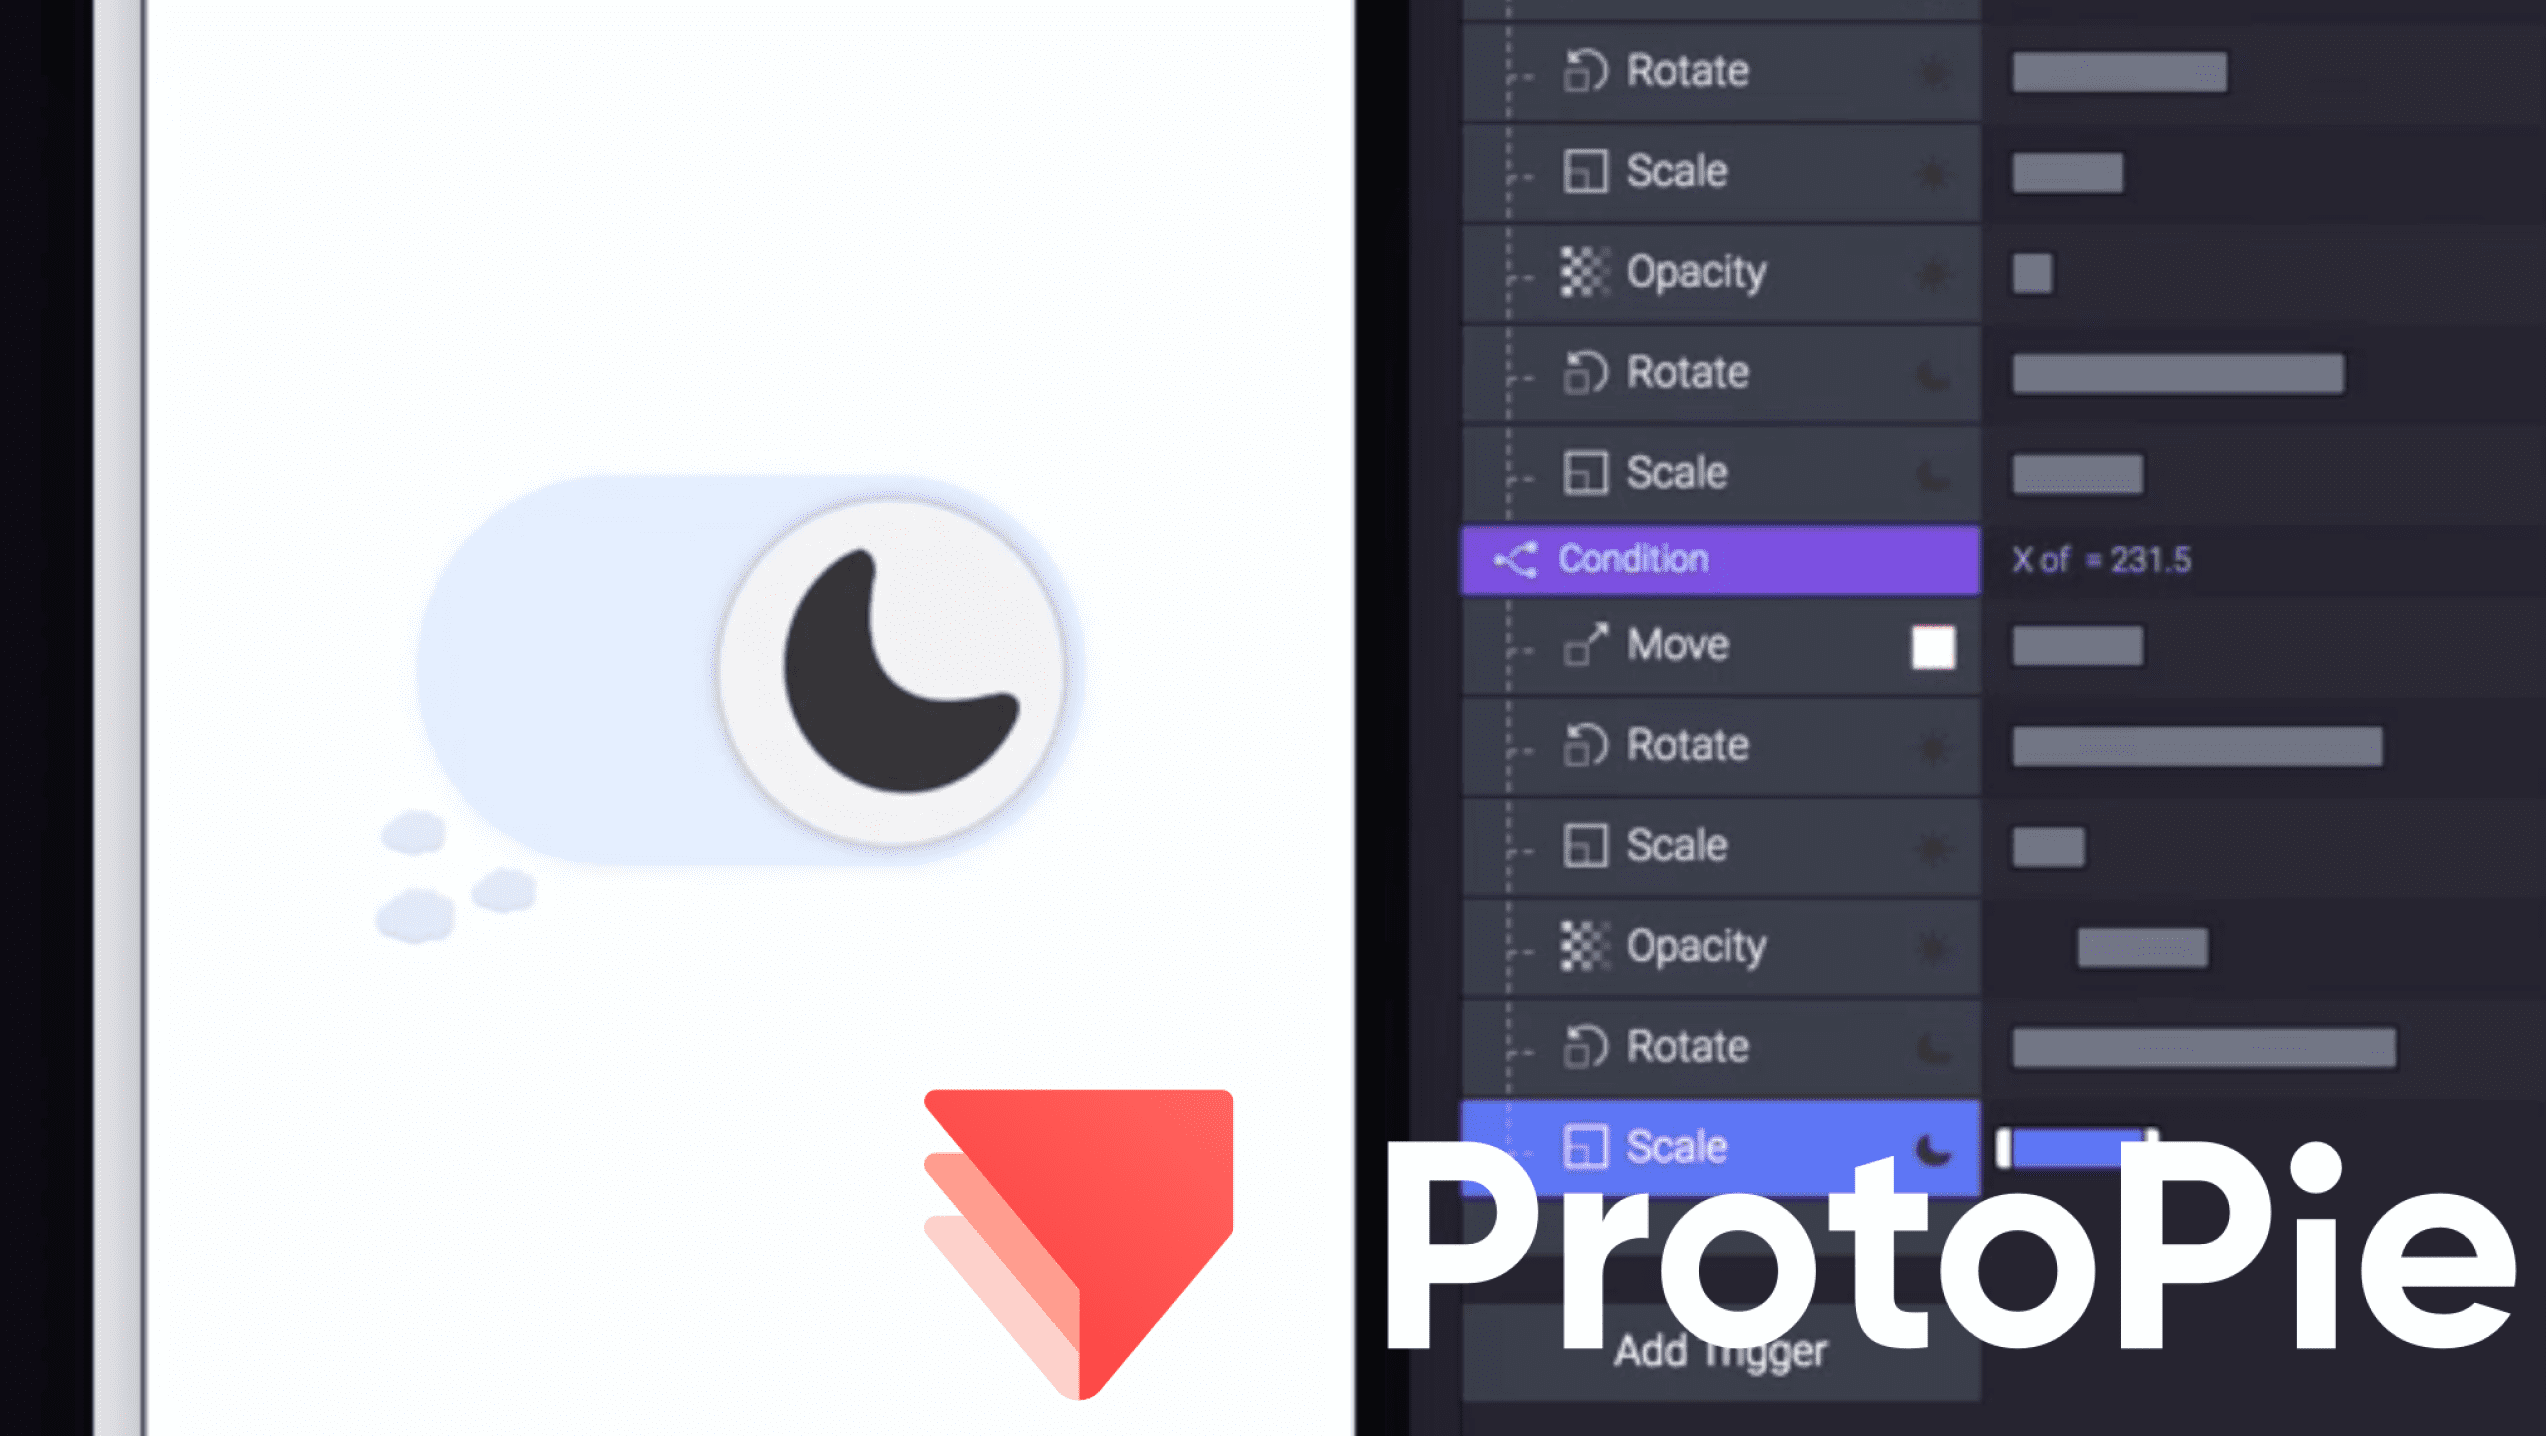
Rotation 🌝
1. Select the Moon (luna) and add the ‘Rotate’ condition to conditions 1, and set the ‘Rotate By’ to -180.
2. We want our Moon to have the same Cubic Bezier effect when it reaches the right-hand side of the switch. Change the ‘Easing’ to Cubic Bezier and enter the values from left to right on the boxes below: 0.18, 0.89, 0.32 and 1.29. Change the duration to 0.51.
3. Underneath conditions 2, add a new ‘Rotate’ condition and set the ‘Rotate By’ to 180. The duration of the reverse is 0.59.
As you can see now, we are finally getting to see the transition of our Sun to Moon. It is starting to look very slick. All we need to do now is change the scaling and opacity of the Moon.

Scaling 🌚
In this step, we will change the scale of the Moon as we did with the Sun. This is the first time that you will see the Moon at full scale!
1. Ensuring the Moon is selected, add the ‘Scale’ condition to conditions 1.
2. Change the size drop-down box to ‘Scale By’ and set the height and width to 60. Add the ‘Scale’ condition to conditions 2.
3. Like the previous steps, change the size drop-down box to ‘Scale By’. This time we want the Moon to decrease in size so set the width and height to -60.
We have finally created the illusion that the Sun spins into the Moon and the Moon spins into the Sun. It is a simple effect but adds distinctiveness to our toggle.
Opacity 🌜🌛
The final step in the Moon animations, we are going to change the opacity of the Moon and complete the morphing illusions.
1. Select the Moon (luna) and add the ‘Opacity’ condition to conditions 1. Then, set the opacity to 100. In this step, we are changing the Moon from being invisible to being visible.
3. Make sure the duration is around 0.24, and then under conditions 2, add the ‘Opacity’ condition and set the opacity to 0.
5. Alter the duration to 0.15 and add a start delay of 0.22. We require the start delay for the same reasons we used a start delay in the Sun section.
That’s it! You have completed this part of the tutorial. As you can see, creating interesting micro-interactions is about building up the small details first. A small detail should never take over the whole interaction. Adding layers of details is what makes your apps unique!
Next time, we’ll start by adding colour transitions.
Thanks to ProtoPie for sponsoring this ProtoBites series.
Download the final demo file from the ProtoPie cloud and try it out.