 (
( (
( (
( (
( (
(Build Design Systems With Penpot Components
Jul 21, 2:15 AM
Penpot's new component system for building scalable design systems, emphasizing designer-developer collaboration.
smashingmagazine.com

Framer – Medium | Framer Team
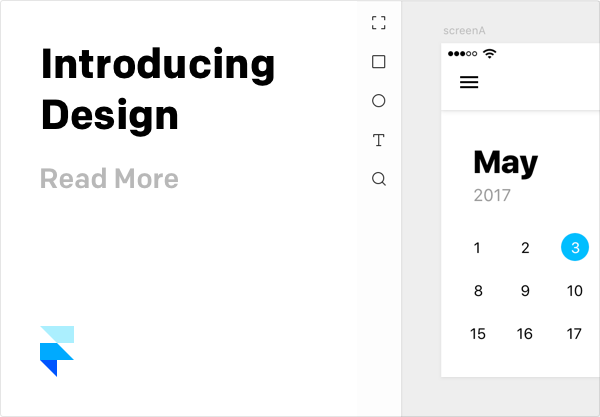
Over the last five months we’ve released a steady set of powerful design features to make Framer perfect for both visual design and creating high-fidelity prototypes. You can now easily design an iOS app with built-in resources like the Feather icon set, pre-made Artboards for iOS devices, and support for the native San Francisco Typeface.
This tutorial will teach you how to bring a news app to life by adding interactive components, flows, gestures, and native-level animations to create a prototype that feels like the real thing. By the end, you’ll be able to:
Before we get started, here are a few things to understand about Framer.
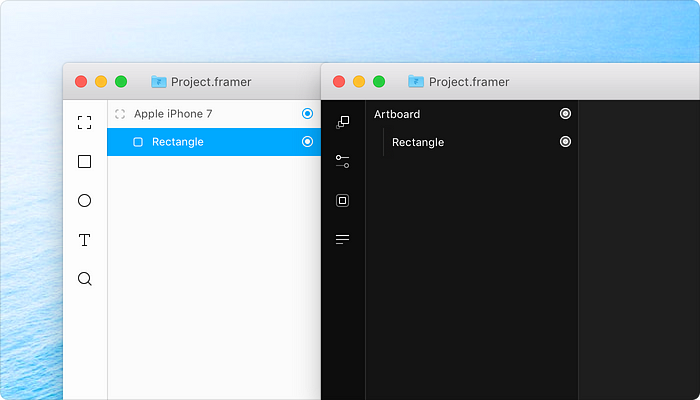
Layers are the building blocks of Framer. You can insert, manipulate, and style rectangles, oval, text, images, and gifs using the toolbar. To make the Layers you designed in Framer usable in the Code tab you have to enable targeting. You can find out more about targeting Layers here. If you’d like to get more comfortable with our code tab you can read about it here.
Events are “things that happen” like a tap or a device rotation. You can listen and respond to these, and when you connect Events to a Layer, the Layer will react to the Events assigned to it. Read more about tap events here.
Pro-tip: You don’t have to worry about differentiating between Click / Tap / Touch events because Framer will update the event based on whether you’re designing for desktop or mobile.
To describe what we’d like to do on tap, we’d say something like this:
“When tapping this icon, let us know we tapped the icon”
This is what that statement looks like when translated to code:
like.onTap ->
    print "Tap is succesful"
States allow you to define a Layer’s appearance. Layers can have multiple States, each with a different set of properties. You can also think of States as a way to manage multiple properties. Read more about States here. Start by adding the States and then animate them or cycle between them using stateCycle().
# Create state
like.states.liked =
    scale: 1.1
    color: "#05F"
# Like or unlike on tap
like.onTap ->
    like.stateCycle()
That’s it! Now let’s use these three basics to build our prototype.
First, download the Framer Design file here, and if you haven’t already, download a free 14-day trial of Framer.
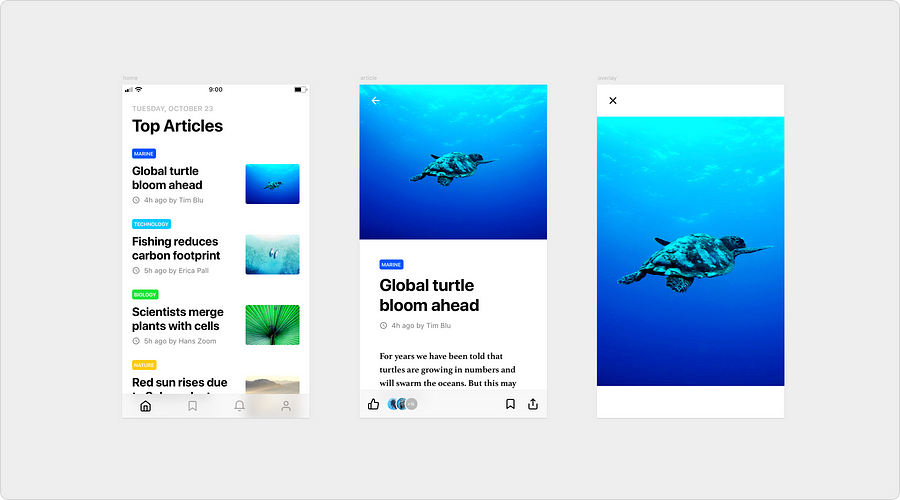 Our design file contains these three screens. (Download file)
Now, take a moment to look around the file.
You’ll notice that each artboard has a description above it that explains its role in the animation. There’s also a code block below each artboard that shows how it translates into code. Refer back to these if you get lost or confused at any point.
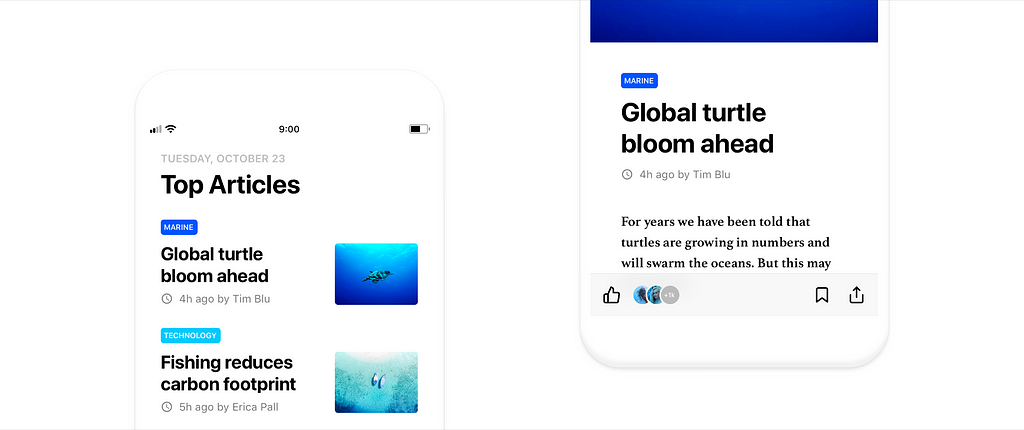
We’ve set up an artboard in Design mode featuring a long list of articles that users can scroll through.
Let’s start by connecting our screens together and making our list of articles scrollable. We can do this by creating a FlowComponent and showing our home screen as our first screen.
# Set-up FlowComponent
flow = new FlowComponent
flow.showNext(home)
And voila, we have the first screen of our prototype. If you play around with the screen you’ll notice that you can scroll through the list of articles.
This is where the FlowComponent truly shines because it automatically detects when a Layer is longer then the default screen height and will create a scrollable container and insert the Layer. This makes it possible to scroll through the Layer without adding any extra code.
FlowComponent also recognizes that the tab bar at the bottom of the screen likely has to be fixed—standard behavior in iOS—and does so for us!
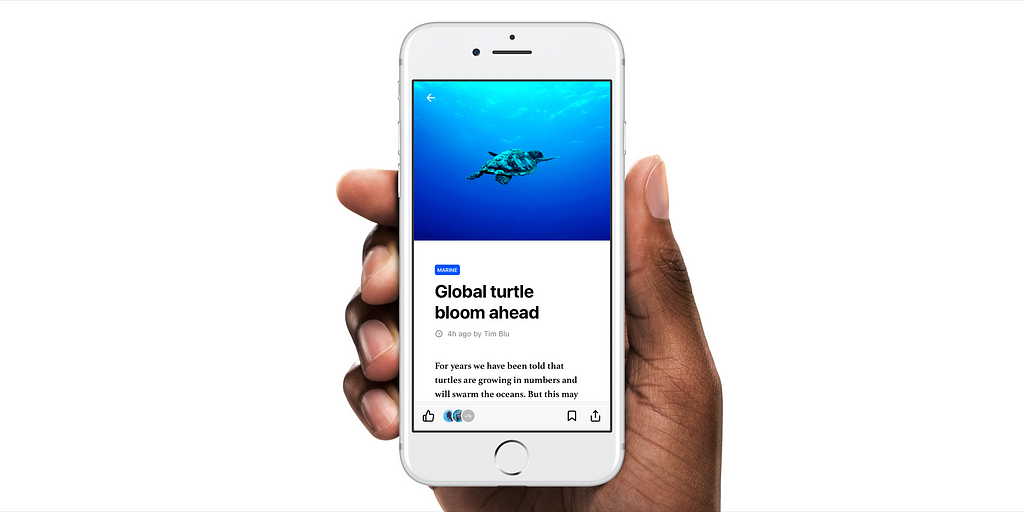
In design mode you’ll notice that we’ve set up an article screen that users can read through.
Let’s make the article accessible by adding a tap event.
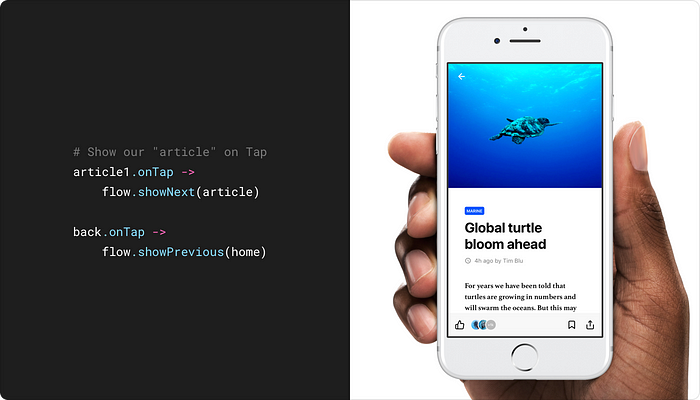
# Show our "article" on tap
article1.onTap ->
Next, let’s show the article screen on tap.
# Show our "article" on tap
article1.onTap ->
    flow.showNext(article)
The article appears and the FlowComponent has made it scrollable for us yet again.
Now that we can navigate to the article screen, we should also be able to return to our home screen by tapping the back arrow in the top left corner.
back.onTap ->
    flow.showPrevious(home)
The turtle photo is pretty stunning, so why not give people the ability to see it at a higher resolution.
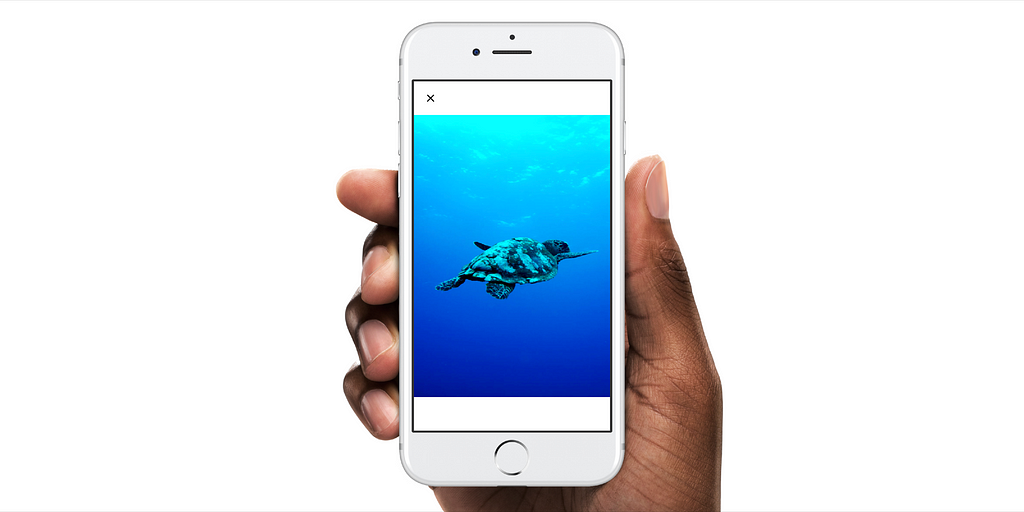
The default pattern in iOS is to treat this like an Event and use our FlowComponent to make it appear like an overlay:
# Show "overlay" on tap
cover.onTap ->
    flow.showOverlayBottom(overlay)
That works, but we also need to be able to dismiss the overlay. We can do this by using the X icon and connecting it to the previous screen (like in the previous step):
# Hide the "overlay" on tap
exit.onTap ->
    flow.showPrevious(article)
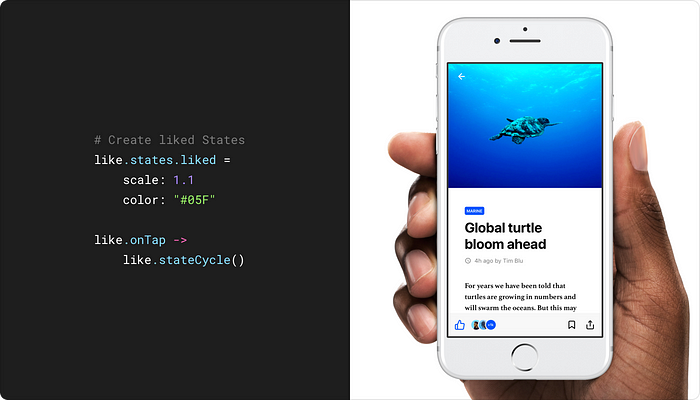
Now it’s time to complete our user flow by adding the ability to like an article.

In this case, a liked article will display a blue thumbs up icon that’s a bit bigger than its default State.
To achieve this, let’s create a State for the like button that has a blue color that matches our blue theme. Then we’ll make the icon a tad bigger by increasing its scale from 1 to 1.1.
like.states.liked =
    scale: 1.1
    color: #05F
In order to like or unlike the Article we need to be able to tap the same like button. To do so we have to cycle through the liked and the default States of our like icon, for which we can use the stateCycle() function. Read more about stateCycle() here.
like.onTap ->
    like.stateCycle()
Our animation is working great! We can fine tune it even more to add small little details that will increase the clarity of our design and make our prototype feel even more real. For example, we could update the counter with our active blue color to emphasize that it’s been liked. We could also add our avatar to the row of pictures to show everyone that we liked the article.
To summarize what we can add:
In order to make the icon bounce when we press it, we’ll have to change the way it’s animated by adjusting the animation curve. In this case we’ll use the Spring curve and adjust the damping function to tweak the curve’s bounciness. Let’s make all our animations use this Spring curve so that our prototype feels bouncy and consistent:
Framer.Defaults.Animation =
    curve: Spring(damping: 0.7)
    time: 0.5
Let’s use the same blue color from our like animation to create an active State for the counter and then trigger it with the same tap event used for the icon.
counter.states.liked =
    backgroundColor: "#05F"
like.onTap ->
    like.stateCycle()
    counter.stateCycle()
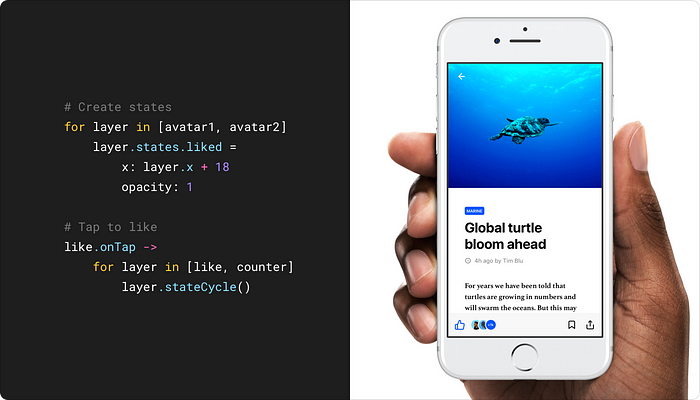
As a finishing touch, let’s add our picture to the liked list. If you take a look at our design file, you’ll notice that our user’s picture is already set up inside to be animated, with 0 opacity so it’s not visible.
In order to animate this, we’ll make our user’s picture slide in and make the last user in the row disappear. We can do so by moving each picture 18 pixels to the right and revealing our picture while hiding the last.
# Create liked states
avatar1.states.liked =
    opacity: 1
    x: avatar1.x + 18
avatar2.states.liked =
    opacity: 1
    x: avatar2.x + 18
avatar3.states.liked =
    x: avatar3.x + 18
    opacity: 0
Tie all of this together with a tap event:
# Tap to like
like.onTap ->
    like.stateCycle()
    counter.stateCycle()
    avatar1.stateCycle()
    avatar2.stateCycle()
    avatar3.stateCycle()
We now have a pretty complex interaction that looks really smooth! But you can probably tell that a lot of our code is getting repetitive. If you look at our code, we created five Layers all using stateCycle() and two Layers sharing a State with the same properties.
A general rule of thumb with code is to keep in mind that there’s a simplified way of writing your code when you’re repeating the same code. A For-Loop can help you avoid writing repetitive code. Read more about Loops & Arrays here. First, we’ll need to create an Array containing our layers and then assign properties to the Layers in that Array.
for layer in [avatar1, avatar2]
    layer.states.liked =
        x: layer.x + 18
        opacity: 1
We create this with the syntax [avatar1, avatar2], you can add as many Layers to the Array as you like. The layer is a Variable that represents the count in the array for that iteration of the loop. Read more about Variables here. It starts as avatar , then becomes avatar2 . We then use the layer variable to assign States to our avatar Layers. If you would like to find out more about this then you can read our programming guide.
We can use the For-Loop for practically everything, including our stateCycle() :
like.onTap ->
    for layer in [like, counter, avatar1, avatar2, avatar3]
        layer.stateCycle()
You can create common iOS patterns and micro-interactions with three basic functions of Framer:
You can use For-Loop to avoid writing repetitive code.
We hope you’ll apply what you’ve learned to all your future prototypes! If you’re still hungry for more knowledge, we have a lot of resources to help you learn Framer.
Watch our beginner tutorials featuring in-app walkthroughs, voiceovers, and downloadable projects to follow along with.
This section features nine different prototypes with native iOS interactions including loading, notifications, transitions, scroll, and more. Open each project to view it in Framer Cloud, then click the Download to Framer button to open the file in Framer. You can reuse the designs and code from each prototype to get a head start on your own projects.
Get the basics of programming and learn how to improve your skills.


Create an iOS news app in 4 simple steps was originally published in Framer on Medium, where people are continuing the conversation by highlighting and responding to this story.
AI-driven updates, curated by humans and hand-edited for the Prototypr community


