Build Design Systems With Penpot Components
Jul 21, 2:15 AM
Penpot's new component system for building scalable design systems, emphasizing designer-developer collaboration.
smashingmagazine.com

RE: Write — Medium | Maria Diodati 
Coming in as a newbie to Framer, I decided to start at something I saw as small and seemingly simple — animating a button. Working on the premise of appreciating someone, or ‘tipping your hat’ at them — I knew I wanted something that felt a little playful and surprising, but also recalled some classic, personal tones.
So I found my hat:
 You can find this lovely icon by Luke Firth here.
Since I’m new to framer and don’t understand coffee script very well, the first thing I did was:
Designing Micro-Interactions: The Action Button — this helped me wrap my head around creating the shapes and understanding states better — which allow layers to have multiple states with different properties.
Framer Crash Course — These videos were helpful to get my mind wrapped around what Framer in general and understand my options.
Animating Layers — This tutorial is less specifically about buttons and more about layers, but it really helped me understand some basic coffeescript functions and how layers interact with one another. Worth exploring if you’re a beginner.
Framer Cheat Sheet: Using States — This is a really great Medium article that goes really in depth into states and what you can do with them.
Framer Examples — This was a really helpful little cheat sheet that demonstrates how to hover, click and mouseup/down.
2. Fooled around in Framer. The best place to start is anywhere, so I just went for it. I messed up a lot of times. Things didn’t work, I started over 4 different times trying to find the right way to approach it. Things I took away from that experience: importing from Sketch was unpleasant to me, and didn’t end up helping. This is just my opinion. I had much more success when I created the shape from sketch with an imported image for the hat.
 An earlier, failed attempt to show multiple buttons at once.
3. Found some things that were working by copying bits of code from tutorials. It was immediately clear Framer is a very powerful tool. At one point I thought I would try out Dynamic Text — and after watching the tutorials, I bailed. As a designer, it’s easy to get overly ambitious, but it was good to remember that starting small and working my way up was the way to go and messing up was ok.
Here’s a quick look at my code:
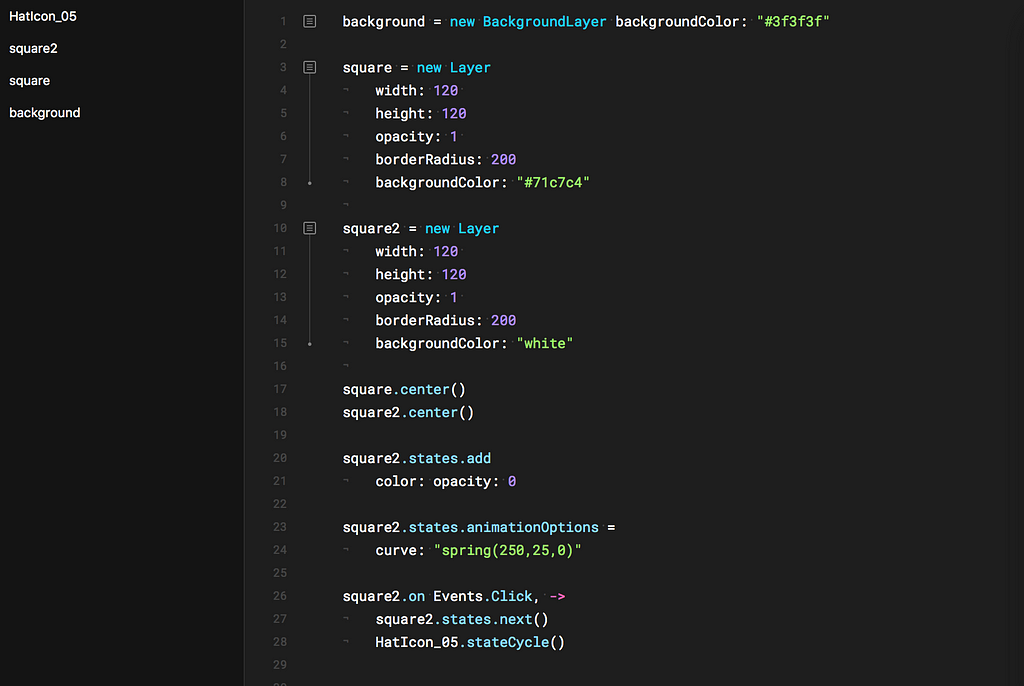
Here’s an explanation the best I know how:

Then, I created the states. I knew I needed two circles, one active, and one to be deactivated.

This helps my button know what to do when you click it and choose the next action. Here you see that I have set the width, height, opacity, and border/bg color.
But I do have to define the ‘onclick action better and tell my button exactly what to do when a user clicks it:
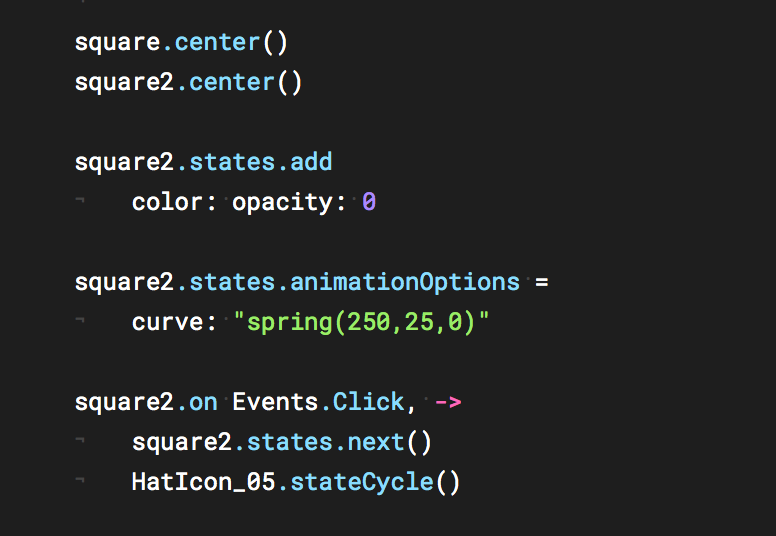
These are all tags instructing the circles (ironically named square here) to 1) center to the artboard, determine how opaque the shape is, and to cause the button to curve back when you cleaned it. You also see that last line of code directing the system to cycle to the ‘HatIcon’ graphic ‘on Click.’
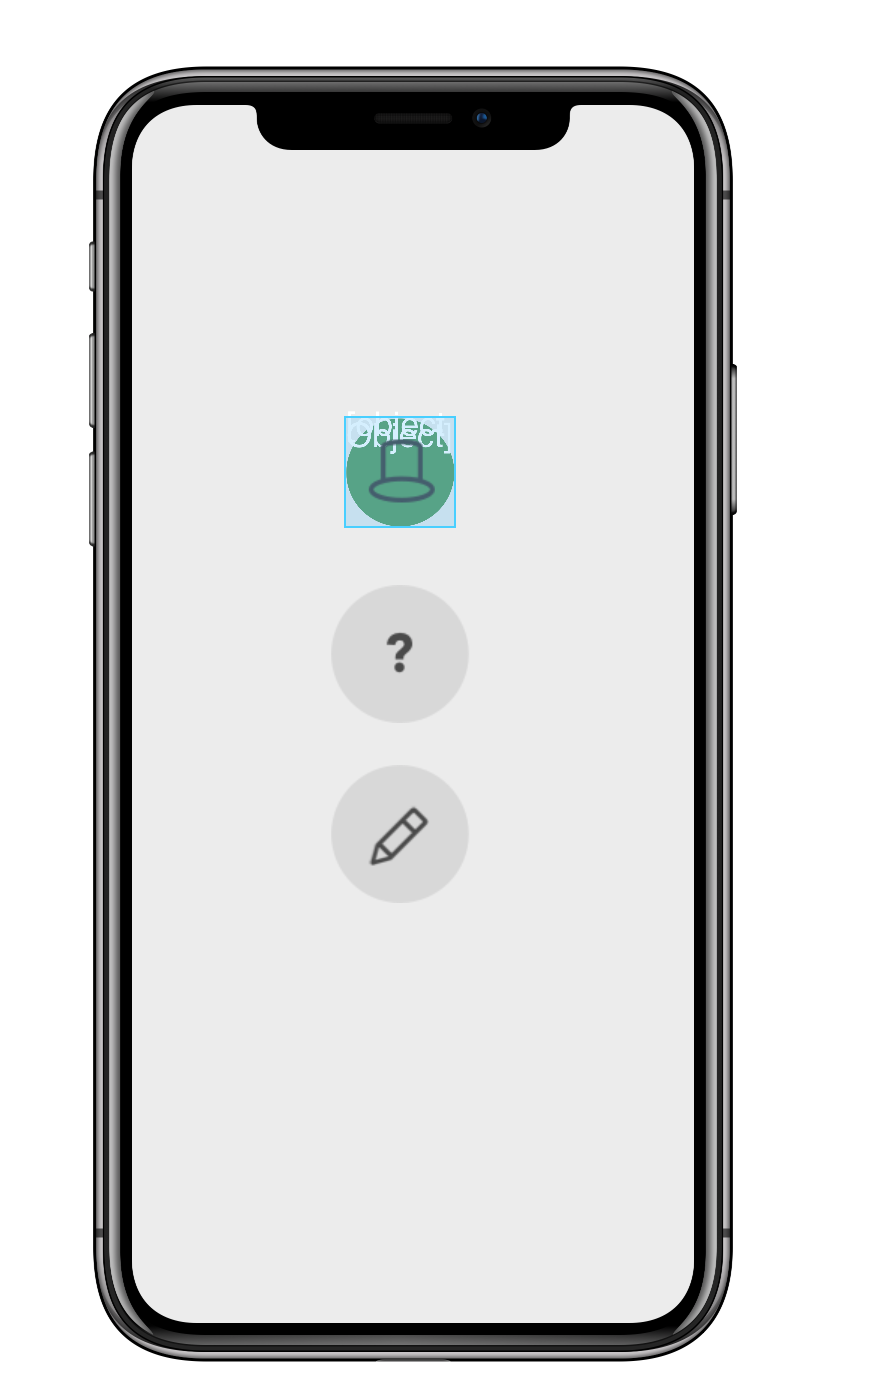
So far, this is all you can see:

Now, for the hat. Your hat should be imported or added to the file, and make certain you are consistently naming your pieces as you interact with the device so you don’t break the animation. In this situation, since I was very beginner, I just uploaded the image straight into the code window and didn’t deal with the design view as I mostly knew what I was looking for.

This code places the hat icon into my prototype and establishes size and location (with width/height and x/y).
Finally, we need to apply some animation guidelines to get the icon to rotate, as if it’s ‘tipping.’

This ‘spring=curve’ curve creates a soft bounce back so that the animation is smooth. Last but not least, you’ll see I also have a state call out to the ‘rotation.’ I can control this to control how powerful the instruction is.
And, now you can see my final result — click-thru to see it live:
 Click to see Prototype from Framer
Creating an Action Button in Framer was originally published in RE: Write on Medium, where people are continuing the conversation by highlighting and responding to this story.
AI-driven updates, curated by humans and hand-edited for the Prototypr community


