Build Design Systems With Penpot Components
Jul 21, 2:15 AM
Penpot's new component system for building scalable design systems, emphasizing designer-developer collaboration.
smashingmagazine.com

uxdesign.cc – User Experience Design — Medium | Jack Strachan

Starting out on Sketch can be difficult. Especially since there is so much content available to help you, it becomes difficult to find the most pertinent stuff. This post is for those who are starting out on Sketch and even for those who are avid users and are interested in some new tricks. My first Sketch project got me hooked and now I want to share the content and hacks I came across that sped up my workflow and made the switch from photoshop seamless. By utilising the content in the post and the quick overview of the features, I have no doubt you will understand Sketch better than the average beginner. Hey, there’s even a Facebook sized screen design treat at the end.
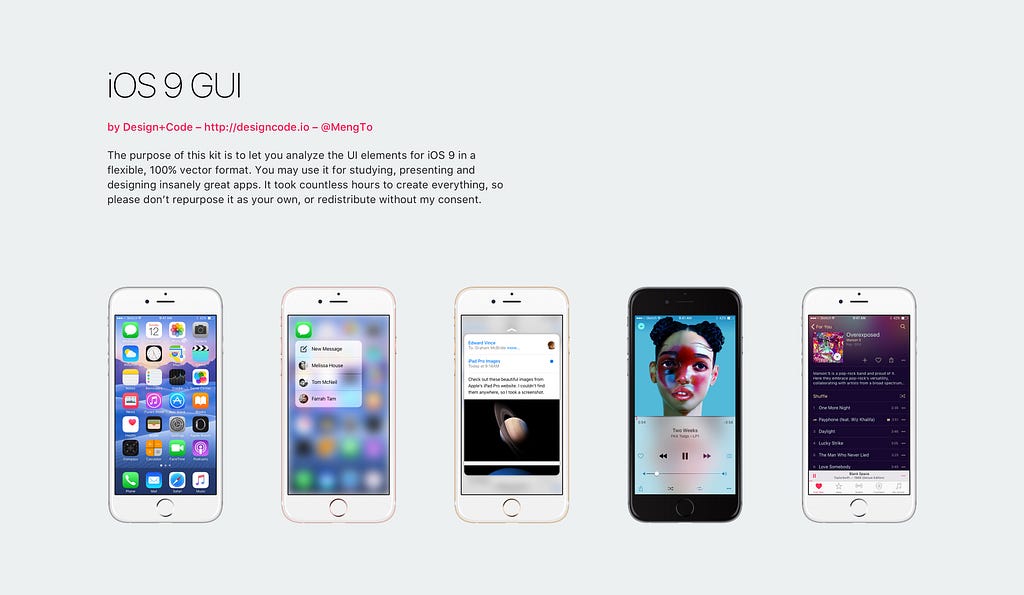
Sketch is an open-source design toolkit built to help you create your best work — from your earliest ideas, through to final artwork.
The keyword being open-sourced. Sketch has been built by designers for designers and is full of powerful plug ins that have been built from a community of developers to put it a cut above the rest. Being open sourced makes this software even more powerful in the hands of our great design community.
If you are still on the fence about Sketch I highly advise you to do some external reading and research. There is so much content available and some pretty powerful opinions from industry professionals. Throughout this blog post I will be providing the best material that got me inspired and ready to use Sketch. Here is the post that made the difference. This post dives into the hesitations of moving from Photoshop to Sketch, all whilst exploring the main stand out features. I highly advise the read.
 https://www.invisionapp.com/blog/switching-to-sketch-app/
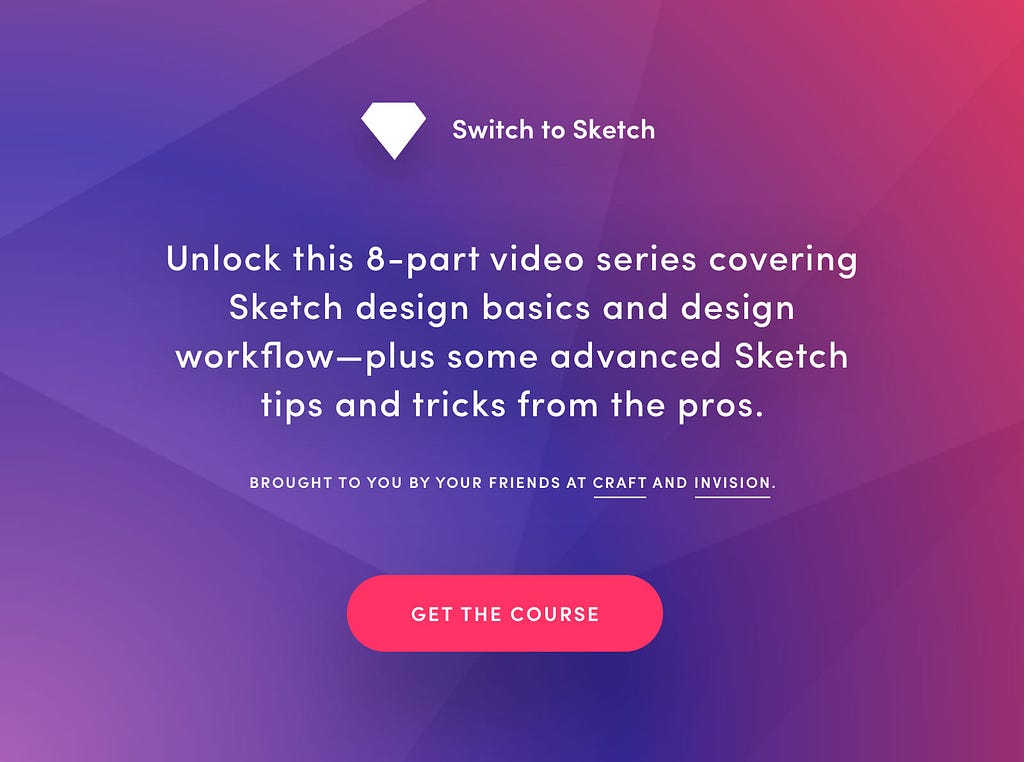
Lets jump straight in. The best place to start is InVision, the guys at InVision have created an 8 part video series covering all of the Sketch basics, and of-course their workflow from screen design to prototyping within InVision itself. This eight part series is a saviour, I was Sketch ready after the first three and the others gave me some more advanced tips and tricks to boost my workflow.
As I started to get more into Sketch I became aware of the abundance of content available. From iOS kits to endless runs of hacks I got hooked fast and started to compile my favourite sources.
Here are the top three I used to get started with great effect.
1. How can I not start at Symbols. Symbols are, when used correctly, one of the biggest time savers for any screen design approach and have so much more potential, even in a possible future screen design with AI. (see here!!)
Symbols essentially become your design vocabulary for any given project or brand. You can make symbols in Sketch from any UI element such as labels, modules, icons and more. When and if you keep your Sketch file properly organised they become very powerful in making global changes all at once.
In Adobe terms… Imagine copy and pasting the same UI element across 20 artboards. Easy enough.
…
Ok, now imagine having to change the colour and size of each and every one of them, across the 20 artboards.
…
Still thinking? With Sketch you simply enter the symbols page created by the UI elements and edit the master symbol for a global change across the 20 artboards. Seconds.
The symbols page essentially creates a library of your UI elements that becomes your design vocabulary. This library is highly editable and easily distributable. The best way to learn the basics of symbols is from the InVision tutorial series previously mentioned.
2. To take symbols one step further shared styles were also a game changer in my workflow. Shared styles operate within symbols for smooth iterations. This feature has been promised by different digital design tool programmers for a while and Sketch executes it intuitively.
When committing to a style; such as colour, size or font, you are able to save the style given to the certain object. When you come to add another object it’s as easy as selecting the desired style from your saved styles to apply it to the new object.
Once again.. In Adobe terms; Imagine placing text across different artboards for headers and body font. You probably don’t realise the time you consume whilst changing between fonts and sizes, trying to remember the difference of point sizes and kerning. With shared styles you are letting sketch remember for you and save valuable time in whilst designing your screen.
Shared styles are essentially symbols in a more accessible method to make quicker iterations. Pretty useful, just wait and see.
3. This one is not so much a feature, more of how Sketch itself works but positioning in Sketch is, to me, my favourite layout tool. Perhaps controversial (sorry indesign) but i’ve even challenged myself to create my next portfolio using Sketch.
Hear me out.
Adobe products are great, and i’m not attempting to knock them off throughout this blog, i’m just exposing some of the troubles that young designers like me experience and how these troubles have been addressed through Sketch.
Positioning in Sketch is coordinate based. You are able to drag and drop objects and see which pixel location they have landed on. You are able to use these pixel coordinates throughout your file much easier and with a much more accessible feel. Perhaps what makes this tool so unique is when you hold the option key with an object selected it shows the distances from anything and everything around it. It suddenly becomes an effective tool to position multiple objects at set distances without the need for a cluster of guidelines. (sorry indesign)
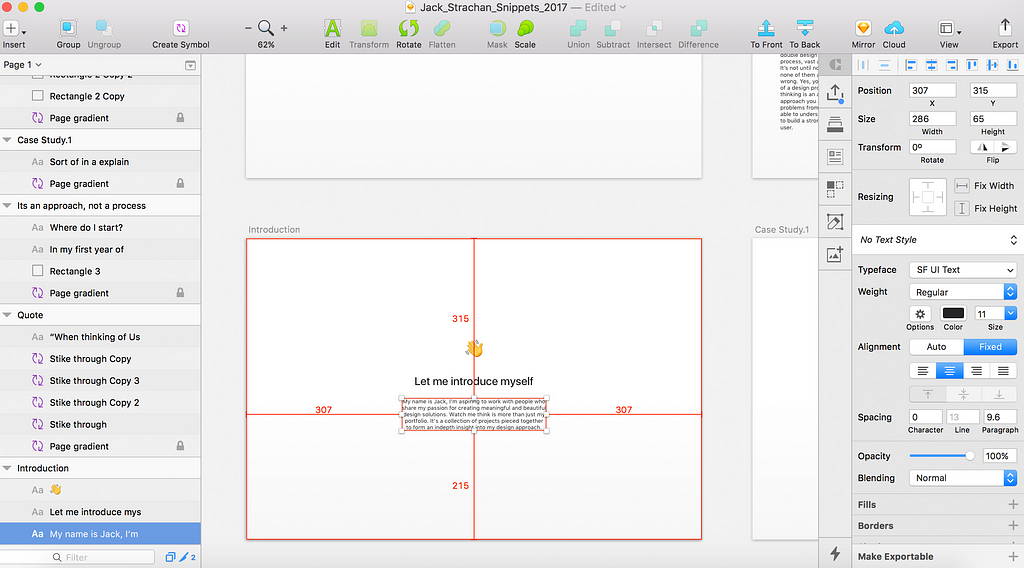 By holding the alt key on mac with an item selected distances are shown, by hovering over different items you are also able to see the distance between them and your selected item.
4. My fourth and final shoutout is to the way colours and templates have been integrated into the software with such ease you could never have an issue with either again.
Templates are essential for screen design, most screen design tools have them but Sketch always delivers the most up to date screens to design for. It’s just really refreshing to have that level of service from a tool.
The colour picker tool is heavenly. No longer do I have to use a tiny pipette to find the exact pixel of colour I want, the tool appears on screen as a circle that magnifies the position of the mouse and the pixels around it to selected the desired colour with the utmost accuracy. This one does not need much explaining at all so enjoy the gif.
 Using the colour picking tool
Furthermore, colours are easily editable in a range of different ways. Difficulties with gradients, radius’ and blurring colours are all solved within Sketch. You really need to check these features out.
Perhaps my most powerful Plugin is the first one I downloaded. Craft by InVision is a suite of plugins that only add onto the endless bonus’ of Sketch. before I go on… other useful plugins include: Flinto & Anima for animations and Launchpad for responsive screen and web design.
SCREEN DESIGN. SUPERCHARGED. Craft is a suite of plugins to let you design with real data in mind. Manage them via the new Craft Manager for incredibly easy updating.
First and foremost, I downloaded Craft in order to link my screens to InVision for a quick high fidelity prototype. Craft quickly became more than just a prototyping link for my workflow. Craft is the source of UI element libraries, high quality stock images (free), document style sources for code and much more. Let’s break it down into the bits I found were most useful.
The subtitle of this post is how to learn Sketch in under an hour, not InVision. So I won’t spend long here but I wanted to share my most important lesson from InVision and how you could also streamline your workflow.
Jagged workflow. Okay, so let me be the first to admit. The workflow between Sketch and InVision is flawed even with Craft. You may think a simple sync and browser switch is fine but with the power of this technology and with what’s already available why can’t we ask for more?
As mentioned, you are able to link your screens ready to be a functional prototype within Sketch. However, depending on the size and amount of screens you are linking this can quickly become a hot mess of arrows and symbols. My best advice is, that when your prototype has a range of buttons and features, to sync the screens to InVision without any pre defined links. This way you are able to create ‘hotspots’ in InVision and link them to different screens without getting confused over the different elements across each screen.
 You may be thinking i’ve already covered this jagged workflow with my post dedicated to screen design tools, and I have just click on this caption, but unfortunately we have to wait until January for InVision Studios.
And finally, I couldn’t give an introduction to Sketch without mentioning the other screen design tools available. Luckily for us designers are not limited to one tool and we should be agnostic with our tools and processes. At the end of the day our designs should be focused on being empathic with users and not based on our tools.
The future of screen design is exciting, we have come so far in the last five years and there is so much more to come. Universal design across companies, and the world, is becoming essential. Sketch is playing its part and i’ll be writing more in the future about how companies and individuals are making a massive difference in this progressive era of screen design.

As promised, an add on for making it this far. The team at Facebook recently released mock ups for every screen you could think of designing for. You’re welcome. 😎
If this post was useful to you, or a pile of trash… feel free to let me know! Part of my introduction to blogging is to make conversation with the design community and I have loved receiving feedback so far.
Hacking Sketch was originally published in uxdesign.cc on Medium, where people are continuing the conversation by highlighting and responding to this story.
AI-driven updates, curated by humans and hand-edited for the Prototypr community


