
Build Design Systems With Penpot Components
Jul 21, 2:15 AM
Penpot's new component system for building scalable design systems, emphasizing designer-developer collaboration.
smashingmagazine.com

medium bookmark / Raindrop.io |
We help leading product companies and innovative startups build delightful digital experiences.

Hello world!
I am back as I promised. This time with a plan. A full proof plan on “how” rather than “why”. If you are not sure what I am saying, please check my previous blog post on Why is it important to do usability testing?
Ready?
Let’s roll.
The first step is to create a test plan. It is a very important step to determine what we are testing, what we are going to give to our users. Before preparing a test plan we need to:
Well-formed task scenarios make smoother tests. Write the test tasks so that users feel motivated to perform the scenario and do not just take it up as a “to-do” list.
Sequence the task in the order of easy (orientation tasks), difficult and moderate so that users don’t get frustrated at the beginning of the test. This can happen in case they face any difficulty in understanding their role.
Provide encouragement or hint
Give general hints before specific hints
Record the number of hints given
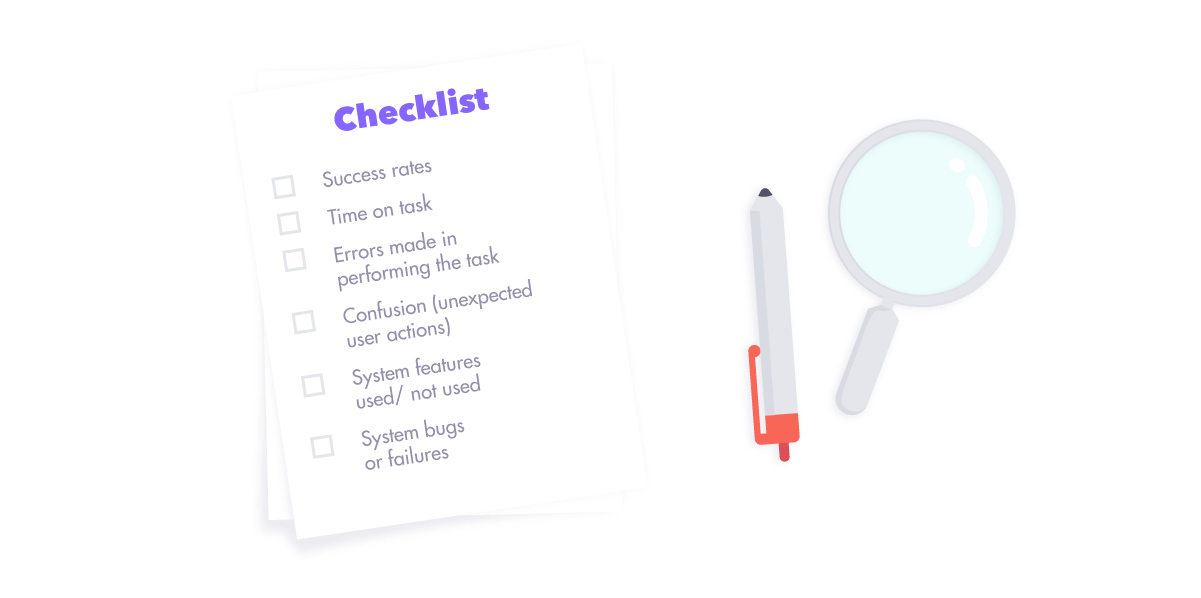
Sitting for a long time doing nothing
Blaming themselves for the problems
Flipping through documentation without really reading them
Three-point scale i.e. “Do you know how to copy a text” YES, NO, DON’T KNOW
Six point scale i.e. “Rate on the following scale” 1 to 6 from “very useful” to “of no use”
Likert scale i.e. “The help function in this system gives solutions to complex problems”, “Strongly Agree, Agree, Slightly Agree, Neutral, Slightly Disagree, Disagree, Strongly Disagree”
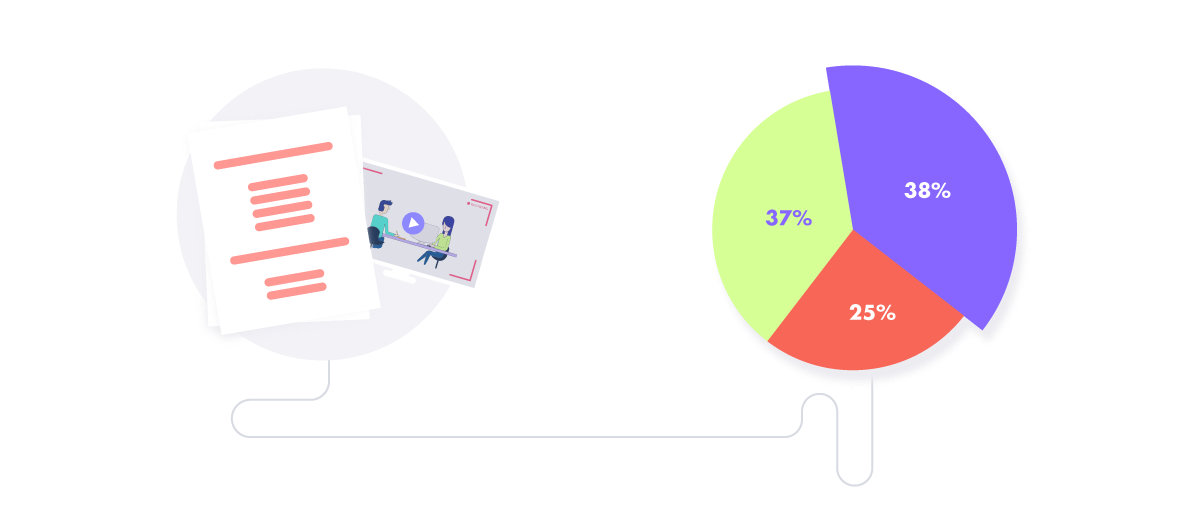
Once the questionnaire has been given to the selected population, the responses obtained on different rating scales are converted into numerical values and statistical analysis is performed.
Usually, mean and standard deviation from the mean are the main statistics used in the analysis of most survey data.
The questionnaire has to be designed as easy as possible and keep it short. Try to aim for no more than 2 sides of the paper
Deciding upon the strategy to adopt will depend on the circumstances of the usability testing, including the time available and main objectives of the testing.
Top-down analysis begins with an overall assessment of the user interface from the questionnaire, summarizing the major strengths and weaknesses.
This overall assessment can be collected from the results of the set of general questions on system usability
General questions on the system
Please provide your views on the usability of the website by answering the questions below. There are no right or wrong answers.
The answers to the general questions may highlight particular aspects of the interface causing problems, and a more detailed investigation may then be carried out to examine other instances where those aspects have been highlighted within the questionnaire.
A bottom-up analysis is a more detailed analysis that investigates the responses to each question within the questionnaire. This type of analysis will enable a more comprehensive picture of the interface to be generated. It is likely to yield a highly detailed specification of aspects of the interface requiring improvement, amendment, addition etc. A detailed analysis of each of the criterion-based selection will enable a summary to be drawn from the interface in terms of each of the criteria.
I have made a kit for you which you can use while conducting usability testing. You can download it from here. I hope you find it useful. Let me know if you have any queries by dropping your comments and I would be happy to help.
This blog is written by Asif and was originally published at Humble Bits. Can we help you with more such insightful articles? You can subscribe here and we promise to not trouble you with salesy stuff.
AI-driven updates, curated by humans and hand-edited for the Prototypr community


