Build Design Systems With Penpot Components
Jul 21, 2:15 AM
Penpot's new component system for building scalable design systems, emphasizing designer-developer collaboration.
smashingmagazine.com

Framer – Medium | Framer Team
In a world where ideas are a dime a dozen, there’s nothing quite like being able to put a prototype of your app in the hands of real users or a potential investor. But how do you go from genius app idea to high-fidelity prototype? Glad you asked.
Sketching a black and white skeleton concept of your app’s pages and flow will go a long way toward keeping you on track. The simplest way to do this is by wireframing using pen and paper.

Start by sketching the most obvious flow, then add UI layout and elements to your artboards. Don’t get caught up in color, type, lighting, or any other aspect of polished visual design. Repeat this sketching process, refining your vision through iteration. After you’ve worked through multiple approaches to the flow, you should end up with a high-level and conceptual idea of how your app will work.
But paper wireframes alone are awkward. They’re too unpolished to present to clients or investors, rarely inspire meaningful feedback and result in too much being lost in translation between design and development. A digital prototype is a much better way to validate your app idea. Luckily for you, we’ve outlined the best way to bring your iOS app to life in Framer.
To kick things off, download our free 14 day trial, then follow the steps below to get started on your million dollar app idea.
The Framer Design interface will be familiar to most, with a large canvas, device preview and full-featured toolkit. In this regard, it is a tool that has been optimized to feel familiar, though you’ll quickly notice that it offers some advanced features that optimize it for interaction design work.
Complete the sign-up flow, and when you arrive at our Welcome Window, click on the + in the bottom right corner. This opens up a blank canvas in our Design tab, a fantastic place to start bringing your sketches your life. Hit A on your keyboard and check the right panel to see our iOS device options. Under Phone and Tablet you’ll see a selection of Apple iPhone and iPad device types. Select one device to begin, even if you want your app to work across all iOS devices. Thanks to Framer’s auto-layout functionality, you’ll only need to set layout rules once for artboards to scale responsively across all devices. Magic!
 Learn more about artboards in Framer.
Draw ovals or rectangles and add text to artboards to create your multi-screen flow. You can use the properties panel on the left or simple keyboard shortcuts for a much faster workflow (check out our handy list of shortcuts). If you’ve ever used a visual design tool, you’ll already be familiar with the concept of a layer. Without content, a layer is simply rectangle. But it can contain an image, a video, audio, text, and much more. You can even drag in PNG/JPEG, GIF or SVG files. Notice that every new layer added to the canvas responds to the environment around it — no matter what you do, the hierarchy stays in order.
 Learn more about layouts and hierarchy in Framer.
Once your artboards are ready, take a good long look at all your layers and decide which ones you’ll want to animate in the next step. Find the layer in the left layer panel, select the target button that pops up and rename it to something recognizable. We call this ‘targeting’ and it’s how we define the relationship between our Design and Code tabs. Once all your layers have been targeted, toggle over to the Code tab.
 Learn more about targeting in Framer.
We know, we know. Code is scary. Or is it? Thanks to Framer’s Auto-Code menu, adding interactions, animations and transitions really just comes down to simple logic.
In the Code tab, you’ll notice that the layer panel is organized in the same way as it was in Design, with your targetable layers highlighted and everything else dimmed. Next to the layer panel you’ll notice our Auto-Code menu, with four options. Clicking on Animate, State or Event will trigger a dropdown menu with all your targetable layers listed. Using this menu, you’ll be able to quickly add basic animations and transitions to your design without needing to write any code on your own.
 Learn more about animating, states and events.
Here’s how it works: select any of the commands in the menu to automatically generate lines of code in your editor. The Auto-Code menu is also paired with a properties panel which will appear once you have selected an action and a layer. You can use this properties panel to change anything about your layer, from position and opacity to scale, rotation and shadow. You can even change the properties of the animation itself using simple sliders in the same panel.
Some basic functions you can perform using the Auto-Code menu:
2. Define various properties for your animations
3. Set up a flow between screens
4. Set up pages with customizable content
5. Add sliders and range sliders
6. Create a list of scrollable items
7. Move between various states
8. Trigger an event through a user interaction
On the code side of Framer, you’ll also see a detachable preview window that gives you real-time visual feedback on any changes you make in Code or Design. You can also drag, drop and resize selected layers directly in this window, all while your code is kept intact. To replay your animations at any time, simply hit CMD + Rto reload.
 Learn more about the preview window in Framer.
Though we’ve made it simple for you to prototype your own ideas, you don’t necessarily need to start from scratch. We offer a variety of patterns and even a full-fledged UI Kit that you can download and customize to your heart’s content.
Framer’s Pattern Library features native iOS interactions that you can download and reuse for your own projects. Choose from an action sheet, page, scroll view and tab bar that come prepackaged with native iOS design and interactions. Simply download and drag the file into Framer to grab the code for your own projects.
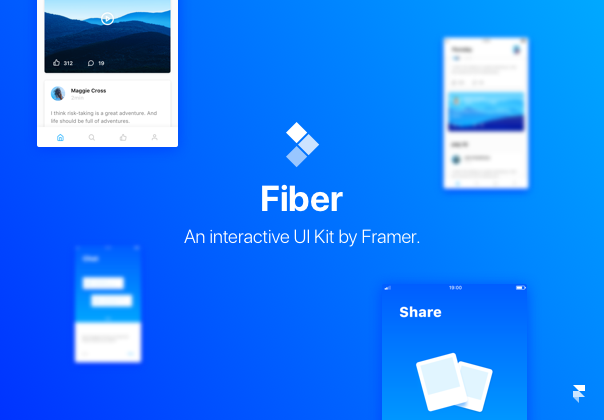
Our Fiber Interactive UI Kit is also a great starting point for beginners. Included are 15 artboards with over 49 unique UI elements, hooked up to 36 seamless interactions. Just customize text, images and animation values to create your very own high-fidelity prototype. Or pull apart the native scroll, swipe and slider components for use in other projects.

Once you have a near-finished app, it’s time to get a second opinion. Thanks to Framer Cloud, we have a great workflow for uploading, sharing, and getting feedback on your designs.
To upload a new project to Framer Cloud, simply click on the Cloud button in the top right of your Framer app. This triggers a workflow that includes saving your file (if you haven’t already) and uploading your project to Cloud. A shareable link is also automatically copied to clipboard, making it easy to distribute your links.
 Learn more about sharing with Framer.
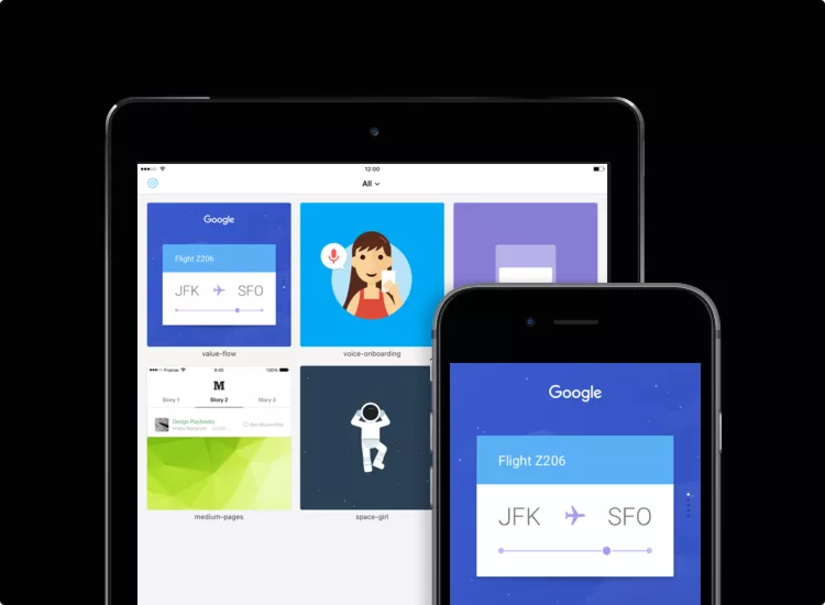
The beauty of Framer is that you— and your teammates or clients—can view your prototype in its native habitat using our free Framer Preview for iOS. Due to the level of fidelity offered by Framer, your prototypes are often indistinguishable from a fully-developed app. This gives you the most authentic environment to test user flows and interactions, ensuring that your app is fully validated even before it goes into production.
 Learn more about our Framer Preview app
Once your project has been uploaded, you’ll be able to continually sync Cloud to the latest version by clicking Update in the Cloud icon on the Framer desktop app (or use ⌃ ⌘ S). Any updates made will also sync across all the versions you’ve shared with your teammates, clients and testers.
The above walkthrough should help you get familiar with the basics of designing an iOS app in Framer. But if you’re interested in more resources, we’ve got tons of educational material to help get you up and running.
Our Tutorials section lists our official beginner tutorial videos with in-app walkthroughs, voiceovers and downloadable companion projects.
We also recommend the 10-episode video course by Designers.How that covers everything from a tour of the UI to more advanced functionality like arrays, loops and reusable code.
Pablo Stanley’s Crash Course also features 18 fantastic videos that cover the basis of design and code workflow as well as details on how to use components to quickly create flows, scroll and sliders.
Our Examples section hosts 6 different prototypes featuring native iOS interactions like loading, notifications, transitions, scroll and pages. Open the project to view it in Framer Cloud, then click on the download to Framer button to open up the file in your Framer app. You can reuse the designs and code from each prototype for your own projects.
Time to bring your next big app idea to life! Sign up for a free 14-day trial of Framer today and get started on your next mobile app design. Tag your designs with #Framer on Dribbble or Twitter and you could win some exclusive Framer swag!
How To Prototype Your iOS Mobile App in Framer was originally published in Framer on Medium, where people are continuing the conversation by highlighting and responding to this story.
AI-driven updates, curated by humans and hand-edited for the Prototypr community


