Build Design Systems With Penpot Components
Jul 21, 2:15 AM
Penpot's new component system for building scalable design systems, emphasizing designer-developer collaboration.
smashingmagazine.com

medium bookmark / Raindrop.io |
Works at Shopify. Does computer things.

Other articles in this series: Improving UI with Web Audio and The browser as an instrument.
Sound was one of the very last enhancements on the Draggable website. I had already built out my designs and animated all the cube patterns. While polishing the Accessible and Extensible sections, I wondered if I could loop some audio tracks to sync with the :hover and :active animations.
I wanted to try something musical for looping, so I started composing short riffs that I could repeat seamlessly. With Draggable open on my secondary monitor, I set the :hover animations to play automatically. Then in GarageBand, I started playing notes to match the movement of the animation.
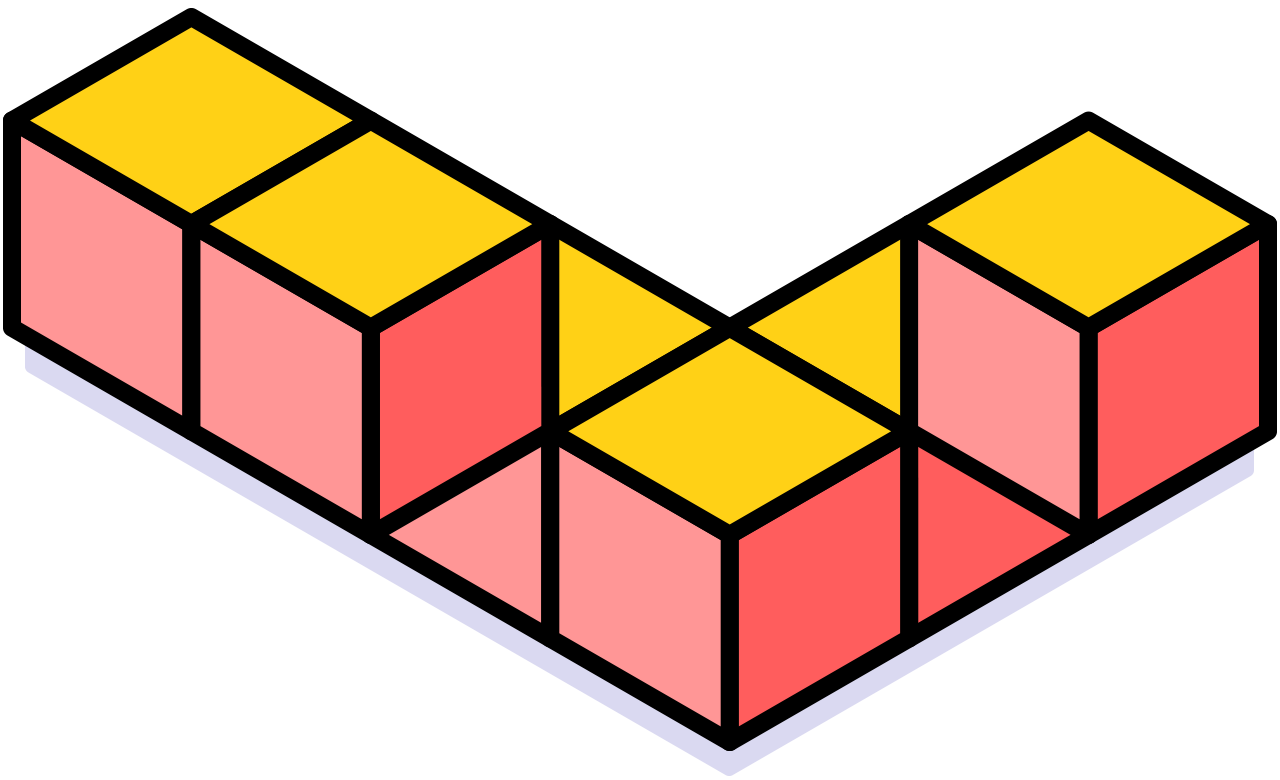
Easiest way to get started was to select an arpeggiator and just hold down a single key. An arpeggio is when each individual note in a chord is played in ascending or descending order. This is exactly the kind of musical arrangement I wanted to compliment the visual movement of Accessible.
After some tinkering, I settled on a sequence equal to the duration of the animation, perfectly synchronized with the colours as they cascade across the cube pattern. That solved my :hover sound.
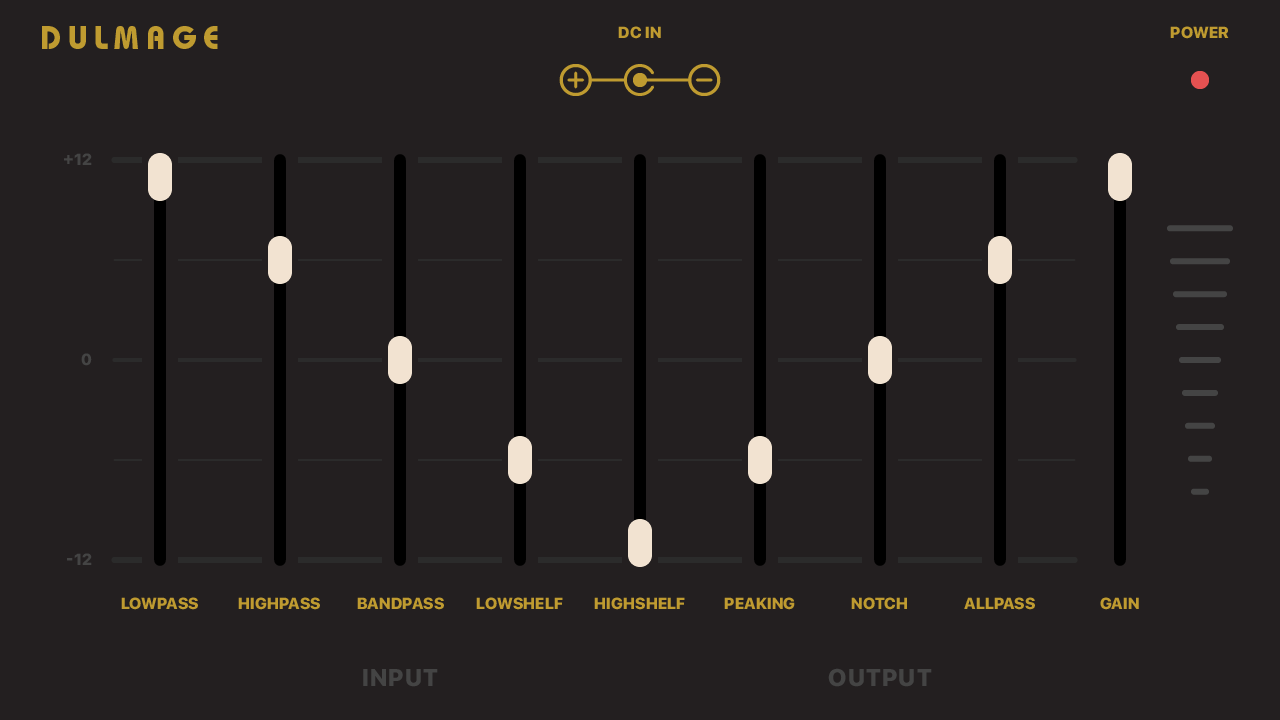
Each of these animations gets “busier” when clicked, so I thought about ways to utilize the API to achieve that effect. The Web Audio API includes the ability to create a BiquadFilterNode. A biquad filter is like using an equalizer to adjust the dynamics of an audio source. You are targeting specific frequency ranges to either strengthen or weaken their energy output.
I experimented with adjusting the different filter types on :active. It was interesting to see the extent to which I could alter the source audio. The shift in dynamics was not dramatic enough to match the tone of the animation, so I moved on.
I briefly flirted with distorting the audio, which is a little mysterious but after some googling I found the “math” to make it work. You start by calling createWaveShaper() on the AudioContext. You then need to set the curve property, which accepts a Float32Array of numbers. Not really the kind of data type I’m usually knocking around with in my JavaScripts, so I did some googling and landed on this Stack Overflow answer. The code I used to create my distortion curve:
Feeding the distortionCurve() a higher number will return a more distorted result. The result didn’t fit the visual design either, so I scrapped it.
Next I wondered if reverb could be a tasty effect. This involves creating a ConvolverNode and feeding it an impulse response — typically an extremely short ambient recording. This is then mixed with the carrier — in our case the musical loop — to mimic the effect of being played in a particular setting (a cave or a concert hall). Cool effect but again, not quite the result needed to compliment the visuals.
Another idea I explored was reversing the sound. I had expected the API to give me some method to play an audio source in reverse. I got to thinking that setting the playbackRate to a negative value would achieve that for me. Sadly, there seems to be no easy way to achieve this.
Thinking back to the process of fetching a sound file and decoding it, I remembered that I have to provide decodeAudioData() with an arrayBuffer. Well, arrays can be reversed! If you reverse the original arrayBuffer and then decode it again, you get an audio source playing perfectly in reverse!
Since I was storing my already decoded audioBuffer, I investigated a way to do this with the data I get after I had decoded the array. With the help of a few different online resources, I ended up with:
Which can be used like so:
// assume a method that accepts a boolean for `reverse`
this.source.buffer = reverse ? reverseBuffer(sound, this.context) : sound;
This definitely creates a cool effect. I ended up repurposing this code elsewhere, as I still didn’t find it appropriate for my Accessible animation. I added some logic to my Single class and used the reverse effect on the Interaction pattern. Instead of having individual assets for hover-on / hover-off and active-on / active-off — I deleted the -off assets and simply reversed their -on equivalents using reverseBuffer(). A handy way to shave off unnecessary requests / bytes.
Some finesse could be used on those reverse effects. They tend to sound as though they are slightly delayed, as typically my recorded audio’s volume starts strong and tapers off towards the end. A reverse sound will of course do the opposite. I could probably tighten up the sound recording to end more abruptly, allowing for a quicker reverse start.
It is also a little jarring that the reverse sound ends with more volume. I ended up adding a little conditional to adjust the gain’s exponentialRampToValue so I could taper off the volume in the last quarter of the sound’s duration.
These two effects are often confused. Tremolo is a wavering variation in amplitude (volume). Vibrato is the same but for pitch instead of amplitude. A basic implementation of tremolo might look like:
In this example, speed can be thought of as the number of “fluctuations” in amplitude. The higher the number, the faster the volume is fluctuating. These fluctuations are all evenly spaced — always increasing / decreasing to the same gain values.
Vibrato is a little more complicated.
My example uses whats called a low-frequency oscillator (LFO). This is typically an oscillator operating at a frequency beneath what is audible to the human ear — 20Hz or below. The technique pairs the LFO with an audible “source” oscillator, which modulates the source and creates a wavering pitch. Different speeds can be accomplished by tinkering with the freq and volume values.
So after trying out all these effects, I decided to record a drum track that would loop on :active over top of the :hover loop. Back in GarageBand, I put together a new audio track equal to the :hover loop’s duration. To keep the two tracks synchronized, I simply start them both on :hover, but leave the drum track muted until :active.
Here is the Loop class.
Exposing the 2nd audio track is as easy as calling mute() and unmute().
Once I had the Loop class written, solving Extensible was easy. My CSS animation speed increases on :active. I wanted the single audio track to match the animation speed, so I introduced a new speed method to increase the playbackRate.
Wiring up the interactions is the exact same as Accessible. This time, I call the speed method instead of mute/unmute().
Up until now I’ve only been fetching MP3 assets. While testing out my Accessible loop, I noticed a gap at the very end of the sound. The result was unpleasant. Opening the exported MP3 in GarageBand revealed a tiny amount of dead air at the end of the file, a gap not present in the original recording.
Turns out, MP3s along with other compressed formats are not ideal for seamless looping. The compression tends to round up certain values which result in a slightly longer duration. In order to achieve gapless playback, I had to skip compression and export these assets as WAV.
As discussed in the first article, MP3 is great for its small file size and relatively high quality. Using an uncompressed format will mean perfect quality, but very large file size. The animations I was composing for were very short, so I was able to produce WAV recordings within a reasonable file size. Depending on your needs, a very large WAV might not be an option. It has been suggested that the OGG format is excellent for compressed gapless playback. Browser support is rather slim, but if that improves in the future, I may revisit my loop assets to see if I can reduce their size.
The potential that the Web Audio API gives us is immense. I’ve only dabbled enough to create UI effects. Others have been much more ambitious, going as far as interactive synthesizers and sheet music applications. As more developers take advantage of the API, I expect we will start to see more web apps utilizing sound as part of the user experience.
Here is a collection of resources I found helpful while learning about the Web Audio API:
AI-driven updates, curated by humans and hand-edited for the Prototypr community


