Build Design Systems With Penpot Components
Penpot's new component system for building scalable design systems, emphasizing designer-developer collaboration.
uxdesign.cc – User Experience Design — Medium | Azhar 
So you’ve heard the buzz and decided to get Sketch, a design tool that is completely vector-based with a focus on user interface design. While Photoshop is a massive Swiss army knife of design, Sketch keeps its focus on being production friendly for technology product design workflows. The great thing is that the interface is modeled on stock Mac apps like Pages, Numbers, and Keynote, the learning curve is mild relative to Photoshop. With little or no training anyone familiar with a computer can learn Sketch. The Vector-base helps when you want your design to be consistent across multiple devices.
Even with its simplicity and vector flexibility, many find it to be an uphill battle to switch. Some are too busy and some are too wedded to outdated design workflows within their company. When Sketch was still planting its roots as the premier user interface design tool, very few believed in the relevance of a vector UI focused design tool. Fast forward to today and Sketch has soundly dethroned Photoshop as the obvious choice for User Interface design.
Sketch sits at the center of my workflow, I spend nearly 7 hours a day on it and it continues to improve my workflow with new resources and community supported plugins on a daily basis. Sketch-first plugins and tools like Abstract, Craft, Flinto, Principle, Flow, and Framer have enabled Designers to collaborate on a whole new level. Companies like Apple, Google and Facebook tend to provide UI kits and other design resources for Sketch first.
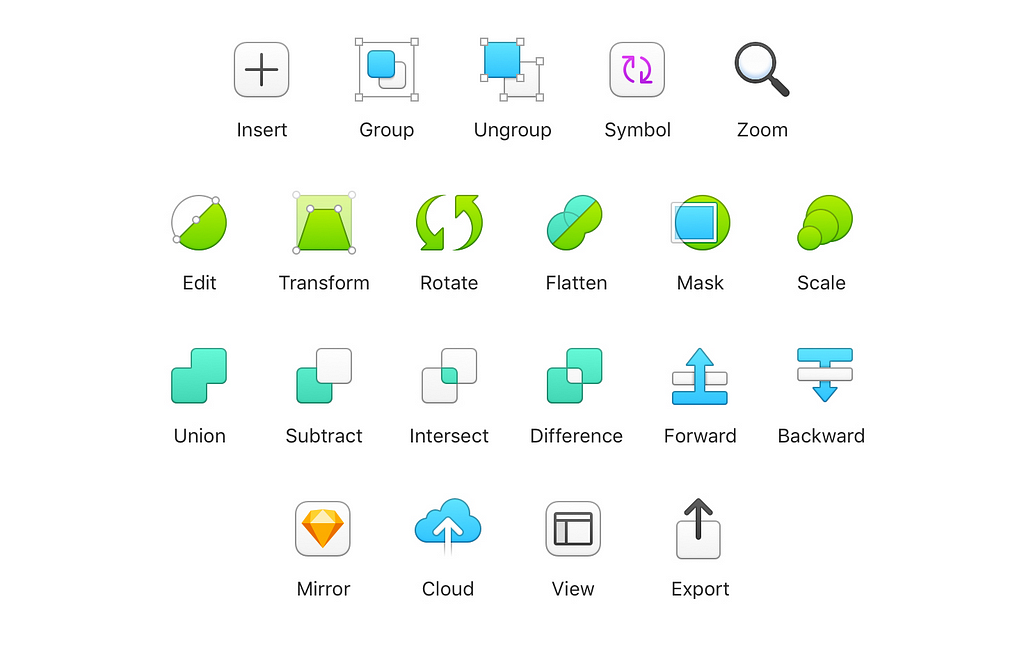
Weighing in at a lean 45MB on disk compared to Photoshop’s 2.17GB, Sketch greets you with a wide-open canvas when you boot it up. You will notice the interface is similar to native Mac apps with a Toolbar, a Navigator, and an Inspector. You can customize the toolbar by right clicking on the grey area, this will open up a window that shows all of the tools you can place on the toolbar for immediate access. You can place these on the toolbar by simply dragging the ones you want onto the toolbar space.
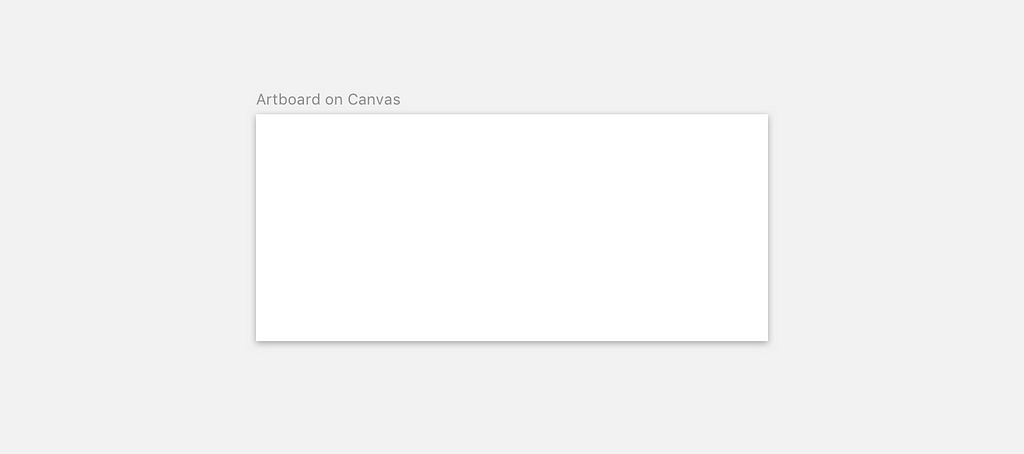
Artboards are the screen you are designing for, whether it is a mobile phone, a website or an experimental screen dimension. A single Sketch file can have multiple artboards, which is super helpful in keeping all screens related to a project together. Earlier, designers would have to save a separate file for each screen that they would design for which resulted in a mountainous stack of files that would be a pain to manage. Artboards optimize this workflow by enabling dozens of artboards , that may represent screens of an app, to be contained within one Sketch file.
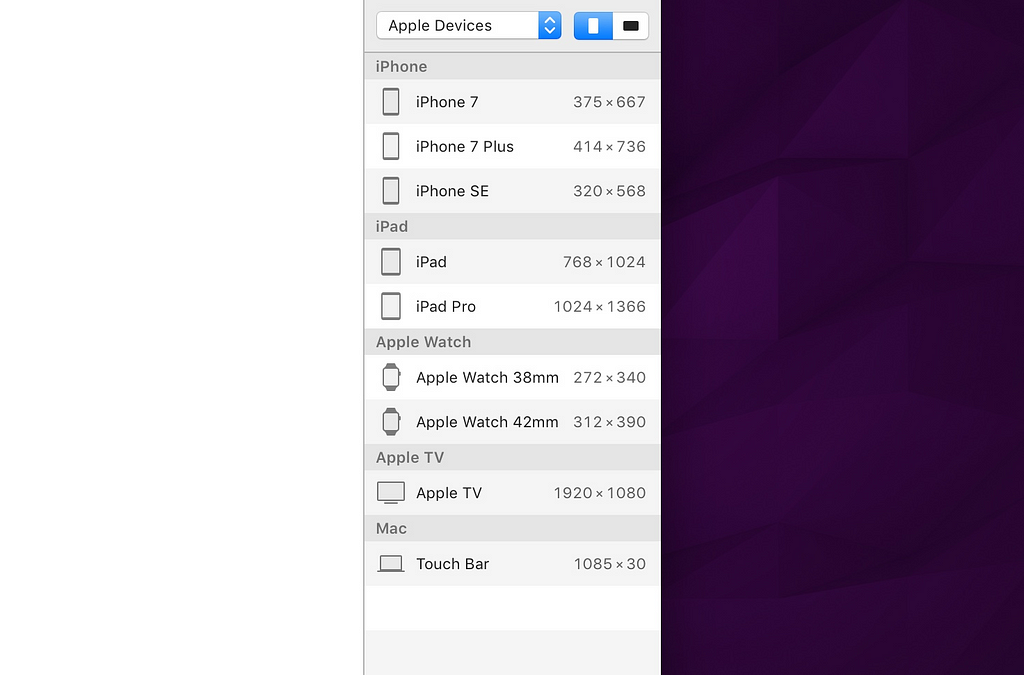
Press A to create an artboard. From the top right of the inspector, you can select from a number of device and form factor presets to define the dimensions of your screen or page. You can also create a custom artboard template dimension to suit your project.
To select an artboard click on the title of the artboard on the top left edge. You can manually place a vector shape to give the artboard a background or you can check the ‘Background Color’ checkbox in the inspector when you select the artboard. You can then specify a flat color to use as the background and include in the artboard when you export it. If you want to use a gradient as the background its best to use the first method, place an edge to edge shape and fill it with a gradient color.
In the project navigator, you can click on the arrow next to the page name to expand the Pages list. Your average Sketch project could contain twenty-something artboards for iOS, Android and/or Web. Pages can represent each of those components in one Sketch file. So imagine you created designs for the iOS version of an app, that would be one page, then you created designs for the Android version of the same app. Instead of cramming designs for both components into one page, you can create another page for the Android designs and build your designs there. This is a very nice way to keep everything organised, clear and collated into one Sketch file.

It is generally recommended to design in 1x since most production workflows include plugins and tools that cross import and export your artboards.
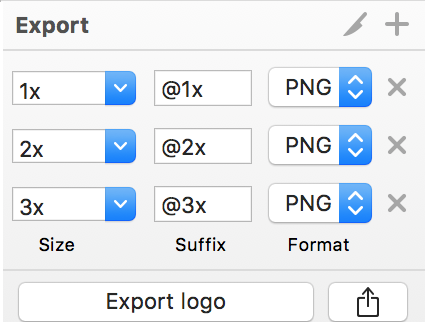
It is recommended to design at 1x for the iPhone 8 at 375×667 (the most popular resolution by far). In Sketch you are working in Pixel measurements, however, when you implement your designs in Xcode storyboards the unit will be points. The correlation between those dimensions from the Sketch perspective is that 1px = 1pt

Smart guides are a must-have feature for a designer and integral to the experience of using Sketch. These smart guides appear as red lines when you begin to click and drag a layer around. These lines indicate the alignment of the object relative to other objects on your dartboard and also indicate the distance between your object and others.
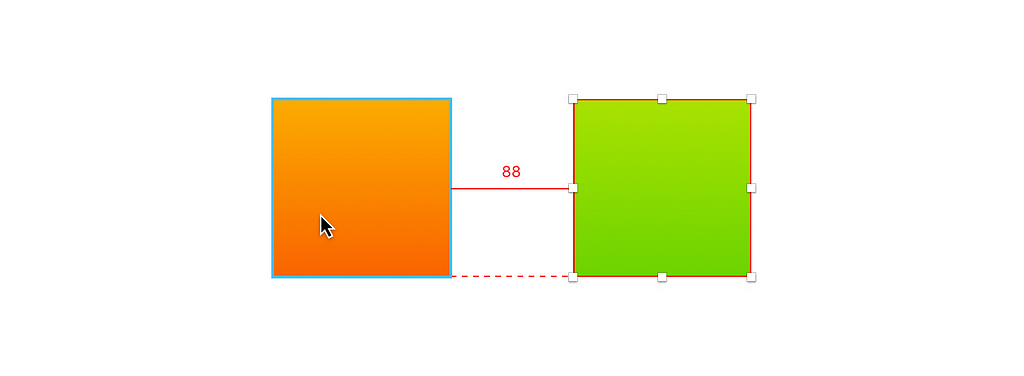
You can hold the ⌥ key to see the distance between objects when you simply hover your mouse over them. This can also display the distance of an object from the Artboard itself. You can also see the distance of an object from a Ruler you’ve placed as well
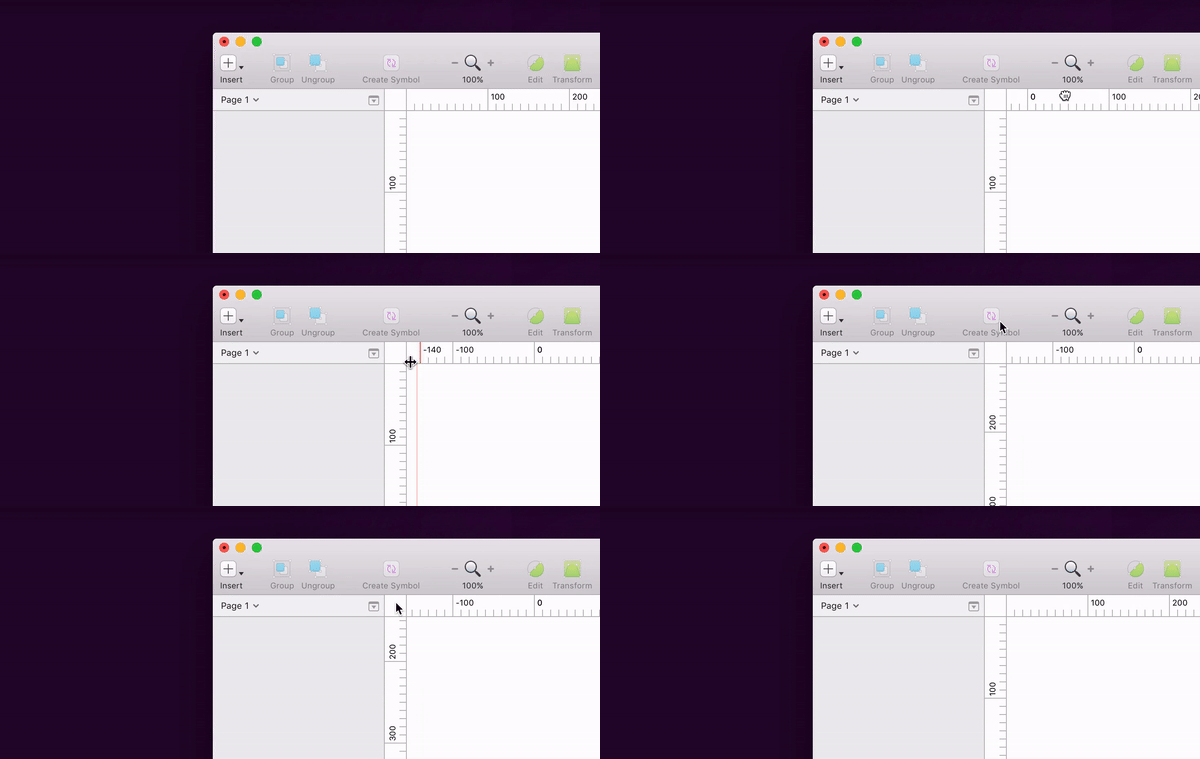
You can manually set persistent guides that you snap your objects to or simply measure your objects against them. Click within the ruler section at the edges of the canvas to create a Ruler guide.
You will frequently find yourself needing to align multiple objects relative to each other. While the Smart Guides can help you do this manually there is a feature in Sketch that can make this faster. Objects can be aligned horizontally or vertically within an artboard, when you select multiple objects they align relative to each other. The Distribute Objects button equalizes the distance between multiple layers.
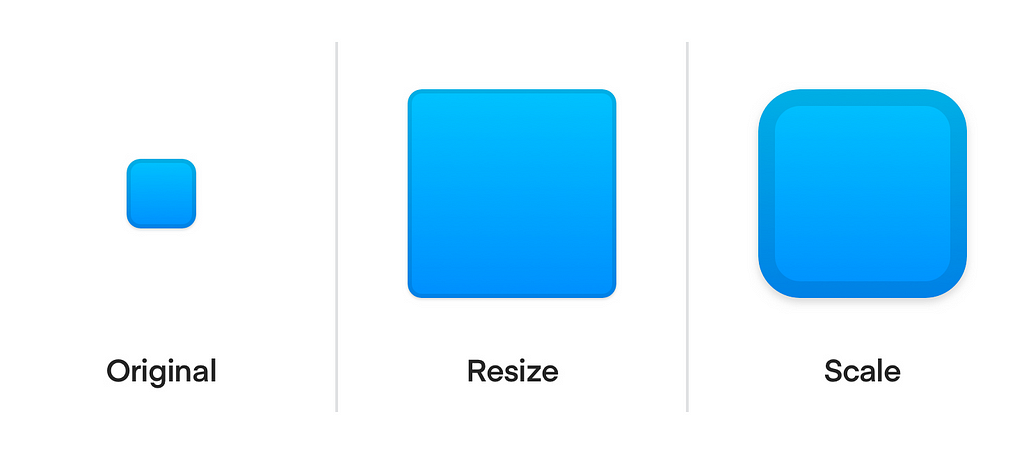
Scaling is absolutely not the same as resizing an object. Resizing changes only one property (dimensions) of an object, whereas scaling changes every property of the object. This is useful when you want to scale your SVG icons, if you simply resize them they will begin to look warped since their vector properties such as Radius, Border, Shadow and Inner Shadow are still the same only the dimensions are changing. The scale tool is critical to resizing your objects for converting 1x, 2x or 3x. You can even scale an artboard which will scale all the objects contained in it as well.
While it is highly recommended to use Auto-Save, which saves versions of your design as you make changes to it while making sure you don’t lose precious work because of a crash or an accident Cmd+Q. You should be aware of the massive disk space this can take up especially if you’re working with massive bitmap images in your design. You can disable this feature in the Preferences pane by unchecking it.
Auto save creates a version history that comes to your rescue when you make a mistake. You can revert back to an earlier version of your project file.
In the next story we will go over the meat and potatoes of the Sketch inspector features and tools like creating text layers, how to approach colouring your objects, colour gradients, masking and much MUCH MORE
For continuous design tips and tutorials you can follow me on Twitter.
New To Sketch? This Is Where You Start was originally published in UX Collective on Medium, where people are continuing the conversation by highlighting and responding to this story.
AI-driven updates, curated by humans and hand-edited for the Prototypr community