Text styles with a strong hierarchy
You might have noticed that sometimes your fingers, bypassing the thought, manage to come up faster with a name for a new layer or style, so you might have noticed such menu options in your project as Title-2, subheader-small, header-3 etc so lets stop making and distribute poorly organised styles.
When we have a mess in styles it becomes more complicated to communicate even basic requirements when it comes to everything that is text or font related. A project text system must have a good place in any product designer mind, so our goal is to make an accessible and reusable typography system that can expand or collapse depending on the size of the project.
To do this, we will need to determine in advance the number of used text styles, for this example we will use the existing standard for web development, for us designers HTML offers six headings of different levels that show the importance of a section, title or text. Thus, the <h1> tag is the most important heading of the first level, and the <h6> tag is used to indicate the header of the sixth level and is the least significant.
Let’s look at how to apply this approach to text styles, and make some simple steps to organize them in groups so we can give them a structure and manage them.
Creating a Typography System
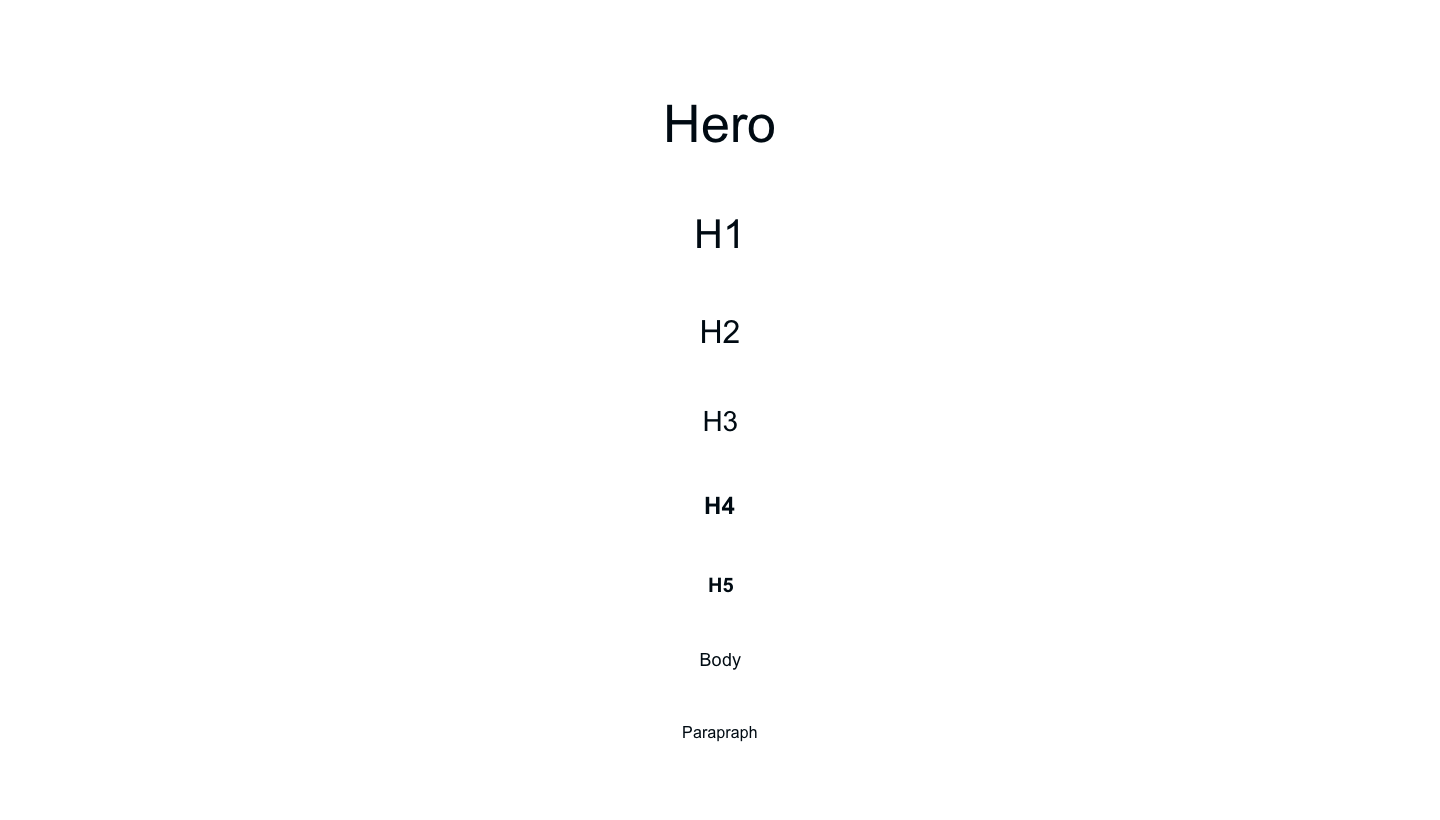
1. Open Sketch app, and start with writing all your text styles in a simple list, in order from the biggest to the smallest one, set all text layers alignment to the center. Hint — remember that the number of your styles can affect the overall feeling of typography in the project, so more does not mean better, try to constantly reuse same sizes instead of making a new one when designing a new web page or screen.
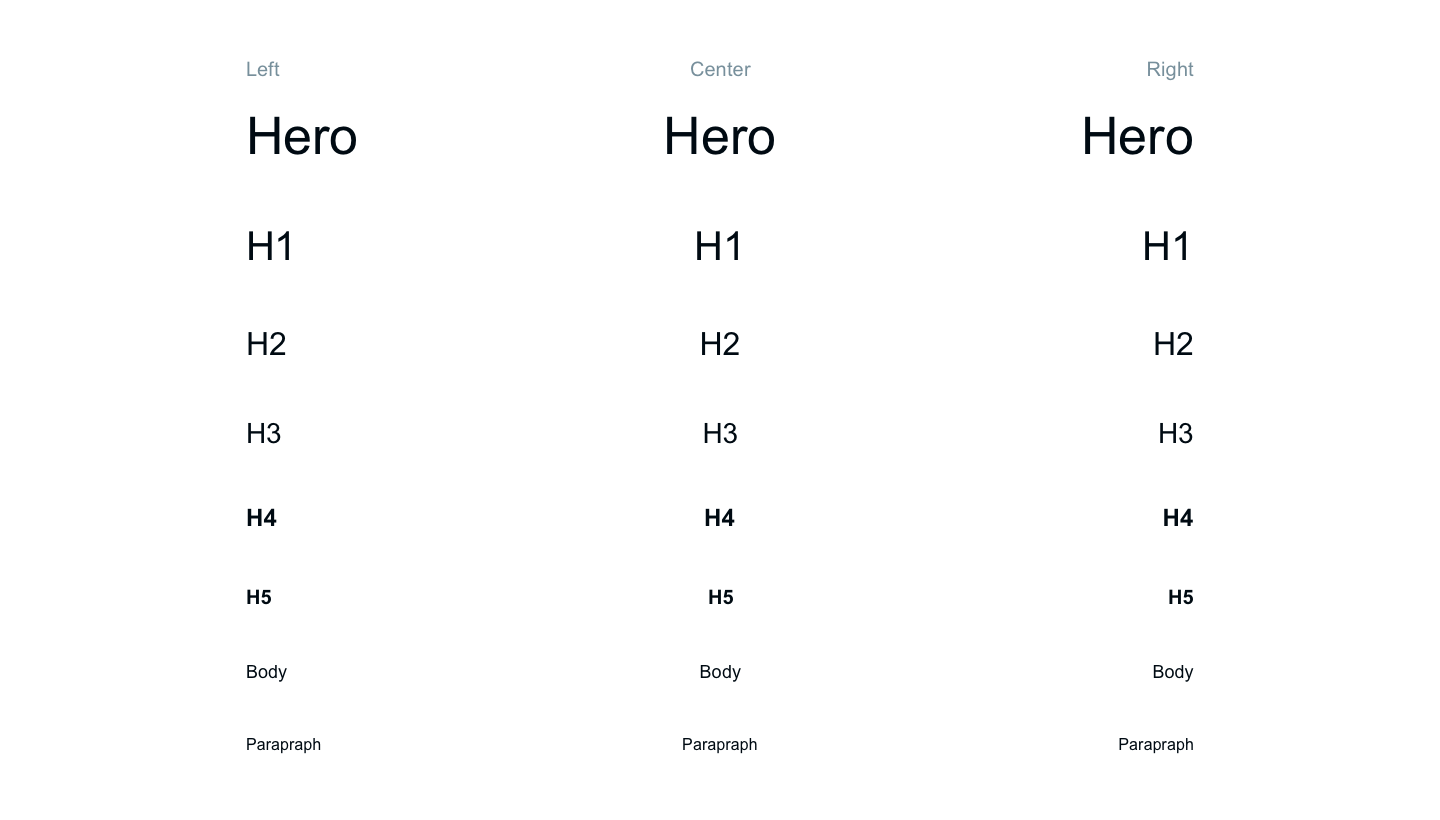
2. Now duplicate the column and make the left and right aligned columns to form a font table, and do not forget to change the alignment of each text layer to fit the appropriate column.
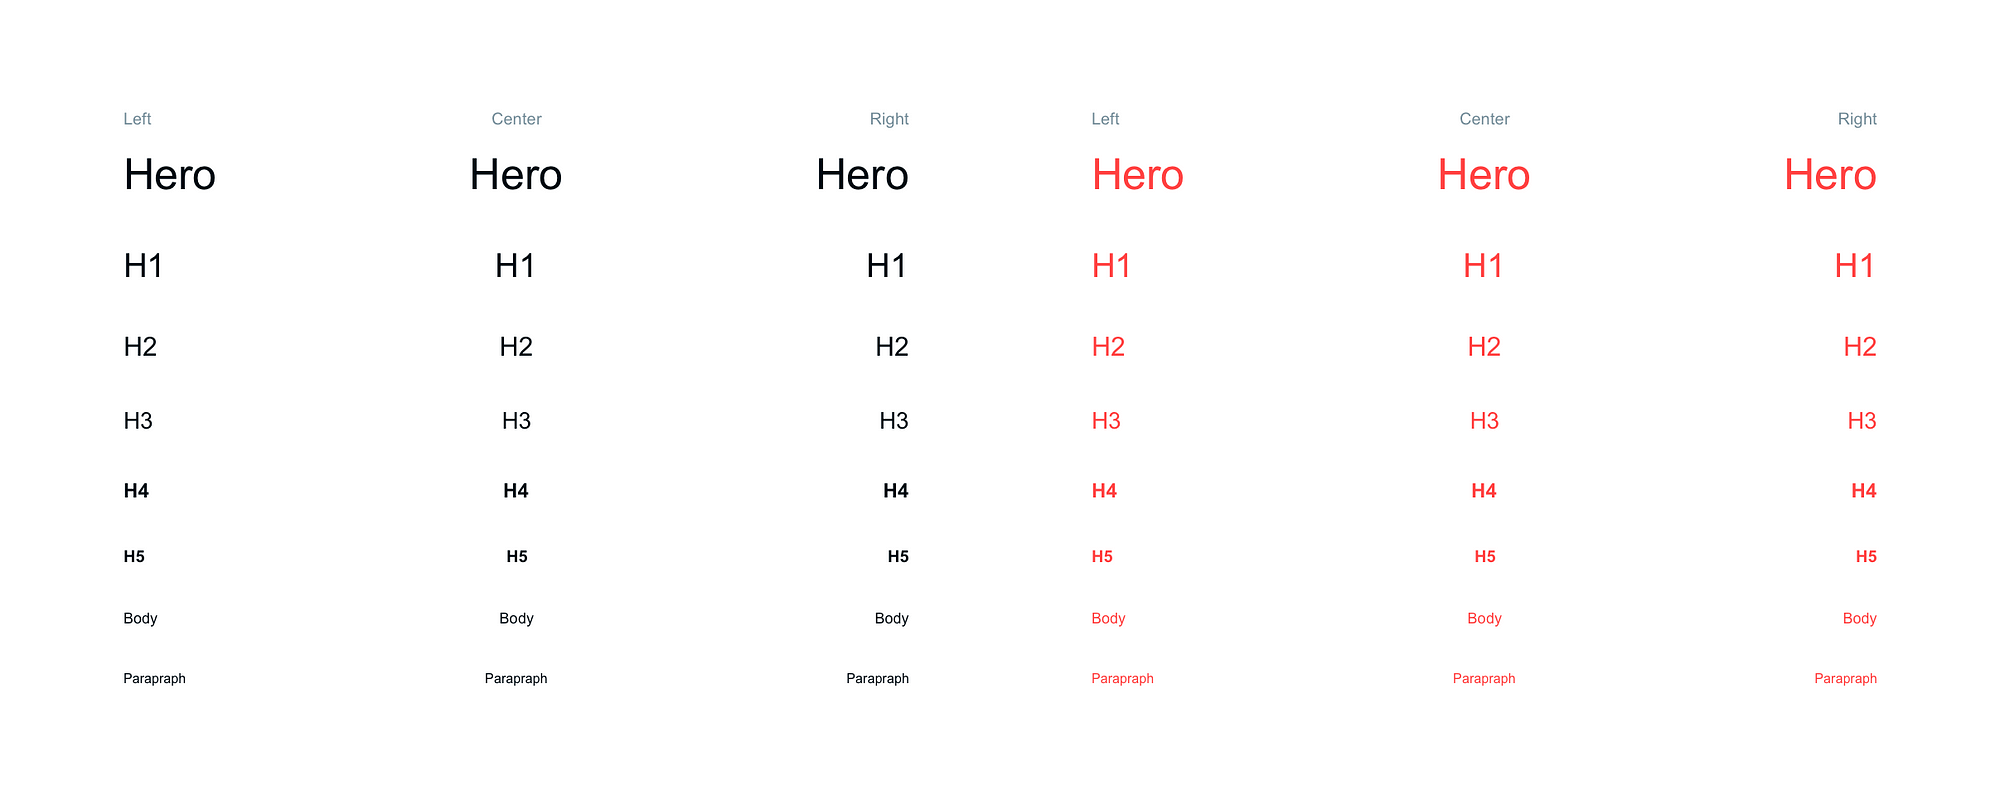
3. Copy the resulting table and duplicate the required number of times in accordance with your brand or interface status color, for example, Accent, Disabled or Active text status.
4. Now naming is really what matters on this phase, You need to assign names for each text layer according to their columns so same styles could form groups and style could have a menu structure, to do so, we will be using Rename It plugin.
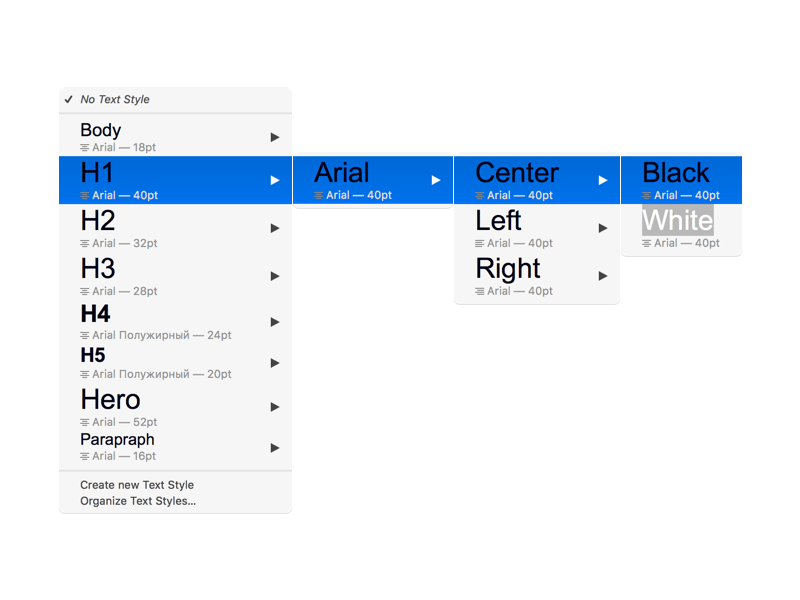
Our menu structure look like this:
*/Font name/Alignment/Color
Where (*) is current layer name
(If you are not planning to add another typeface you do not need to include /Font name to the structure).
Use rename it plugin to quickly set name for your text layers.
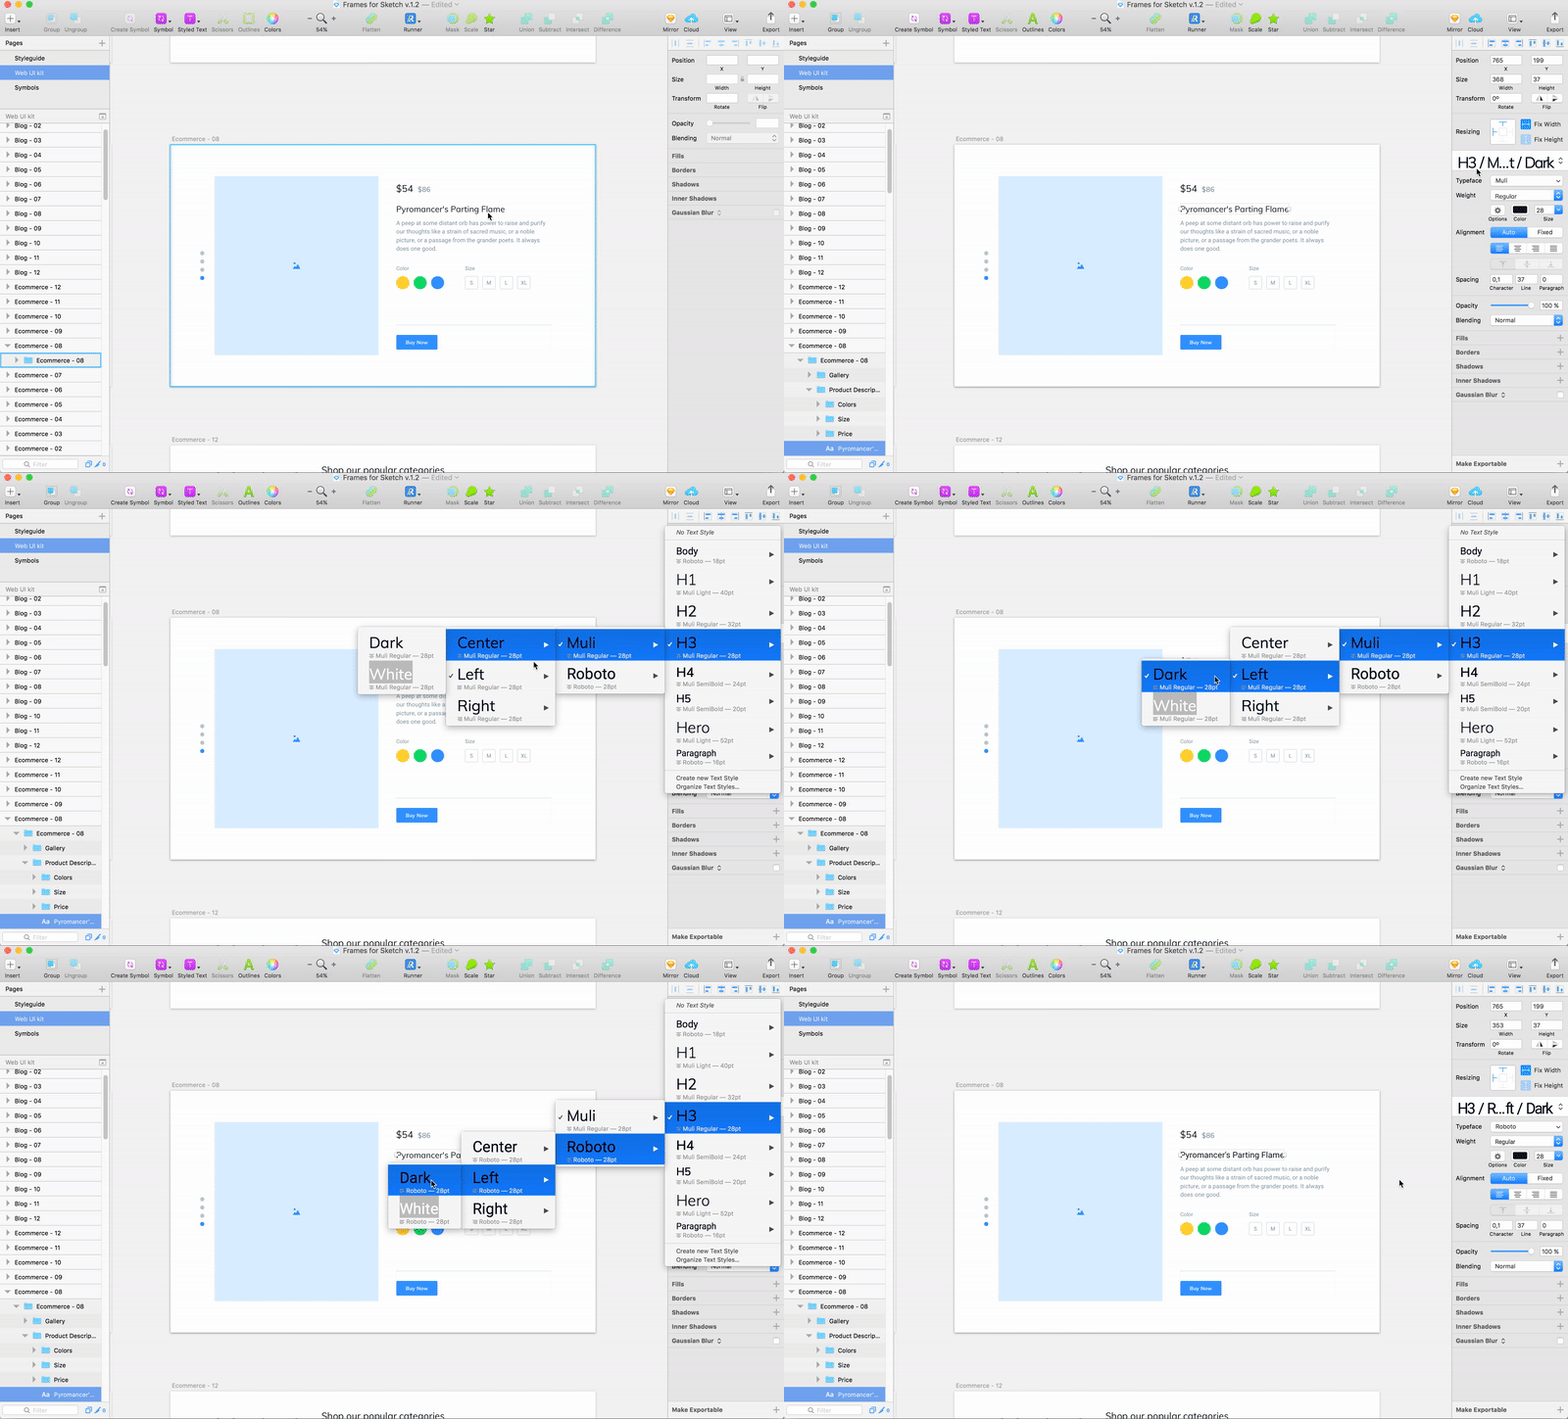
5. Now you need to create a text style from each text layer, at the moment of writing this article I could not find a way to make this step more elegant because still no plugin out there which could help you to convert selected layers to a shared style. So you need to manually assign each layer to a shred text style from drop down menu. (Hope someone will make a plugin for this action someday).
After this you should have a text menu structure looks like this:
Feel free to download the template sketch file below, to use it as a starting point for your next project. You can set your own fonts to the file to speed up this process next time.
👉Download Text Style Template