Build Design Systems With Penpot Components
Jul 21, 2:15 AM
Penpot's new component system for building scalable design systems, emphasizing designer-developer collaboration.
smashingmagazine.com

medium bookmark / Raindrop.io |
Engineer / Designer / Mentor trying to navigate the precarious land of product, design and engineering. A Student of DO. Tech lead @NeedTyres.

Unicorn by Vehuni Diana — https://www.etsy.com/shop/FluidDiamondArt/items
Last time we chatted, I spoke about next steps:
Apart from the usual optimizations and bug fixes, the next step is to allow Maji Studio to be able to import visual designs and turn them into code. I’m hoping to try this out with Gravit (a free and cross-platform vector design tool).
So I tried it out. I started developing a plugin for Gravit only to ‘realize’ installing plugins is not available yet. At first, I must admit, I thought I had been defeated by Gravit’s UI.
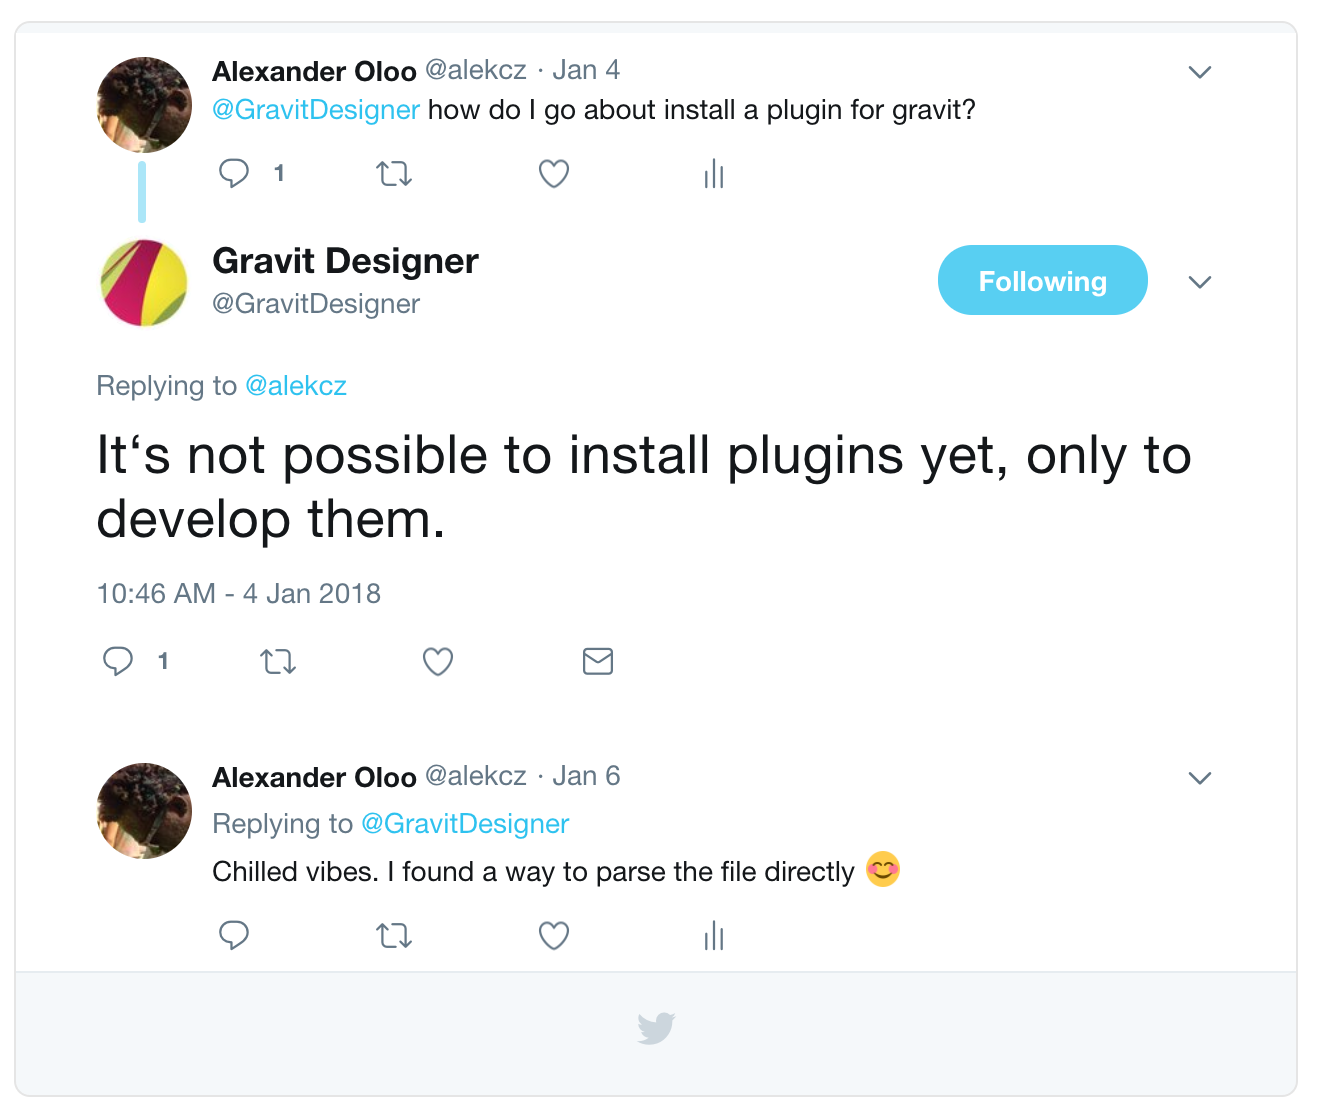
The UI didn’t defeat me but English surely did :/
I was quite stumped for a while. How was I going to import designs from Gravit into Maji Studio. Then I remembered Sketch 43. The way Sketch files were saved changed. Instead of binary file format (unreadable to humans) the design data changed to being stored in an open file format. If Sketch, which isn’t free, uses an open file format then surely…

I ain’t just a pretty face
If you want to give it a spin you’ll need the following.
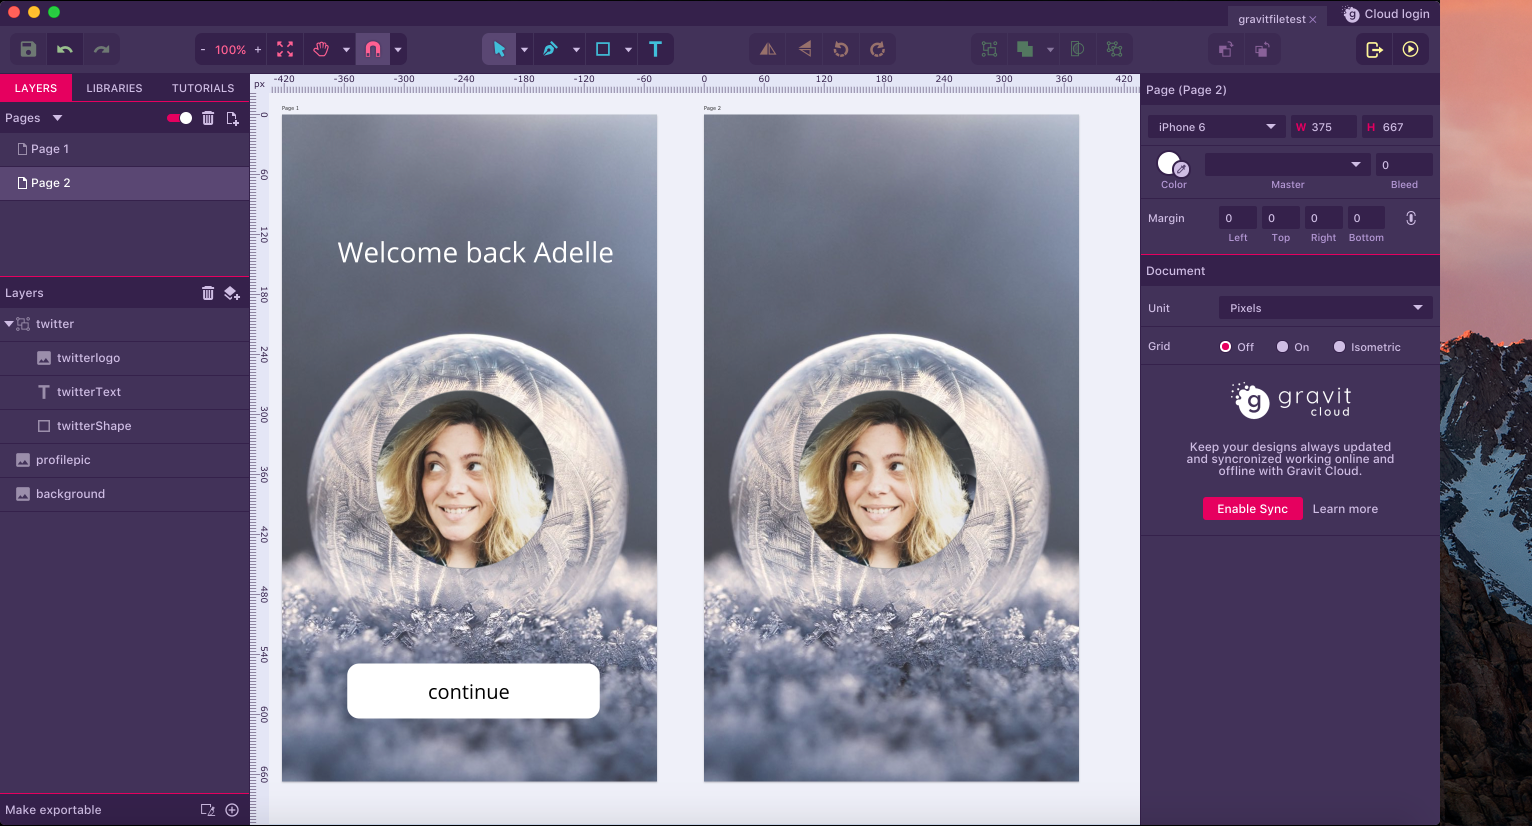
Start off by designing a simple app flow in Gravit. At the moment, Maji only supports a resolution of 375 x 667. So make sure your design is using that resolution.
When the design is imported each page will represent a screen.
Once you’ve finished your design save it. Then open Atom and create a new Maji Studio project. It takes a while to create the project because it downloads the template from Github (make sure you’ve got some interwebs).
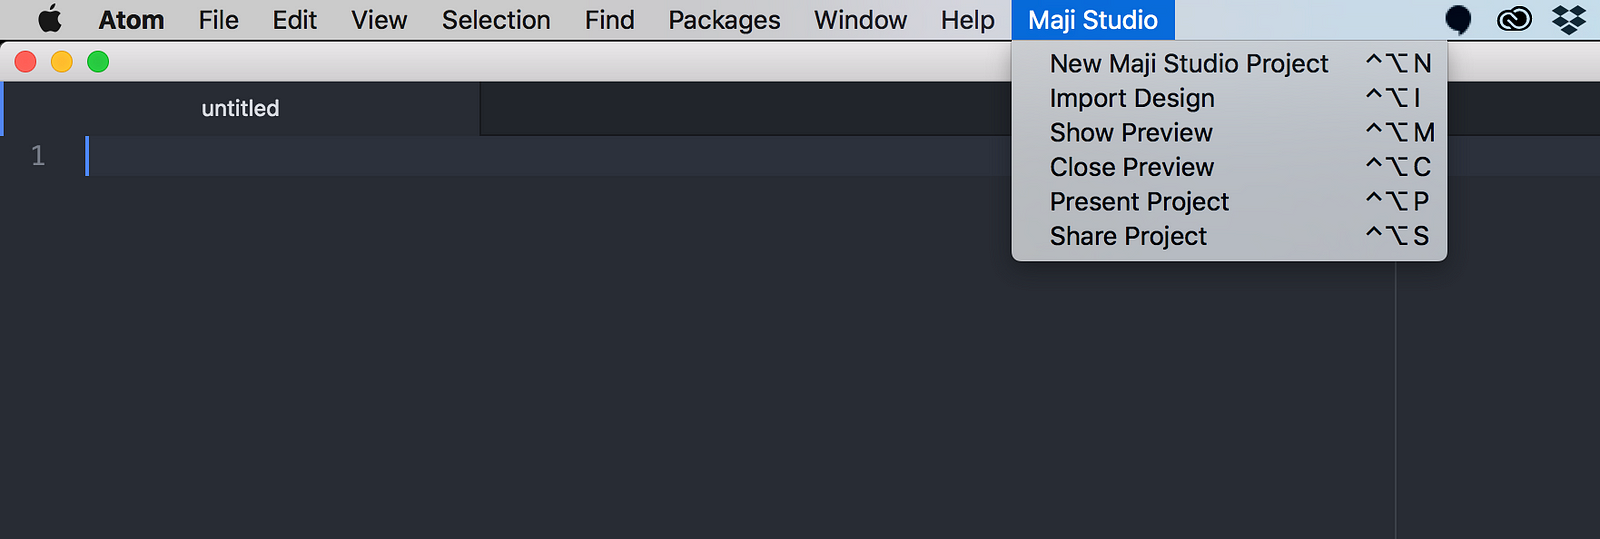
Or press Ctrl+ Alt + N like a boss
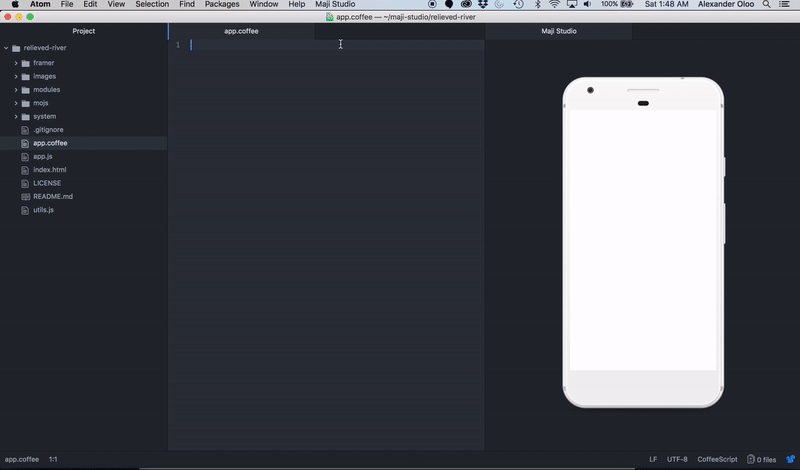
Once the project is created you can show the preview window and watch some blue blocks tumble. Empty out app.coffee and import your design.
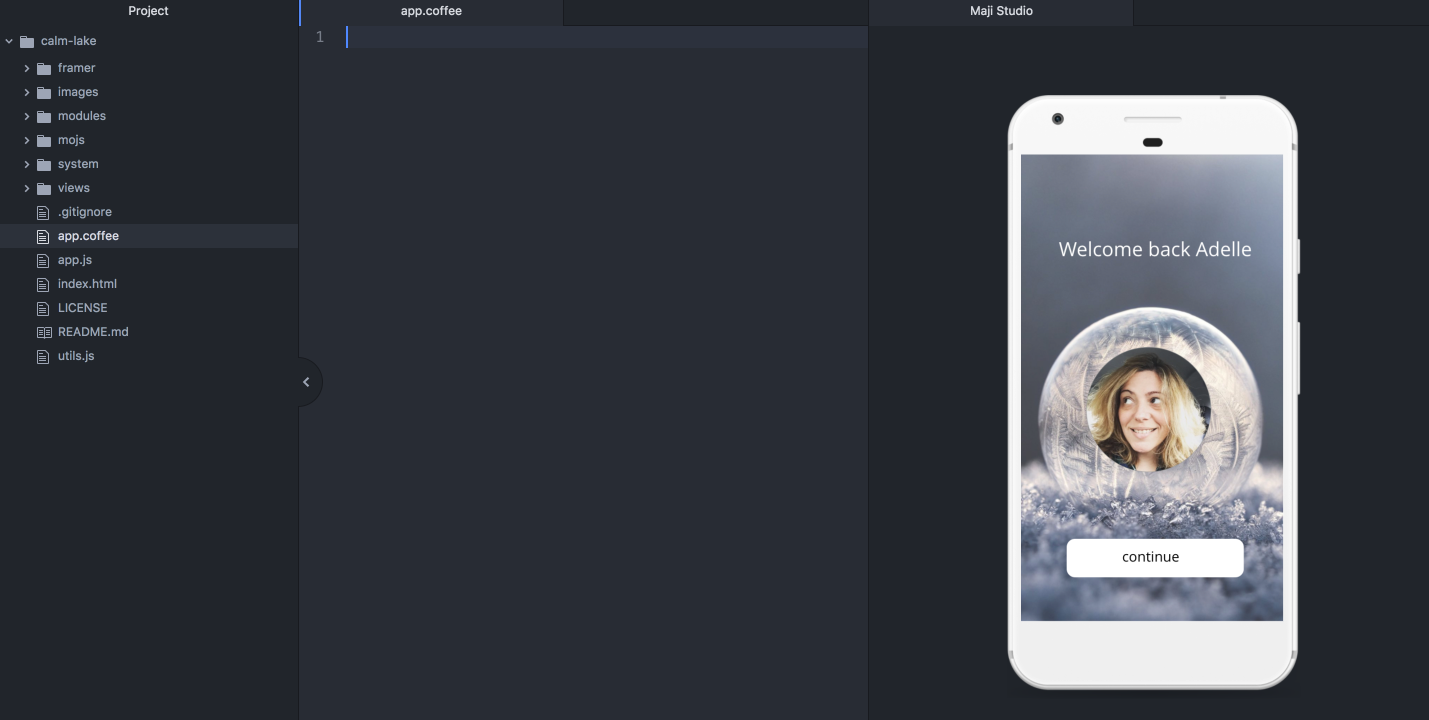
And voilà!
Now let’s give Framer’s FlowComponent a bash. Pop this code in app.coffee and hit save.
# Initialize FlowComponent
flow = new FlowComponent
#  Set up a flow from your Frames
flow.showNext(Page1.root)
Page1.cta.onClick ->
    flow.showNext(Page2.root)
    Page2.profilepic.animate
      x: 310
      y: 20
      width: 50
      height: 50
      options:
        delay: 0.5
        time: 1
    Page2.twitter.animate
      opacity: 1
      options:
        delay: 1.25
        time: 0.75
Hit save and skrrrrrr pop pop. We have a simple prototype.
Happy prototyping! I’ll catch up with you later. Gotta go polish up some things on the sharing feature. If you need me, catch me on Twitter.
Clappity clap 👏 if you liked this post. Thanks for the read.
AI-driven updates, curated by humans and hand-edited for the Prototypr community


