medium bookmark / Raindrop.io |
Mac command line apps, plugins, tweaks, and tips to make your terminal exactly what you want it to be: functional, minimal, aesthetic, or all of the above- everyone will find something here.
When I left the world of Linux and made the full-time switch to OS X a little over a year ago, what I missed most was the robust community and plethora of options surrounding customizations, tweaks, and personalizations of the operating system and workstation. What follows is a guide outlining the quest to build my perfect OS X shell — a command line experience both functional and beautiful, without sacrificing one for the other. I hope my footsteps will save some likeminded travelers some time and frustration on their journey towards a perfect terminal experience.
Mile 1: Choosing a Shell Application
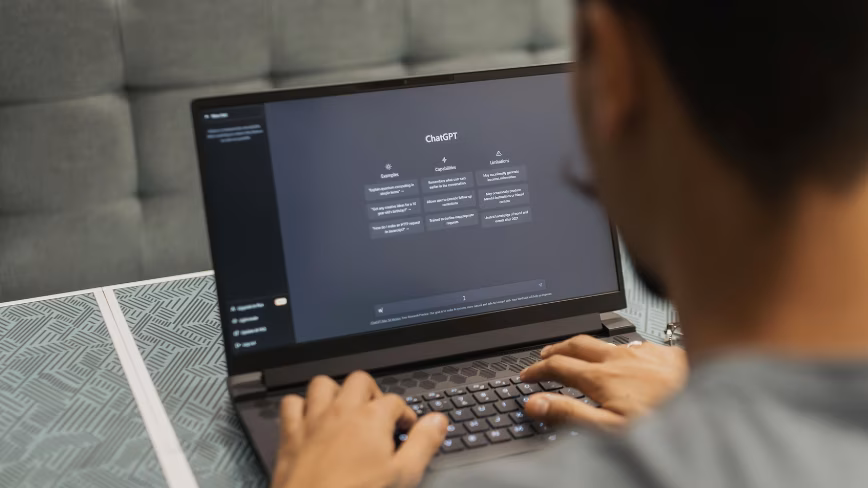
credit: hyper.is
The first step on this journey, and an important one, is choosing a terminal emulation application. Within the world of OS X, there are two dominant players: iTerm, and Hyper.
This article is not meant to be an application review, so I’m not going to go deep into specifics regarding either choice’s functionality or advanced usage, but I will say the following:
Generally, iTerm is going to be the more performant option of the two. iTerm possesses a truly amazing array of options, shortcuts, and capabilities. If you are doing heavy work on the Mac command line, regularly using tmux, or require more advanced configurability, this will likely be the better fit. Find iTerm here.
Hyper is a newer player in this field, and despite having less functionality than iTerm, is inarguably the more beautiful terminal experience. This isn’t to say iTerm is ugly, but Hyper’s styling is just..nice.
Hyper is built on web technologies (HTML, CSS, JS), and has a robust collection of themes, a diverse library of easily installed plugins, and continual user contributions make this a fun and interesting choice. The Hyper team just released version 2- increasing speed, adding useful UX improvements, further simplifying plugin installation, and more. Check out Hyper here.
Either choice here is going to be a good one. Both options can be configured to create a beautiful, highly functional terminal experience. I would recommend trying both- I keep both installed, using each for different purposes.
Note: if you don’t like either of the options above, or prefer to stick with native applications, the built-in terminal.app that ships with OS X will work just fine for most or all of what we’re going to cover in the remainder of the article.
Mile 2: Installing Your Unix Shell
After determining which terminal application you’re going to use, the next step is choosing a unix shell. This is a necessary prerequisite for most of what will follow.
There are three major choices in this department: Bash (OS X default), Zsh, and Fish. Each choice has different advantages and disadvantages, but for the purposes of this article, we are going to be working with zsh.
Z shell, or zsh, has been around since 1990, and has a large following and a diverse array of plugins, guides, and contributors. Some advantages of zsh include: improved completions, command history, globbing, shortcuts, variable handling, and many others. Each of those items are worth exploring and learning about another time.
Zsh Installation:
Zsh ships with OS X, however, it is an older version. I recommend installing the latest version using Homebrew, the Mac package manager.
If you have not heard of Homebrew, or do not have it installed, you can find it here.
- To install zsh using Homebrew, enter the following into your terminal:
brew install zsh zsh-completions
- Verify installation by entering the following:
zsh --version
expected result: 5.1.1 or newer.
- Make zsh your system’s default shell:
chsh -s $(which zsh)
echo $SHELL
expected result: /bin/zsh
If you get hung up anywhere during this process, or need additional help, check this for more information and a more detailed install guide.
After installing zsh, the first time zsh is ran, it will prompt you with a series of questions concerning configuration. Follow the prompt through to the end, making changes wherever desired. No changes are necessary, however- the defaults will work fine.
Mile 3: Choosing a Framework
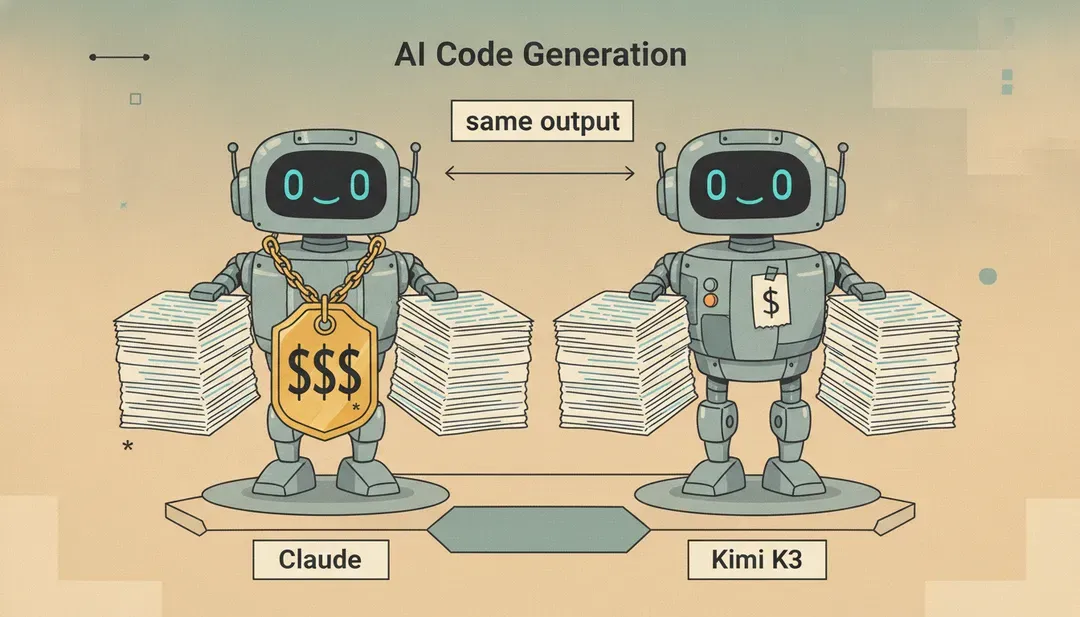
credit: oh-my-zsh
After installing zsh, a whole new world of frameworks, plugins, and themes opens up. Far more than can be covered within this article. For the purposes of this article, we will be using Robby Russel’s oh-my-zsh as our framework. It is simple to install, has a robust feature set, and is generally forgiving in usability.
If oh-my-zsh is not your cup of tea, a similar framework like Prezto will work just fine in place of it. Alternatively, if you prefer a more lightweight alternative, you can stick with only a plugin manager, like Antigen, or run without a framework altogether. These decisions are entirely up to you, and I would encourage you to play around with different configurations, frameworks, plugins, and changes to determine which fits your workflow and needs best.
Installing oh-my-zsh:
Head to the oh-my-zsh repository on Github — here.
Follow the basic installation instructions in the repository, or see the below:
Install via curl:
In your terminal, run:
sh -c "$(curl -fsSL https://raw.githubusercontent.com/robbyrussell/oh-my-zsh/master/tools/install.sh)"
The above will clone and install oh-my-zsh. When complete, you’re ready to get started using it.
Oh-my-zsh configuration:
Zsh plugins can add all kinds of useful workflow solutions, fun tweaks, or add important functionality. Here are a few to get you started:
zsh-nvm — zsh plugin for Node Version Manager (assuming you use Node.js). Download it here.
zsh-syntax-highlighting or fast-syntax-highlighting — adds realtime syntax highlighting to commands while typed in the terminal — highly recommended. Find it here.
git — shortcuts and solutions for git users. Ships with oh-my-zsh.
There are many, many more plugins out there. Oh-my-zsh ships with a long list of them, as well (see here). Again, this is up to personal configuration- spend time deciding which will work best for you.
Plugin installation:
This portion of the guide brings us to a highly important piece in the zsh configuration process: the zsh configuration file, .zshrc .
Your .zshrc file should have been generated the first time you ran zsh and/or during oh-my-zsh installation. You can find it among the hidden files in your home directory.
Note: to enable hidden file viewing in your home directory, type this into your terminal: defaults write com.apple.finder AppleShowAllFiles YES
The .zshrc file is where most of our prompt configuration is going to take place. Oh-my-zsh will have generated a default configuration, with fields for theme, plugins, aliases, and more.
Installing a new plugin is a simple process. If it is a plugin that shipped with oh-my-zsh, simply navigate to the “plugins” portion of your .zshrc file and type its name within the brackets. Reload your terminal by typing zsh and it should be functional.
For third-party plugins, I recommend following the installation instructions within the plugin’s repository. However, the installation process for most third-party plugins is pretty straightforward, and should go as follows:
- Clone the plugin and move the cloned files into your
/custom folder within the oh-my-zsh installation, which is found in your home directory.
- Within your
.zshrc file, add the plugin’s name within the brackets in the ‘plugins’ field, as we did above.
- Reload zsh, and it should be ready to use.
Note: if you run into any hangups in this process, please refer to the oh-my-zsh repository, or the third party plugin’s repository. Most of your troubleshooting needs should be addressed there. Additionally, there is a large community surrounding the use of these tools- if there is something you can’t immediately find in the repositories, a quick google search will likely turn up a long list of people asking and solving the same questions you have.
Mile 4: Spaceship Prompt Installation
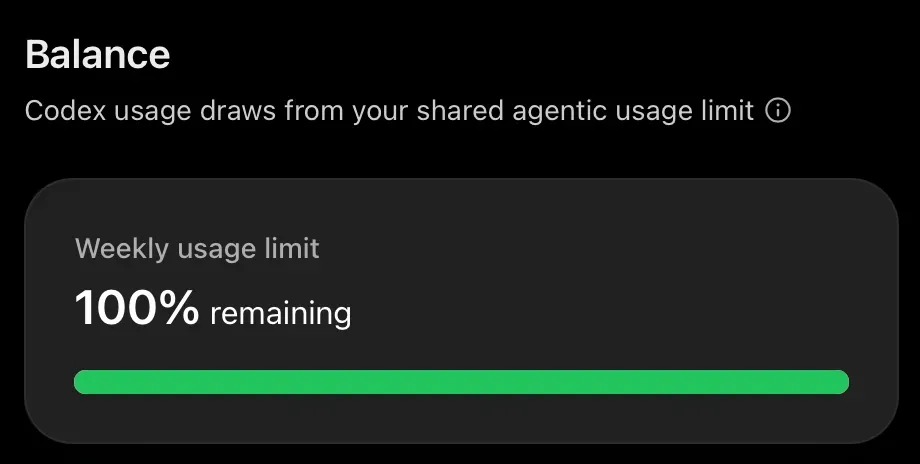
credit: spaceship prompt
Now that we have installed zsh, a framework, and our plugins, we can now get to work configuring our command line via a theme/custom prompt.
Your command line prompt can be whatever you want it to be- minimal, verbose, informative, beautiful, pragmatic, or all of the above. For our purposes, I have chosen a great zsh prompt theme, Spaceship. It is the best combination of each of the attributes above that I have encountered thus far.
The Spaceship Prompt’s github repository can be found here.
Spaceship prompt installation:
Clone the repository:
git clone https://github.com/denysdovhan/spaceship-prompt.git "$ZSH_CUSTOM/themes/spaceship-prompt"
Symlink spaceship.zsh-theme to your oh-my-zsh custom themes directory:
ln -s "$ZSH_CUSTOM/themes/spaceship-prompt/spaceship.zsh-theme" "$ZSH_CUSTOM/themes/spaceship.zsh-theme"
Set ZSH_THEME="spaceship" in your .zshrc ‘s “theme” section.
Spaceship prompt customization:
Now that you have your prompt installed, there is a long list of customizations and tweaks that can be made to suit your workflow or style. Their repository has a great set of docs that will show you some of the possibilities. Spend some time viewing the examples, or leave it as-is — the defaults are great.
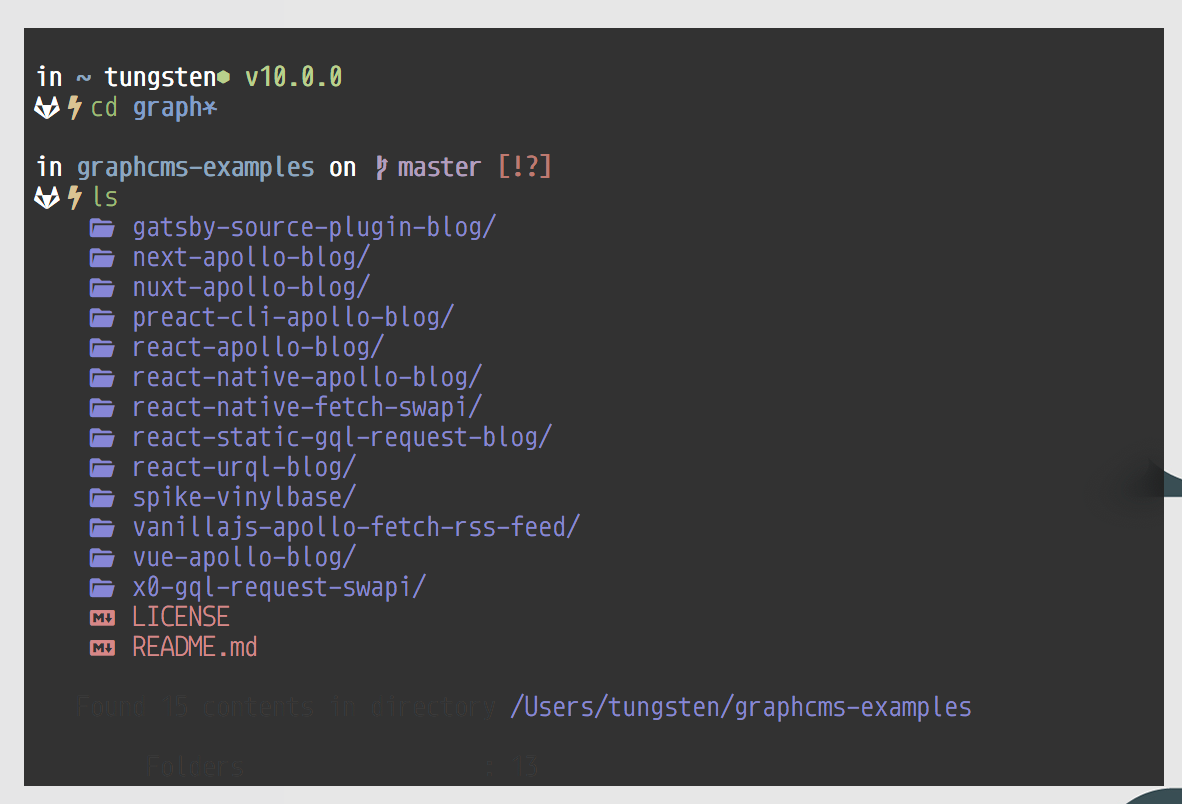
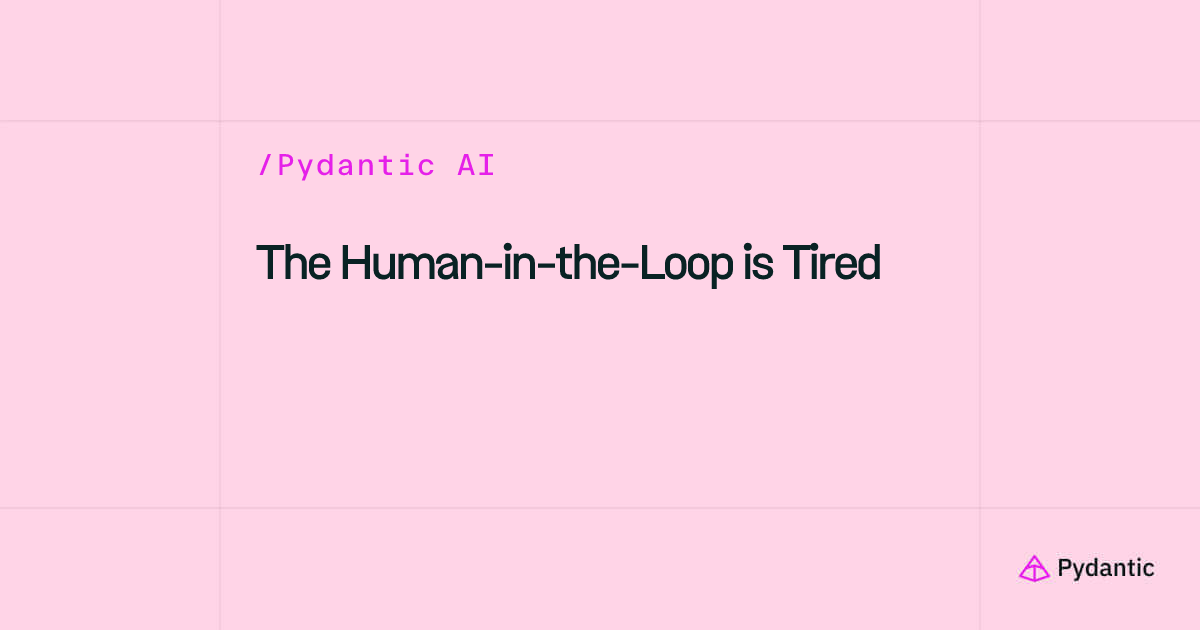
My personal prompt is configured to display some custom icons and information:
Spaceship prompt in iTerm2
The above should give you an idea of some of the cool possibilities that you can create with Spaceship. To get your prompt looking like mine, a few steps must be followed:
The font I’m using iTerm is Monoid Nerd Font . In Hyper I am using nerd fonts’ PowerlineSymbols and mononoki Nerd Font Mono . Use whichever fonts you personally like, however— a nerd font is required to properly use Spaceship prompt. Nerd fonts are specially patched to include all of the great symbols/glyphs discussed within this article.
Find nerd fonts here and here.
- To install nerd fonts:
- Manual installation — download/clone the font files. The nerd fonts repository will have detailed instructions regarding downloading either the entire package, or individual fonts.
- Navigate into the newly downloaded font(s)’ directory. Find the actual font files, typically ending in
.ttf — simultaneously, open up the native ‘Font Book’ application that ships with OS X.
- Drag the font (
.ttf ) files directly into Font Book’s list of fonts. Your cursor should change to a green ‘+’ symbol upon dragging. Release the cursor, and your fonts will be installed.
3. Additional font installation options are detailed in the nerd fonts Github repository, and include installation via Homebrew, install script, and ad hoc curl download. Each has their advantages/caveats- I recommend reading the repository to decide which is easiest/best for your needs.
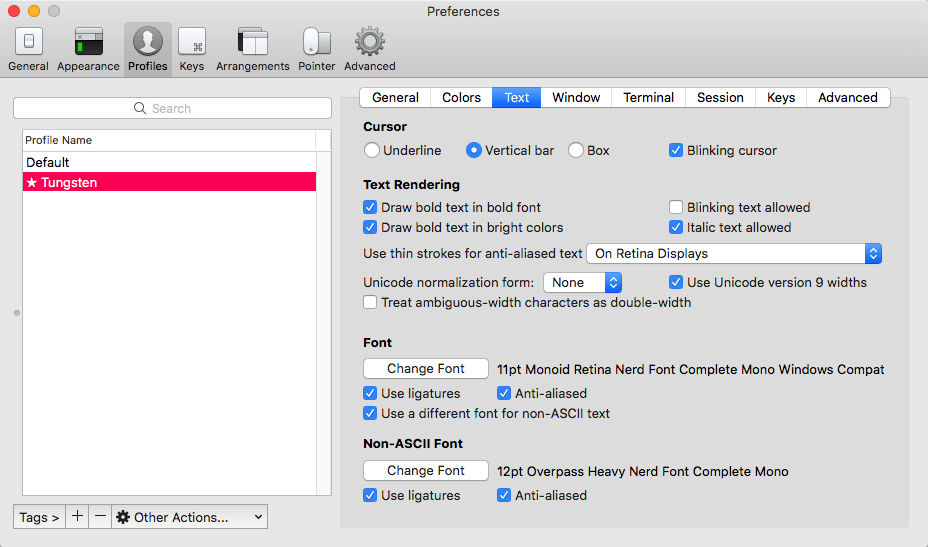
4. After downloading and installing your nerd fonts, open up your terminal emulator (iTerm or Hyper), and press Command + , . This will open up your user preferences. In iTerm, this will come in the form of a GUI dialogue window. In Hyper, this will open up your Hyper configuration file, .hyper.js in your default text editor.
- In iTerm, fonts can be set within the ‘Profiles’ -> {name of profile} -> ‘Text’ section. Within ‘Text,’ navigate to the ‘Font’ portion. Change the primary font to your new nerd font, and check the box ‘Use a different font for non-ASCII text.’ Check this box, as well as the ‘Use ligatures’ box. Set the secondary font to a nerd font, as well. See below:
Your configuration should be similar.
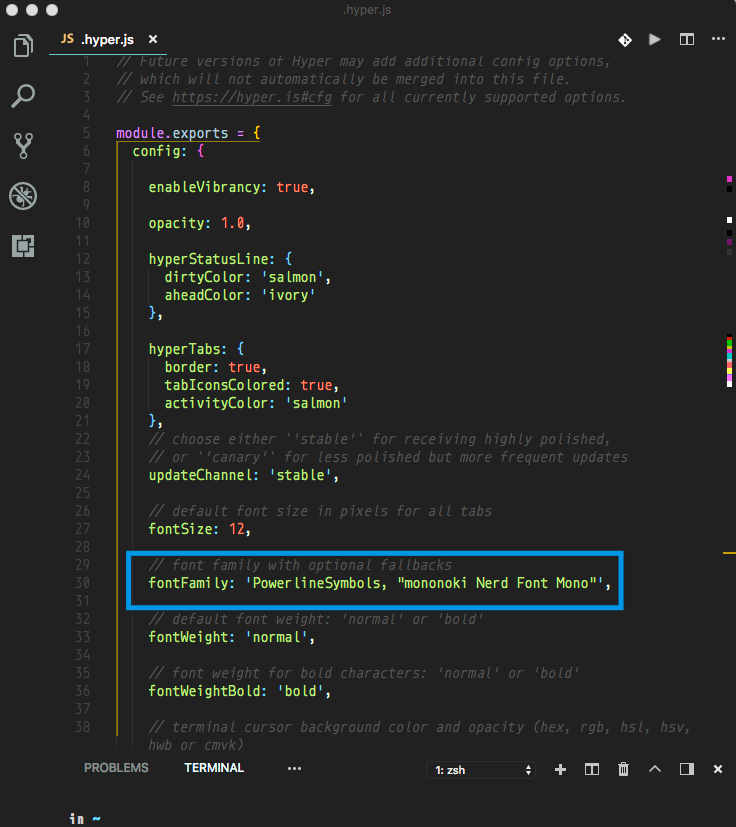
In Hyper, within your .hyper.js configuration file in your text editor, navigate to the fontFamily tag. Replace the defaults with the names of your new nerd font(s).
Note: if you are not a programmer, be careful with your use of quotation marks. Multiple word font names with spaces will need their own surrounding quotes.
Your configuration should look something like the below, specifically, the portion surrounded in the blue box (you may disregard the other fields):
pictured: vs code with monoid nerd font, material darker syntax theme.
Now that you have Spaceship prompt and nerd fonts installed and selected within your terminal, you can begin customizing the prompt:
- Within the nerd fonts website, roughly two-thirds of the way down, there is a scrollable field that displays glyphs/icons and their corresponding codes. Any of these icons can be used in your prompt using Spaceship and a nerd font. Scroll through and find one or two that you like.
Note: the four-character glyph/icon codes must be preceded by \u , as shown below.
- Within your
.zshrc file, paste the following after the “theme” section:
SPACESHIP_PROMPT_ADD_NEWLINE=”true”
SPACESHIP_CHAR_SYMBOL=” \uf0e7"
SPACESHIP_CHAR_PREFIX=”\uf296"
SPACESHIP_CHAR_SUFFIX=(“ “)
SPACESHIP_CHAR_COLOR_SUCCESS=”yellow”
SPACESHIP_PROMPT_DEFAULT_PREFIX=”$USER”
SPACESHIP_PROMPT_FIRST_PREFIX_SHOW=”true”
SPACESHIP_USER_SHOW=”true”
The above will make your prompt look identical to mine, assuming you have a nerd font installed. If you would like to change the icons in the prompt, the SPACESHIP_CHAR_SYMBOL= and SPACESHIP_CHAR_PREFIX= fields are where you will plug in the icon codes from nerd fonts that I noted above. You can add logos from programming languages, frameworks, and libraries. You will also find glyphs, arrows, lightning bolts, meteors- for those obsessed with customization, there’s plenty to work with.
4. Another item that may be of interest within my terminal are the colored folder/file icons. I’m using a ruby gem called “colorls”- which you can find here.
Colorls installation:
Colorls, once installed, adds some glyphs to your ls command, and can be configured to show informative reports, realign and reconfigure the output of ls, among many other options. Follow the installation instructions within the repository.
To get colorls to print every time the ls command is used, you will need to use an alias within your .zshrc file.
To configure this, head into your .zshrc file, and scroll to the very bottom.
Paste the following:
alias ls=’colorls — light — sort-dirs — report’
alias lc=’colorls — tree — light’
This will get your ls looking identical to mine. Additionally, inputting the lc command will print a tree-view version of ls. As a warning, I only recommend doing this on smaller directories — it may become slow while indexing larger folders.
Final Notes on my Prompt:
In iTerm, I am using a color scheme called termnk — you can find it here.
Additionally, a long list of iTerm color themes can be found here.
For Hyper, my configuration is as follows:
plugins: [
“hyper-statusline”,
“hyperterm-bold-tab”,
“hyper-tabs-enhanced”,
“hyper-papercolor”,
“hyper-opacity”,
“hyper-simple-highlight-active-session”,
“hypercwd”,
“hyper-pane”,
“hyper-search”
],
Mile 5: Conclusion: Tips, Resources, and Where to Go From Here
By this point, you should have a functioning zsh terminal with a great start on your own custom configuration. After seeing my personal configuration, and potentially emulating portions of it, you should now have a good idea of some of the beautiful and endless options available for the zsh shell on Mac. This, however, is only the beginning of the journey. This guide is not meant to be exhaustive- there are so many more possibilities and amazing resources to tweak your shell and workflow to whatever you want it to look, feel, and perform like. This final portion is dedicated to outlining some great resources to continue your learning and keep exploring from here.
Recommended reading:
There are so many more amazing zsh plugins that can assist with searching, grepping, adding screensavers to your terminal like pipes.sh, or informative on-load prompts like Neofetch. I recommend reading through and finding some more plugins to suit your workflow.
Similarly, a compendium of useful resources related to all things zsh.
A community focused on ricing/customization of all things Unix. While Linux is the dominant force here, a quick search for ‘OSX’ will net you some inspiring examples.
As noted, a curated list of Terminal frameworks, extensions, and resources. This is a great reference- highly recommended.
An interactive test drive application to preview some of the best programming fonts available. Most/all are free, and have a patched version for download from nerd fonts.
The definitive list of Hyper themes & plugins. If you decide to use Hyper, this should be one of your first stops.
Conclusion:
Keep exploring and working on your terminal experience. Getting excited about how your command line looks and feels is going to help you get more excited about learning how to use it, about programming (if applicable), and is just fun.
As more users enter the world of command line customization, more options and innovations are sure to follow. Despite Linux generally having more support for this type of personalization, I hope this has opened some readers’ eyes to some of the awesome terminal configurations possible in OS X.