It’s a pretty exciting time to be a designer. There are super talented teams all around, working on powerful products. Figma is definitely one of them — the first interface design tool based in the browser, making it easier for teams to create software.
We’ve been getting tons of requests for an integration and we’re very excited to announce that you can export your Figma designs to Zeplin today.
Getting started
If you’re on the latest version of the Mac app, you’re ready to go! If you’re new though, sign up here or download the app here.
☝️ Note for Windows users: The integration currently only works on Mac, Windows support will be out in a few weeks!
One of the beauties of this integration is that there’s no plugin or a panel to install. Just open your designs on Figma and activate the integration from the menu, Integrations > Zeplin.
Exporting designs
After enabling the integration, start by selecting the frames you want to export. Click the Export button in the top right corner, then look for the Export to Zeplin button. You can either export frames one by one or by selecting multiple frames, from the layer list or the canvas.
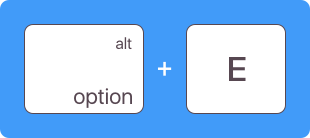
After selecting frames, you can also use the shortcut ⌥E to initiate the export. That’s Option or Alt, E!
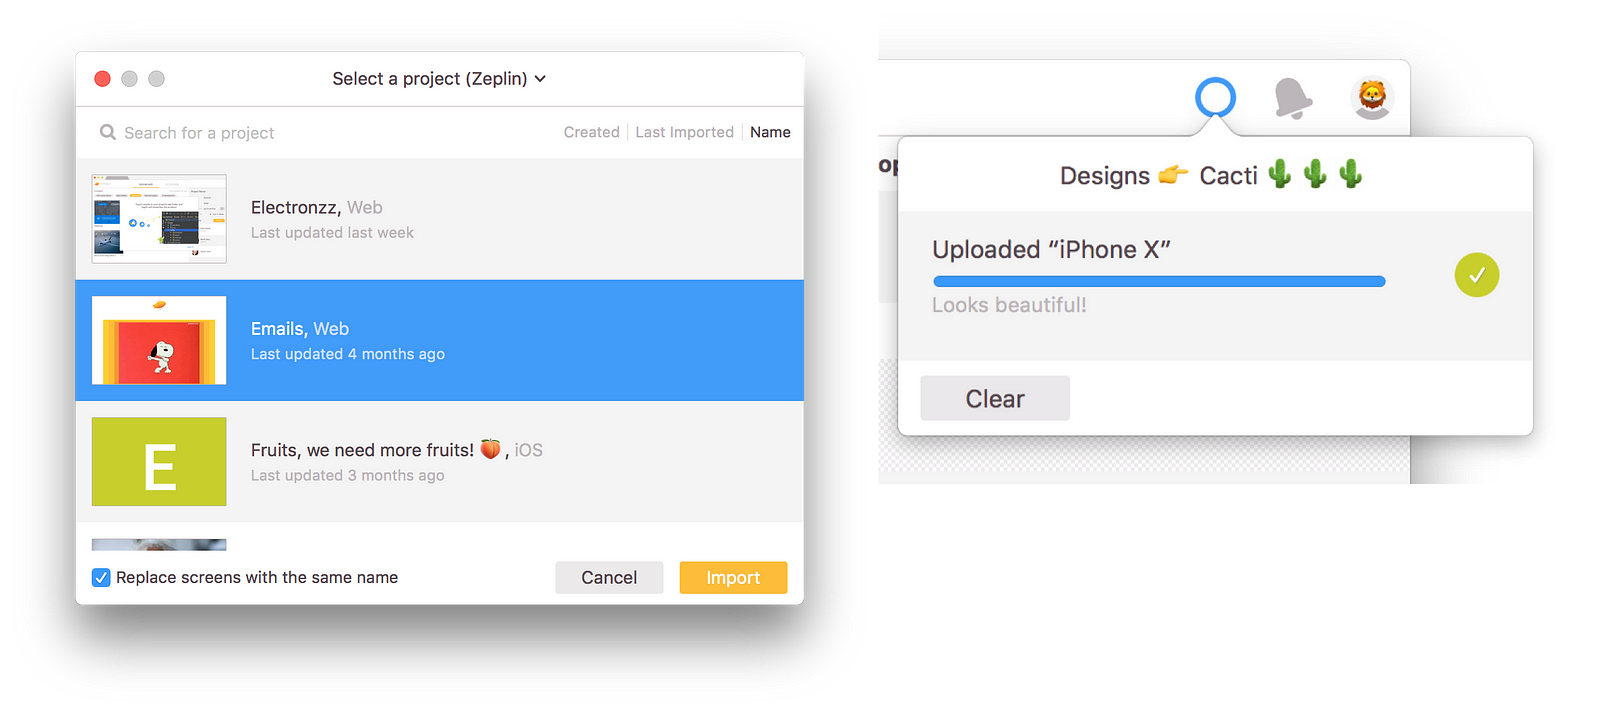
Export button, or the shortcut will take you to Zeplin, where you select the project you want to export to.
Setting up Assets
Zeplin exports images automatically from exportable layers in your designs, which we call Assets. To mark a layer as exportable in Figma, simply add an export option to it by clicking the + button on the Export section, from the right panel.
Zeplin will now export all the necessary images with different scales and formats from this layer, tailored to the platform you’re designing for, Web, iOS, Android or macOS. Simply clicking the layer inside Zeplin will list all the assets to developers.