Looking back now to when I began learning how to use Webflow, I’ve realized that there are a few things I wish I had known sooner that probably would have made my Webflow journey a whole lot easier! It’s important to note that Webflow doesn’t work like Squarespace or Wix, but that’s what makes it super magical 🦄! Website builders like Squarespace and Wix follow a template-based approach that makes it easy to quickly pick a template, drop some content, and publish a website. However, customizing these templates can be very difficult if you don’t have extensive coding knowledge. Webflow, on the other hand, allows you to start with a blank canvas and truly embrace creative freedom. You can also start with a template and fully customize it to your liking without having to write a single line of code.
1. Understanding HTML + CSS will make everything easier
Although you never really have to write any code at all when working with Webflow, understanding HTML and CSS will greatly lower the learning curve. Webflow sites are built by using basic HTML building blocks like sections, divs, headings, and these are styled using a visual editor that mimics the way CSS works. To properly layout your design, you need to understand how each of these HTML building blocks behaves. Examples of important principles to understand:
- A div is a block-level element which means that it always starts on a new line and takes up the full width available.
- Margin is the space around an element while padding is the space between an element and the content inside it.
These are just two examples from a list of principles that you need to understand when using Webflow. Without this basic understanding, you might become frustrated when you drop a div into your canvas and it doesn’t sit side-by-side with another element. Thus, I highly recommend taking a basic introductory course to HTML and CSS before diving into Webflow.

2. Learn from copying templates and clonable projects
So you just learned the basics of HTML and CSS and you’ve created a basic Webflow landing page by dropping some elements onto the canvas. But now you’re hungry to learn how to create all those cool layouts and interactions you see all over the internet, but how? 🤔
“Plagiarism is trying to pass someone else’s work as your own. Copying is about reverse-engineering. It’s like a mechanic taking apart a car to see how it works.”
— Austin Kleon, author of Steal Like an Artist
Webflow Templates
There are two great places to find incredible Webflow projects that you can learn from. The first is the extensive list of paid and free templates that Webflow offers for you to use as a starting point for a project. However, these templates can also be used as a learning tool by looking into how they were built. Here’s what you need to do:
- Go to Webflow Templates to view all the available templates and pick one that you like
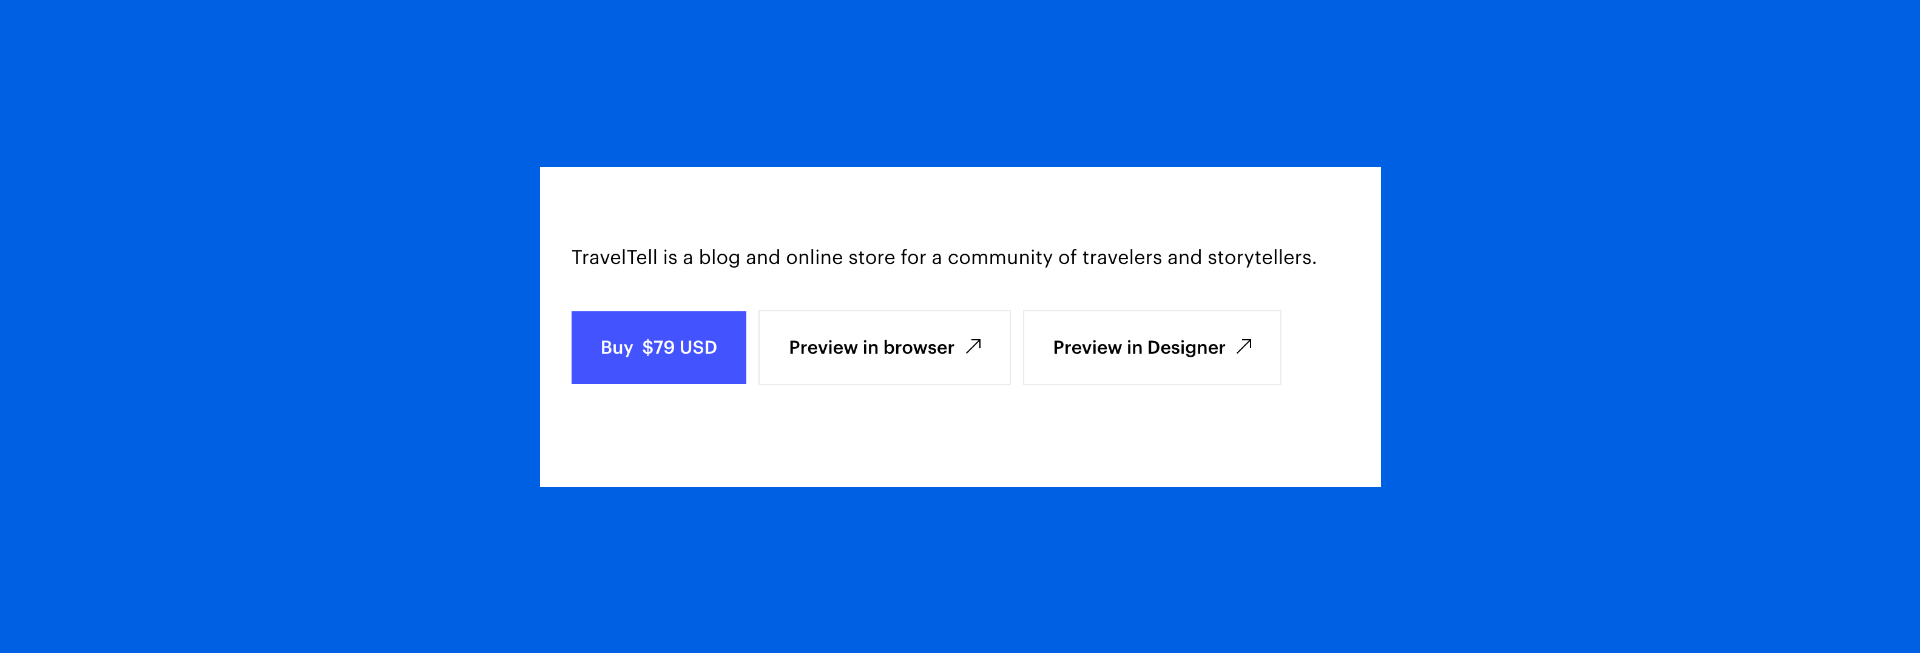
- Once you are on the page for your chosen template, there will be a button that says “Preview in Designer”, click this button
- You will be taken to the Webflow designer view for that template. Click on the blue eye icon on the top left
- Now you can click around and see how each element and section was built! 🎉
⭐️ Note: If you are planning on rebuilding a page to practice using Webflow (which I highly highly recommend), you will need all the images and icons on that page. To quickly download all of these assets, there’s a great extension called CSS Peeper that quickly allows you to download everything!
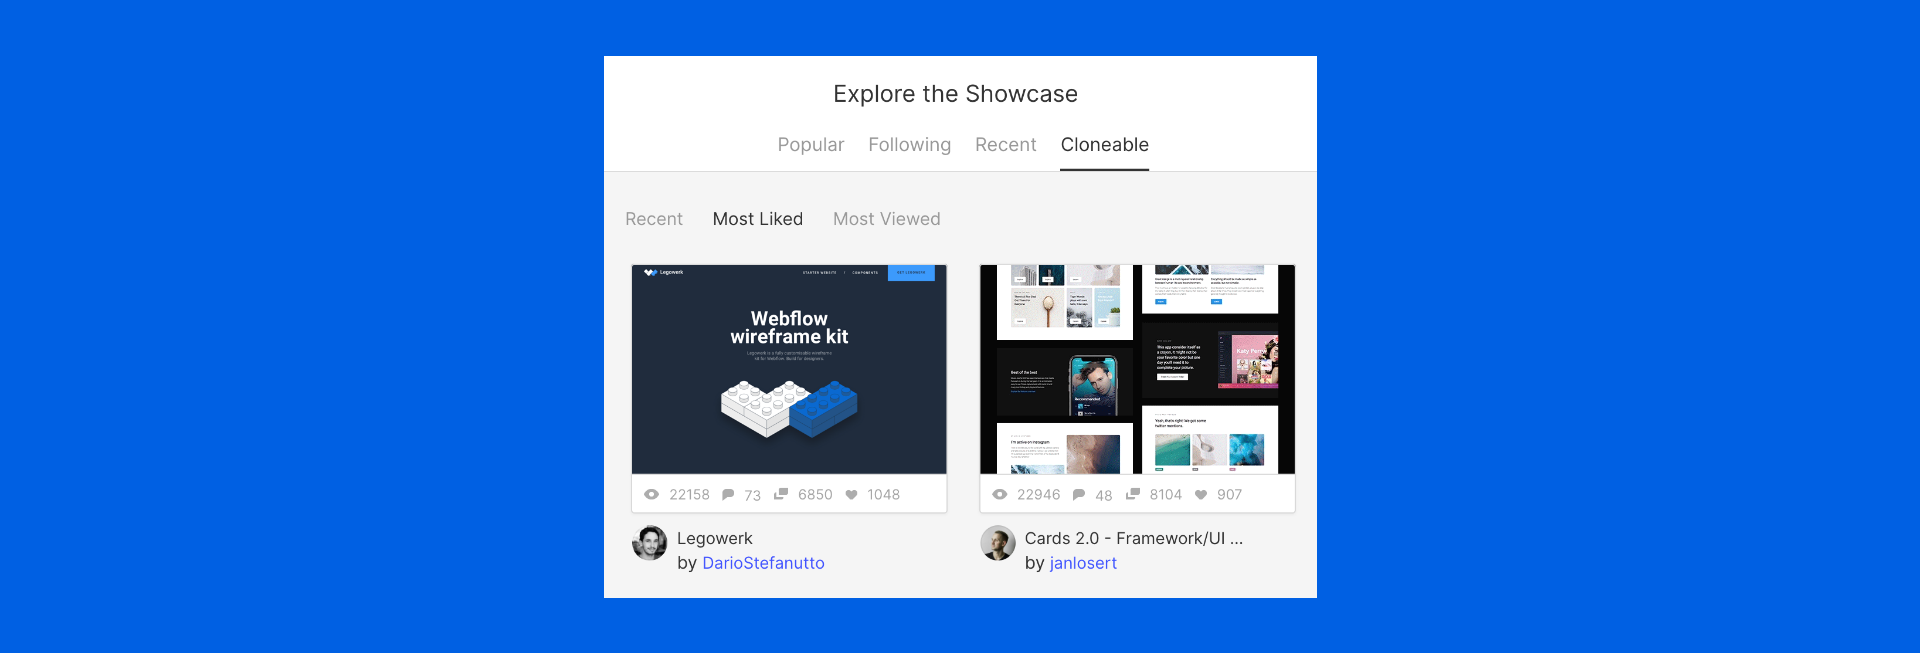
Webflow Clonable Showcase
The second place is Webflow Clonable Showcase. This is a collection of clonable projects created by the Webflow community. Anyone can clone one of these projects and use them as a template for their project or use any single element from that project. Again, it’s also a great place to see how others have built their projects.
As I mentioned previously, the idea here isn’t to copy and pass someone else’s work as your own. It’s to learn how they were able to achieve a certain layout or interaction. It’s about reverse-engineering as a learning tool. 👩🔧
3. Default styles, classes, and combo classes
It’s very easy to drop elements on your canvas and start adding styles to it. However, when you do this, Webflow will automatically assign a class to that element. Usually, it’ll be something random like “Heading 13” and that doesn’t really tell you anything and isn’t very re-usable, is it? 🤷♀️
Defaults Styles
When we start a new project, we may have already created a style guide. This style guide will likely define what fonts we want to use, what size we want our main headings to be, what size we want our paragraphs to be. Thus, we can begin our Webflow project by first setting those default styles to their corresponding HTML tags. When we first add a paragraph to our project, we can click on the Selector field on the right-side panel, and select “All Paragraphs”. Now any styling we add will become the default styles for all paragraphs! This means we don’t have to manually re-enter the same style values over and over again every time we add a paragraph, this would be an unnecessary waste of time.

Classes
Since you now have a basic understanding of how HTML and CSS work, you know what classes are. Classes are meant to save you time. Let’s say you have set the default styles to your paragraph, but now you need a paragraph that will act as subtitle and thus requires a slightly larger font. This is where classes come in! You can give this new paragraph a class such as “subtitle” and then make any necessary style changes. Next time you need another subtitle in your project, you can simply add a paragraph and give it the class “subtitle” and it will inherit all of those styles that you initially set to that class.
⭐️ Note: You will notice that some styles have a blue or orange highlight. If it’s blue, this means that the style is coming from the current class, tag, or breakpoint. If it’s orange, it means that the style is being inherited from another class, tag, or breakpoint. When you change one of these styles highlighted in orange, the indicator will change to blue, indicating that it now belongs to the class, tag, or breakpoint.

If you are wondering how you should name your classes, there are a few different methodologies you could follow. I suggest BEM, it’s easy to use and provides a solid style structure that remains simple and easy to understand.
Combo Classes
Any subsequent class added after the first class is referred to as a combo class. Combo classes are great when you need to create an exception or change one thing about the previous class. Let’s go back to the subtitle example above. You are adding a new subtitle that looks the same as your previous subtitle, except that this new subtitle’s text colour is now blue instead of black. You can simply add a combo class with a name such as “is — blue” (following BEM class naming conventions) and change the text colour to blue. Now you can reuse this combo class whenever you need another blue subtitle in your project.
⭐️ Note: If you ever need to change the styles of a base class, simply click on “Inheriting # selectors” on the right-side panel beside the Selector field to click back on a previous class. Very handy! 💁♀️

4. Create reusable symbols
Creating classes are a great way to save time by styling elements that will be used repeatedly through a design. The next step to this is creating symbols. Symbols are any component that repeats throughout your project, this can be things like buttons, navigation bars, hero sections, card elements, footers. Creating reusable elements can greatly speed up the development of your project. Webflow defines two types of symbols. The first type is symbols that have identical content per instance which are symbols that have the same content and repeat throughout your design like navbars and footers. Editing these in one place will update them everywhere in your project. The other type is symbols that have unique content per instance which are symbols that have the same layout but have unique content (text, images, or videos), examples of these include buttons, hero sections, and cards.
Identical content per instance
To turn any component into a reusable symbol, all you need to do is right-click that element in your canvas and select the “Create Symbol” option in the dropdown and give it a name. The next time you want to use this symbol, go into your symbols library in the right-side panel by clicking the plus icon and selecting the Symbols tab and dragging the symbol into your canvas.

Unique content per instance
Upon selecting the “Create Symbol” dropdown option and giving your symbol a name, Webflow allows you to create override fields for that symbol. To do this, you simply click the plus icon under the Symbol Master section in the left-side panel. You will then be able to select which field you want to be able to override (such as text), give a name to the field, and set its default value. Next time you add one of these symbols to your project, you will be able to give this field its own unique value. This works great for buttons and cards!
⭐️ Note: If you have a design system prior to starting to build your project in Webflow, you can create those elements in a Style Guide page and make them into symbols to speed up your workflow!

5. Interactions and Animations
Webflow has a visual interface to help you create very awesome interactions, again, without ever having to write a single line of code! 🎉 You can create interactions that are based on scroll, click, hover, page load. The possibilities are endless! With just a few clicks, you can very easily add a parallax effect to your website.

Thanks to Airbnb’s design team, anyone is now able to create animations inside Adobe After Effects and easily add them to their website by using Lottie! You don’t need to write any complex Javascript code, you simply use the bodymovin plugin to export your AE animation as a Lottie JSON file. Once you are in Webflow, you just need to add a Lottie element and upload your JSON file. Upon adding it to your website, you can either just let it loop or you control these using Webflow interactions to have them animate on scroll, or on click for example.
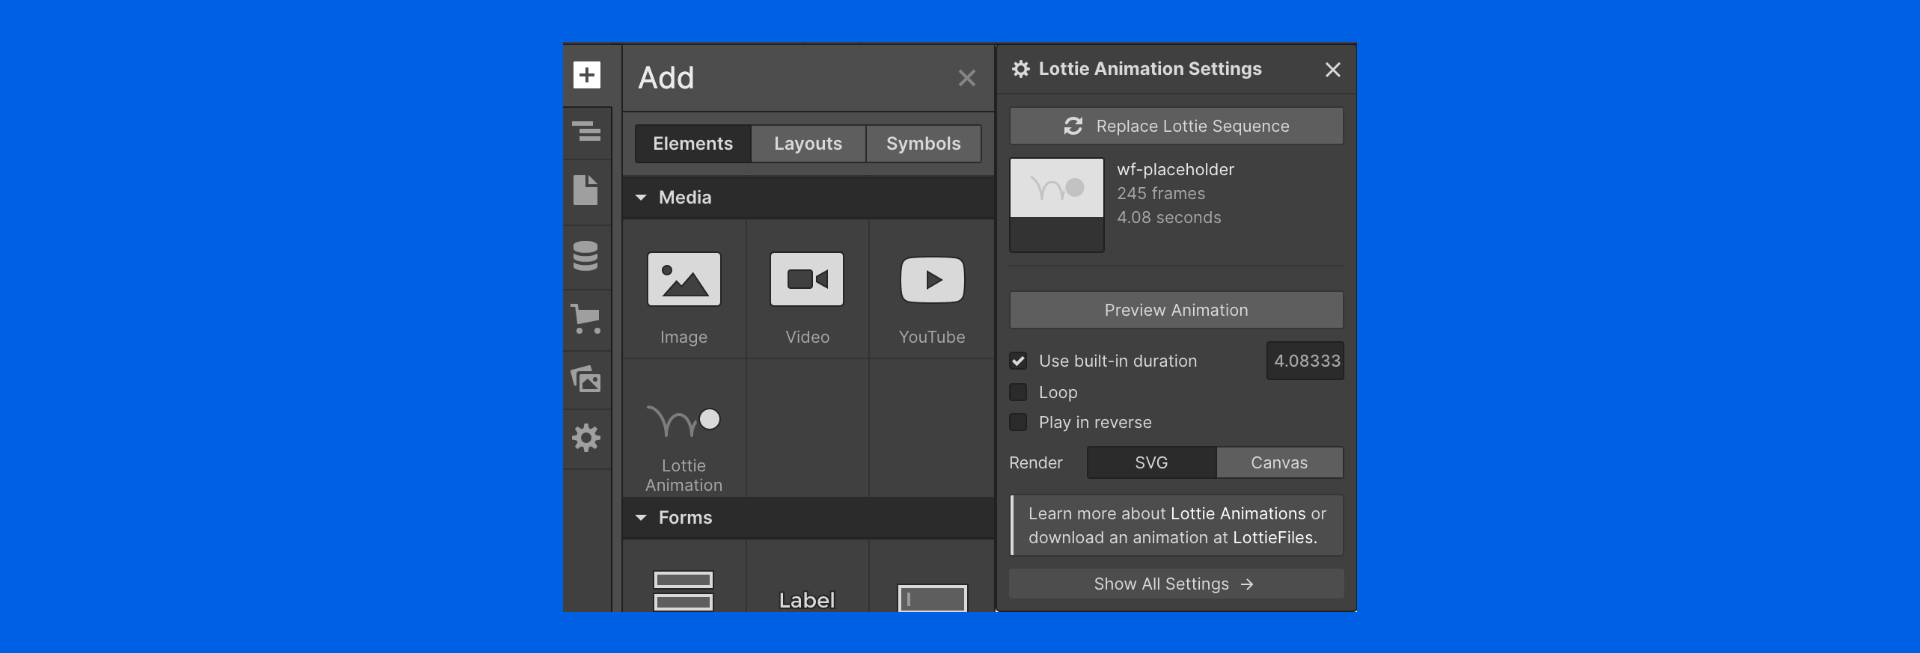
If you are not familiar with Adobe After Effects, Lottie actually provides a bunch of free animations that you can just download and use. You are even able to edit any of the layer colours right within their website.
I hope these tips help you with your journey in learning the magical tool that is Webflow 💙. Stay tuned for the next article on 5 more things I wish I had known when I started using Webflow that I didn’t want to include in this one because it would have made it into one ginormous article.
Let’s connect! I am always happy to connect with new people, find me on LinkedIn! And if you are interested in more Webflow related content, follow me!